Password Manager App Using Python
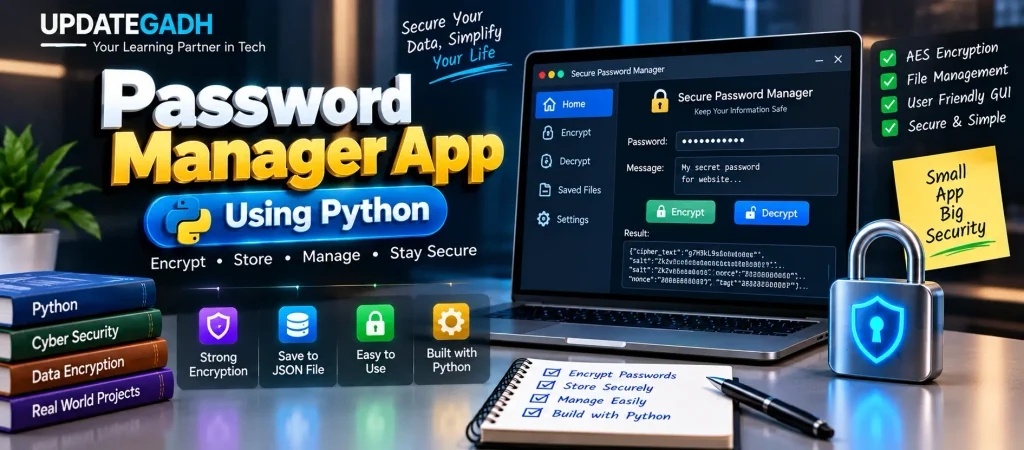
A password manager application can be created in Python by combining encryption, file handling, and a graphical user interface. In this project, AES-GCM is used to protect the entered information, while Python’s Tkinter library provides the interface for interacting with the application.
The application generates a random salt, derives a key from the user’s password, encrypts the supplied message, and stores the encrypted information in JSON format. The saved data can later be loaded and decrypted using the correct password.
Step 1: Import Required Libraries
The first step is to import the modules needed for encryption, encoding, JSON file processing, and GUI development.
import hashlib
from base64 import b64encode, b64decode
import os
from Cryptodome.Cipher import AES
from Cryptodome.Random import get_random_bytes
import json
import tkinter as tk
from tkinter import filedialog, messagebox
Here, hashlib is used for key derivation, AES provides encryption, JSON handles stored data, and Tkinter is responsible for the graphical interface.
Step 2: Create the Encryption Function
The encrypt() function converts the supplied message into encrypted data. It first generates a random salt and then derives a 32-byte private key from the password using hashlib.scrypt.
AES is configured in GCM mode, which produces both encrypted content and an authentication tag. The salt, nonce, cipher text, and tag are returned together so they can be used during decryption.
def encrypt(plain_text, password):
    if not password:
        raise ValueError("Password cannot be empty.")

    salt = get_random_bytes(AES.block_size)

    private_key = hashlib.scrypt(
        password.encode(),
        salt=salt,
        n=2**14,
        r=8,
        p=1,
        dklen=32
    )

    cipher_config = AES.new(private_key, AES.MODE_GCM)

    cipher_text, tag = cipher_config.encrypt_and_digest(
        bytes(plain_text, "utf-8")
    )

    return {
        "cipher_text": b64encode(cipher_text).decode("utf-8"),
        "salt": b64encode(salt).decode("utf-8"),
        "nonce": b64encode(cipher_config.nonce).decode("utf-8"),
        "tag": b64encode(tag).decode("utf-8"),
    }
Step 3: Create the Decryption Function
The decrypt() function reverses the encryption process. It reads the encoded salt, cipher text, nonce, and authentication tag, then derives the key again from the supplied password.
AES-GCM verifies the encrypted data while decrypting it. If the supplied password or encrypted information is invalid, an error is raised.
def decrypt(enc_dict, password):
    if not password:
        raise ValueError("Password cannot be empty.")

    try:
        salt = b64decode(enc_dict["salt"])
        cipher_text = b64decode(enc_dict["cipher_text"])
        nonce = b64decode(enc_dict["nonce"])
        tag = b64decode(enc_dict["tag"])

        private_key = hashlib.scrypt(
            password.encode(),
            salt=salt,
            n=2**14,
            r=8,
            p=1,
            dklen=32
        )

        cipher = AES.new(private_key, AES.MODE_GCM, nonce=nonce)
        decrypted = cipher.decrypt_and_verify(cipher_text, tag)

        return decrypted.decode("utf-8")

    except (ValueError, KeyError) as e:
        raise ValueError("Invalid encrypted message format.") from e
Step 4: Save Encrypted Data to a File
The application can store the encrypted information in a JSON file. The save_to_file() function opens a save dialog and writes the encryption dictionary into the selected file.
def save_to_file(data):
    file_path = filedialog.asksaveasfilename(
        defaultextension=".json",
        filetypes=[("JSON Files", "*.json"), ("All Files", "*.*")],
    )

    if file_path:
        with open(file_path, "w") as file:
            json.dump(data, file)

        messagebox.showinfo(
            "Success",
            f"Encrypted data saved to {file_path}"
        )
Step 5: Load Encrypted Data
When the user wants to decrypt previously saved information, the application needs to read the JSON file. The load_from_file() function provides a file-selection dialog and returns the stored JSON data.
def load_from_file():
    file_path = filedialog.askopenfilename(
        filetypes=[("JSON Files", "*.json"), ("All Files", "*.*")]
    )

    if file_path:
        with open(file_path, "r") as file:
            return json.load(file)
    else:
        raise FileNotFoundError("No file selected")
Step 6: Create GUI Handlers
1. Encryption Handler
The encryption handler obtains the password and message entered through the interface. It then encrypts the message, displays the generated encrypted data, optionally saves it to a file, and clears the input fields.
def handle_encrypt():
    try:
        password = password_entry.get()
        plain_text = message_text.get("1.0", tk.END).strip()

        if not plain_text:
            raise ValueError("Message cannot be empty.")

        encrypted = encrypt(plain_text, password)

        result_text.delete("1.0", tk.END)
        result_text.insert(tk.END, json.dumps(encrypted, indent=4))

        if messagebox.askyesno(
            "Save Encrypted Data",
            "Do you want to save the encrypted data to a file?"
        ):
            save_to_file(encrypted)

        password_entry.delete(0, tk.END)
        message_text.delete("1.0", tk.END)

    except Exception as e:
        messagebox.showerror("Error", str(e))
2. Decryption Handler
The decryption handler reads the password, loads the selected encrypted JSON file, decrypts the stored content, and places the original message into the result area.
def handle_decrypt():
    try:
        password = password_entry.get()
        encrypted = load_from_file()

        decrypted_message = decrypt(encrypted, password)

        result_text.delete("1.0", tk.END)
        result_text.insert(tk.END, decrypted_message)

        password_entry.delete(0, tk.END)

    except Exception as e:
        messagebox.showerror("Error", str(e))
Step 7: Build the GUI
The graphical interface can now be assembled using Tkinter. First, create the main application window:
root = tk.Tk()
root.title("Secure Password Manager App")
Next, add the password field and message input area:
tk.Label(root, text="Password:").grid(
    row=0, column=0, padx=10, pady=5
)

password_entry = tk.Entry(root, show="*", width=40)
password_entry.grid(row=0, column=1, padx=10, pady=5)

tk.Label(root, text="Message:").grid(
    row=1, column=0, padx=10, pady=5
)

message_text = tk.Text(root, height=10, width=50)
message_text.grid(row=1, column=1, padx=10, pady=5)
Add buttons that connect the interface with the encryption and decryption handlers:
encrypt_button = tk.Button(
    root,
    text="Encrypt",
    command=handle_encrypt,
    width=15
)

encrypt_button.grid(
    row=2, column=0, padx=10, pady=10
)

decrypt_button = tk.Button(
    root,
    text="Decrypt",
    command=handle_decrypt,
    width=15
)

decrypt_button.grid(
    row=2, column=1, padx=10, pady=10
)
Finally, create an output area where encrypted or decrypted information can be displayed:
tk.Label(root, text="Result:").grid(
    row=3, column=0, padx=10, pady=5
)

result_text = tk.Text(root, height=10, width=50)
result_text.grid(
    row=3, column=1, padx=10, pady=5
)
The Tkinter event loop keeps the application running and responsive:
root.mainloop()Step 8: Run the Program
Save the complete application code in a Python file such as aes_gui.py. The project requires the PyCryptodome package, which can be installed using:
pip install pycryptodomeAfter installing the dependency, execute the application with:
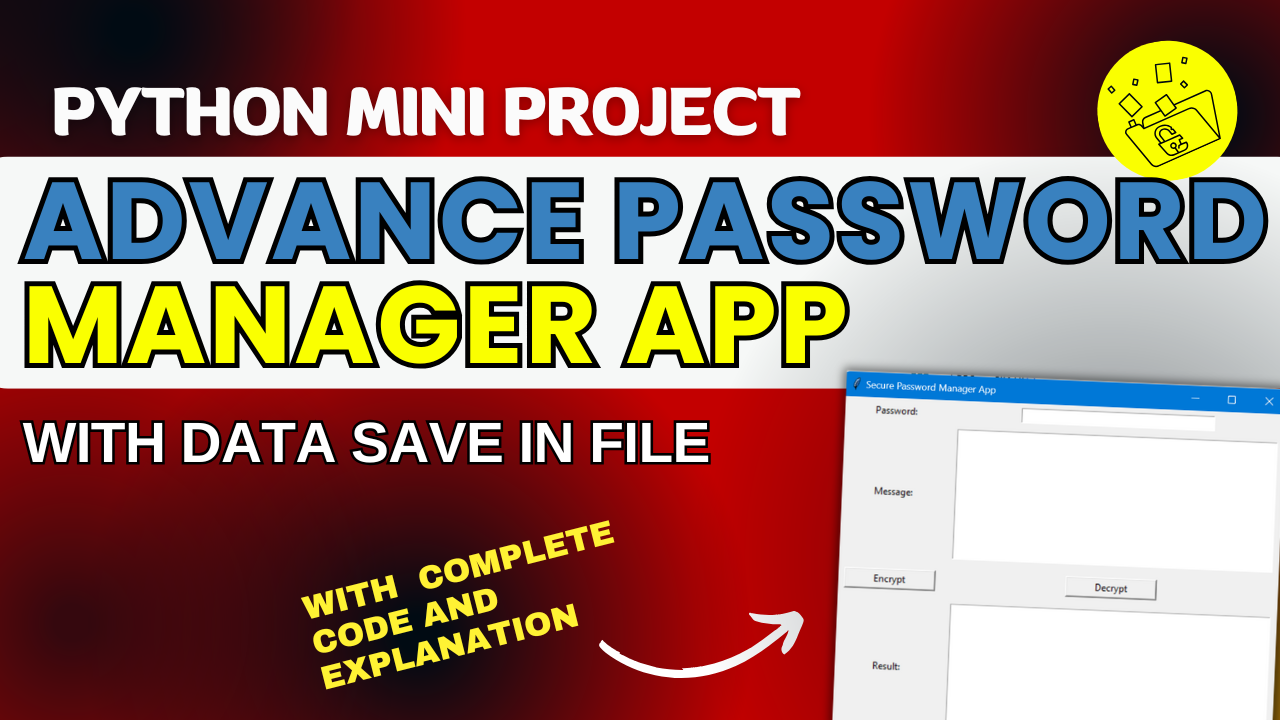
python3 aes_gui.pyThe resulting GUI allows the user to enter a password and message, encrypt the information, optionally save the encrypted data as JSON, and later load and decrypt the stored data.
Complete Advance AI Topics: Click Here
SQL Tutorial: Click Here
YT:- DecodeIT
Conclusion
This Python password manager application combines Tkinter, AES-GCM encryption, Scrypt key derivation, and JSON file handling into a single graphical application. The encryption process protects the entered message, while the file-management functionality makes it possible to save and reload encrypted information.
By combining these components, the project demonstrates how Python can be used to build a desktop application involving encryption, data storage, and an interactive GUI.
Keywords: Password Manager App Using Python, Python password manager, password manager project Python, Python AES encryption, Tkinter password manager, Python encryption project, AES GCM Python, PyCryptodome Python, Python secure password manager, Python GUI encryption app,Password Manager App Using Python