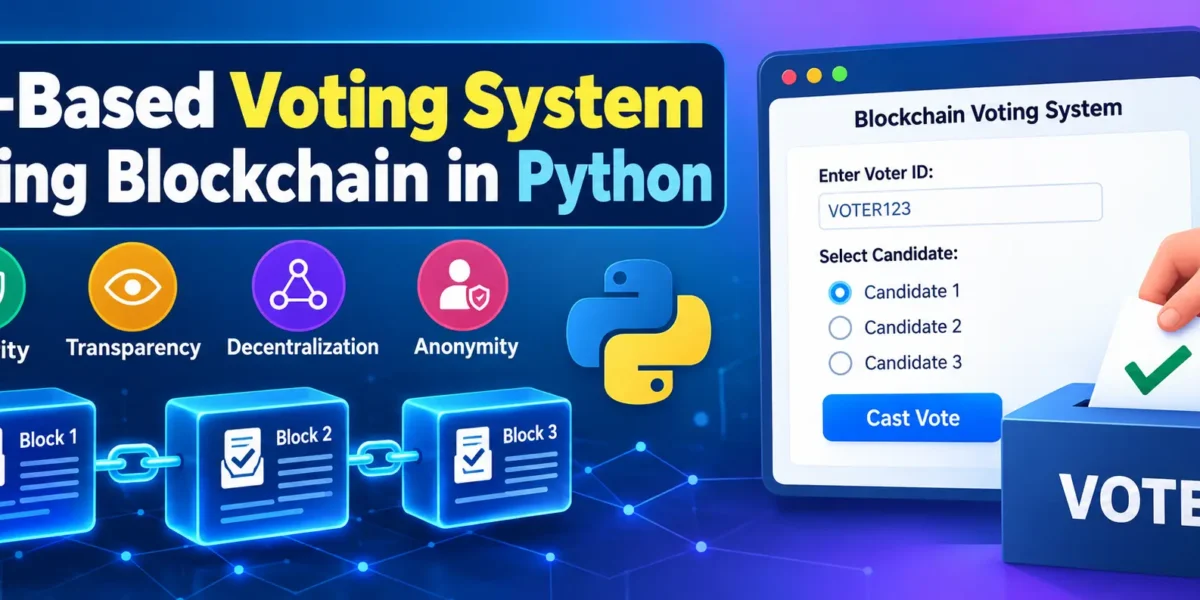
UI-Based Voting System Using Blockchain in Python
Introduction
Blockchain is a technology that can be used to store information in connected blocks. Each block can contain data along with a cryptographic hash that helps connect it with the previous block.
In this project, we will create a UI-Based Voting System Using Blockchain in Python. This project demonstrates how basic blockchain concepts can be used to store voting information using Python.
The application is designed as a simple educational project for Python students and beginners. It uses Python’s built-in hashlib, json, and time modules for the blockchain implementation. A graphical user interface is created using Tkinter.
The voter can enter a voter ID, select one of three candidates, and click the Cast Vote button. The selected vote is added to the blockchain and stored inside a block.
Note: This is a simple educational demonstration of blockchain concepts. It is not designed to provide real-world election security or be deployed as an actual election system.

Blockchain for Voting
Blockchain concepts can help students understand how voting information can be stored in connected blocks. In this project, we focus on four basic concepts: security, transparency, decentralization, and anonymity.
Security
Each block is connected to the previous block through a cryptographic hash. The project uses SHA-256 hashing to generate hashes for blocks. This demonstrates how blocks can be linked together.
Transparency
Votes are stored inside blockchain blocks. The blockchain remains in the computer’s memory while the application is running, allowing students to understand how voting information can be organized inside blocks.
Decentralization
Blockchain technology is commonly associated with decentralized systems where information can be maintained by multiple participants. However, this beginner project does not create a decentralized blockchain network. It only demonstrates the basic blockchain structure in Python.
Anonymity
Privacy and anonymity are important considerations in voting systems. This simple project stores the entered voter ID with the selected candidate and does not implement advanced anonymity mechanisms.
Overview
The UI-Based Voting System Using Blockchain in Python contains two main parts:
- Blockchain Backend
- Graphical User Interface using Tkinter
The blockchain backend manages blocks and stores votes. Every vote is first added to the current votes list and then stored inside a new block.
The Tkinter graphical interface allows the voter to:
- Enter voter ID
- Select Candidate 1
- Select Candidate 2
- Select Candidate 3
- Cast a vote
The complete application can be stored in a single Python file:
voting_system.pyStep 1: Setting Up the Blockchain Backend
Complete Advance AI Topics: Click Here
Real Time Projects:- DecodeIT
The first step is to create the blockchain backend. The blockchain will manage the votes and blocks created by the application.
The backend uses the following Python concepts:
hashlibjsontime- Blockchain class
- Blocks
- Current votes
- SHA-256 hashing
- Previous block hash
- Proof of Work
When the blockchain object is created, the program automatically creates the first block.
Blockchain Backend Code
import hashlib
import json
from time import time

class Blockchain:
    def __init__(self):
        self.chain = []
        self.current_votes = []
        self.create_block(previous_hash='1', proof=100)

    def create_block(self, proof, previous_hash):
        block = {
            'index': len(self.chain) + 1,
            'timestamp': time(),
            'votes': self.current_votes,
            'proof': proof,
            'previous_hash': previous_hash or self.hash(self.chain[-1]),
        }

        self.current_votes = []
        self.chain.append(block)

        return block

    def add_vote(self, voter_id, candidate):
        vote = {
            'voter_id': voter_id,
            'candidate': candidate
        }

        self.current_votes.append(vote)

    def proof_of_work(self, previous_proof):
        proof = 0

        while self.valid_proof(previous_proof, proof) is False:
            proof += 1

        return proof

    @staticmethod
    def valid_proof(previous_proof, proof):
        guess = f'{previous_proof}{proof}'.encode()
        guess_hash = hashlib.sha256(guess).hexdigest()

        return guess_hash[:4] == "0000"

    @staticmethod
    def hash(block):
        encoded_block = json.dumps(
            block,
            sort_keys=True
        ).encode()

        return hashlib.sha256(encoded_block).hexdigest()

    def get_last_block(self):
        return self.chain[-1]
Step 2: Explanation of the Code
Blockchain Class
The Blockchain class manages the complete blockchain and the current votes. The chain list stores all created blocks, while current_votes temporarily stores votes before they are added to a block.
create_block()
The create_block() method creates a new block and adds it to the blockchain. Each block contains:
- Index
- Timestamp
- Votes
- Proof
- Previous hash
After the block is created, current_votes is cleared so that new votes can be collected.
add_vote()
The add_vote() method receives the voter ID and selected candidate. It creates a vote dictionary and adds it to the current votes list.
proof_of_work()
The proof_of_work() method searches for a proof value that satisfies the condition defined by the project. It starts from zero and continues increasing the proof until a valid proof is found.
valid_proof()
The valid_proof() method combines the previous proof and current proof. SHA-256 is then used to create a hash.
The proof is considered valid when the generated hash begins with four zeros.
hash()
The hash() method converts a block into JSON format and creates a SHA-256 hash of that block.
get_last_block()
The get_last_block() method simply returns the latest block stored in the blockchain.
Step 3: Creating the User Interface (UI) with Tkinter
The next step is creating a simple graphical interface using Tkinter. Tkinter allows us to create desktop applications using standard Python.
The voting interface contains:
- Voter ID label
- Voter ID input field
- Candidate selection
- Candidate 1 radio button
- Candidate 2 radio button
- Candidate 3 radio button
- Cast Vote button
UI Code
The following is the complete working code. Copy the entire code into voting_system.py.
import hashlib
import json
from time import time
import tkinter as tk
from tkinter import messagebox


class Blockchain:
    def __init__(self):
        self.chain = []
        self.current_votes = []
        self.create_block(previous_hash='1', proof=100)

    def create_block(self, proof, previous_hash):
        block = {
            'index': len(self.chain) + 1,
            'timestamp': time(),
            'votes': self.current_votes,
            'proof': proof,
            'previous_hash': previous_hash or self.hash(self.chain[-1]),
        }

        self.current_votes = []
        self.chain.append(block)

        return block

    def add_vote(self, voter_id, candidate):
        vote = {
            'voter_id': voter_id,
            'candidate': candidate
        }

        self.current_votes.append(vote)

    def proof_of_work(self, previous_proof):
        proof = 0

        while self.valid_proof(previous_proof, proof) is False:
            proof += 1

        return proof

    @staticmethod
    def valid_proof(previous_proof, proof):
        guess = f'{previous_proof}{proof}'.encode()
        guess_hash = hashlib.sha256(guess).hexdigest()

        return guess_hash[:4] == "0000"

    @staticmethod
    def hash(block):
        encoded_block = json.dumps(
            block,
            sort_keys=True
        ).encode()

        return hashlib.sha256(encoded_block).hexdigest()

    def get_last_block(self):
        return self.chain[-1]


blockchain = Blockchain()


def cast_vote():
    voter_id = voter_id_entry.get()
    candidate = candidate_var.get()

    if voter_id and candidate:
        blockchain.add_vote(voter_id, candidate)

        previous_proof = blockchain.get_last_block()['proof']
        proof = blockchain.proof_of_work(previous_proof)

        previous_hash = blockchain.hash(
            blockchain.get_last_block()
        )

        blockchain.create_block(proof, previous_hash)

        messagebox.showinfo(
            "Vote Cast",
            "Your vote has been successfully cast!"
        )

        voter_id_entry.delete(0, tk.END)
        candidate_var.set("")

    else:
        messagebox.showerror(
            "Error",
            "Please enter a valid voter ID and select a candidate."
        )


window = tk.Tk()
window.title("Blockchain Voting System")


title_label = tk.Label(
    window,
    text="Blockchain Voting System",
    font=("Arial", 18, "bold")
)
title_label.pack(pady=15)


voter_id_label = tk.Label(
    window,
    text="Enter Voter ID:"
)
voter_id_label.pack()


voter_id_entry = tk.Entry(
    window,
    width=30
)
voter_id_entry.pack(pady=5)


candidate_label = tk.Label(
    window,
    text="Select Candidate:"
)
candidate_label.pack(pady=10)


candidate_var = tk.StringVar(value="")


candidate1 = tk.Radiobutton(
    window,
    text="Candidate 1",
    variable=candidate_var,
    value="Candidate 1"
)
candidate1.pack()


candidate2 = tk.Radiobutton(
    window,
    text="Candidate 2",
    variable=candidate_var,
    value="Candidate 2"
)
candidate2.pack()


candidate3 = tk.Radiobutton(
    window,
    text="Candidate 3",
    variable=candidate_var,
    value="Candidate 3"
)
candidate3.pack()


cast_vote_button = tk.Button(
    window,
    text="Cast Vote",
    command=cast_vote
)
cast_vote_button.pack(pady=20)


window.mainloop()
Step 4: Explanation of the UI Code
Tkinter Interface
The program creates the main Tkinter window using tk.Tk() and gives it the title Blockchain Voting System.
Labels are used to display instructions to the voter. An entry field allows the voter to enter a voter ID.
A StringVar stores the selected candidate. Three radio buttons are connected to this variable so that the voter can choose Candidate 1, Candidate 2, or Candidate 3.
The Cast Vote button calls the cast_vote() function when clicked.
cast_vote()
The cast_vote() function gets the voter ID from the entry field and the candidate from the selected radio button.
If both values are available, the vote is added using add_vote(). The program gets the proof from the previous block and performs Proof of Work.
It then generates the hash of the previous block and creates a new block containing the vote.
After a successful vote, the voter ID field and candidate selection are cleared so another vote can be entered.
Vote Confirmation
When the vote has been successfully stored, Tkinter’s messagebox.showinfo() displays a success message.
If the voter ID is empty or no candidate has been selected, messagebox.showerror() displays an error asking the user to provide the required information.
Step 5: Running the Application
Save the complete Python code in a file named:
voting_system.pyThis project only uses Python standard library modules:
- hashlib
- json
- time
- tkinter
No additional Python package needs to be installed for the code itself. Tkinter is normally included with standard Python installations.
Open the terminal in the folder containing voting_system.py and run:
python voting_system.pyThe Blockchain Voting System window will open.
Enter a voter ID, select one of the three candidates, and click Cast Vote. If the information is valid, the program adds the vote, performs Proof of Work, creates a new blockchain block, and displays a confirmation message.
Step 6: Enhancing the Voting System
This project intentionally keeps the voting application simple. Students who want to continue learning can conceptually explore the following improvements in the future:
Voter Authentication
A future version could include a method for verifying voters before allowing them to cast a vote.
Candidate Addition
The project currently contains three fixed candidates. A future version could provide a way to add candidates dynamically.
Real-Time Vote Count
A future version could display the number of votes received by each candidate while the application is running.
These enhancements are not implemented in the current project because the purpose of this version is to demonstrate only a simple blockchain voting concept.
Conclusion
The UI-Based Voting System Using Blockchain in Python is a simple educational project for understanding how basic blockchain concepts can be combined with a Python desktop application.
The project uses a Blockchain class to create blocks, store votes, generate SHA-256 hashes, connect blocks using previous hashes, and perform a simple Proof of Work process.
Tkinter provides the graphical interface where a voter can enter a voter ID, choose one of three candidates, and cast a vote. After the vote is submitted, it is added to a newly created blockchain block.
This project is useful for students who want practical experience with Python classes, functions, hashing, Proof of Work, blockchain structure, and Tkinter GUI development. It remains a small educational demonstration rather than a real-world election platform.
Source Code / Project
The complete source code for this project is provided above and can be copied directly into:
voting_system.pyRun the project using:
python voting_system.pyAfter running the file, the Tkinter voting interface will open and you can test the basic blockchain-based voting process.
“`