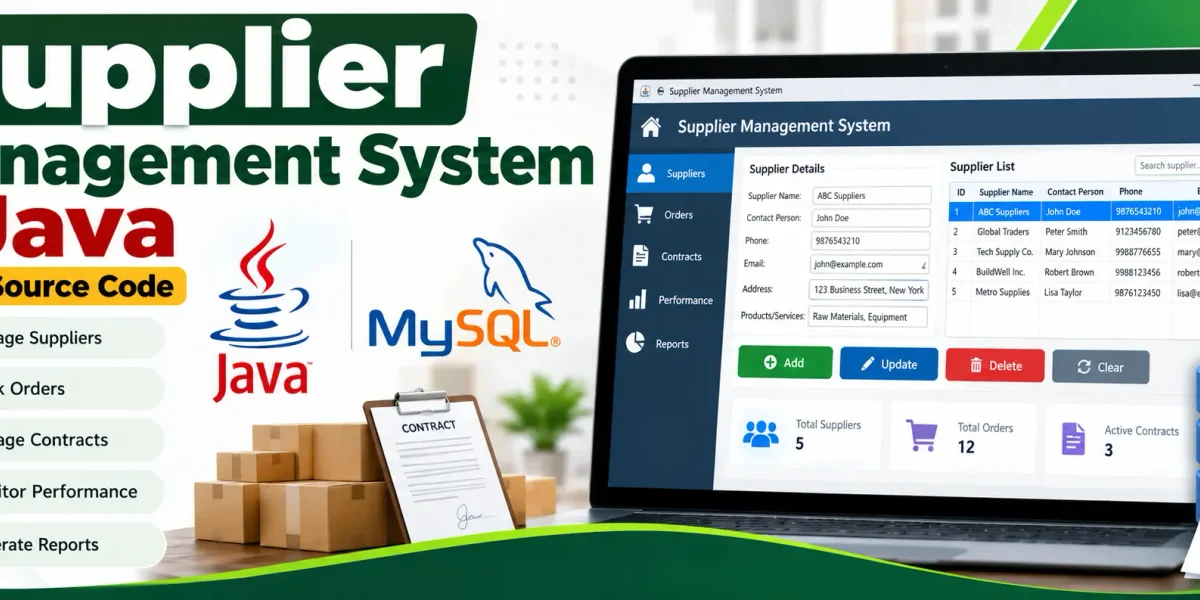
Supplier Management System in Java with Source Code
Managing suppliers efficiently is important for businesses that depend on products, raw materials, or external services. Supplier information can include contact details, products or services, contracts, orders, delivery performance, and quality information. Managing all these records manually can make it difficult to find information and keep records organized.
The Supplier Management System in Java is a desktop-based application designed to manage supplier-related information in one place. The project uses Java for the application and MySQL for database management. It provides a simple interface for maintaining supplier records, monitoring supplier performance, managing contracts, tracking orders, and viewing stored information.
This project is suitable for students who want to learn how Java applications communicate with MySQL databases using JDBC. It can be developed and executed using NetBeans or Eclipse, while XAMPP can be used to run the MySQL database.
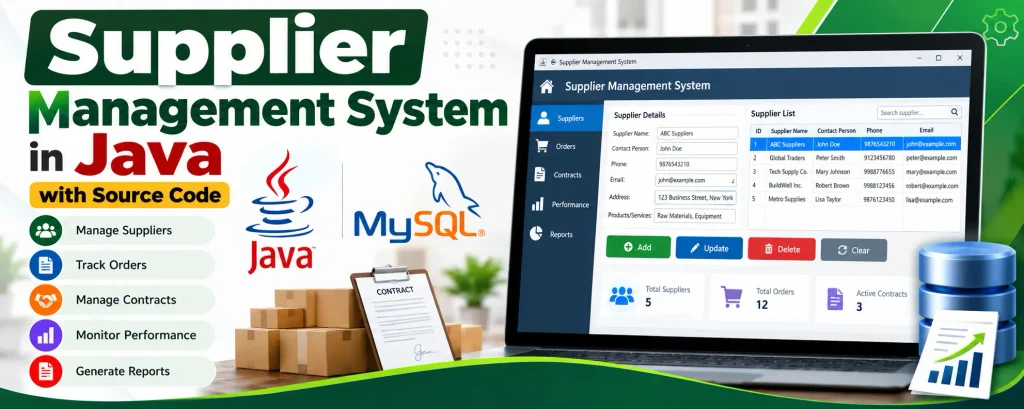
Supplier Management System in Java
The main purpose of this project is to provide a structured way to maintain supplier information. Users can enter supplier details, update existing records, remove records, and view information stored in the database.
The project demonstrates practical implementation of Java database connectivity, SQL queries, forms, tables, and CRUD operations.
Importance
Suppliers are an important part of businesses that depend on regular deliveries of goods and services. Businesses need to maintain supplier contact information and keep track of their contracts, orders, delivery performance, and quality.
A Supplier Management System helps organize these records in a database instead of maintaining them separately. This makes it easier to retrieve information whenever required.
For students, this project is also useful because it demonstrates several important Java concepts, including:
- Java Swing GUI
- JDBC database connectivity
- MySQL database operations
- Insert, update, delete, and search operations
- Java forms
- JTable data display
- SQL queries
- Exception handling
Complete Advance AI Topics: Click Here
Real Time Projects:- DecodeIT
Key Features
1. Supplier Database Management
The system allows users to add supplier information including supplier name, contact person, phone number, email address, address, and products or services.
2. Performance Monitoring
Supplier performance can be stored using delivery time, quality rating, and compliance information.
3. Contract Management
The system maintains contract-related information including contract dates, pricing agreements, and special terms.
4. Order Tracking
Supplier orders can be recorded with order date, product, quantity, amount, and order status.
5. Reporting and Analytics
Stored supplier and performance information can be displayed in the application using database tables.
Step-by-Step Guide
1. Setting Up the Development Environment
Install the following software before starting:
- Java JDK
- NetBeans IDE or Eclipse
- XAMPP
- MySQL Connector/J
After installing XAMPP, open the XAMPP Control Panel and start Apache and MySQL.
Open phpMyAdmin and create a database named:
CREATE DATABASE java_app;
USE java_app;
Now create the required tables.
2. Database Tables
Run the following SQL code inside the java_app database:
CREATE DATABASE IF NOT EXISTS java_app;
USE java_app;

CREATE TABLE suppliers (
    id INT AUTO_INCREMENT PRIMARY KEY,
    supplier_name VARCHAR(100) NOT NULL,
    contact_person VARCHAR(100),
    phone VARCHAR(30),
    email VARCHAR(100),
    address VARCHAR(255),
    products_services VARCHAR(255)
);

CREATE TABLE performance (
    id INT AUTO_INCREMENT PRIMARY KEY,
    supplier_id INT NOT NULL,
    delivery_days INT,
    quality_rating DECIMAL(3,1),
    compliance VARCHAR(100),
    FOREIGN KEY (supplier_id) REFERENCES suppliers(id)
        ON DELETE CASCADE
);

CREATE TABLE contracts (
    id INT AUTO_INCREMENT PRIMARY KEY,
    supplier_id INT NOT NULL,
    start_date DATE,
    end_date DATE,
    pricing_agreement VARCHAR(255),
    special_terms VARCHAR(255),
    FOREIGN KEY (supplier_id) REFERENCES suppliers(id)
        ON DELETE CASCADE
);

CREATE TABLE supplier_orders (
    id INT AUTO_INCREMENT PRIMARY KEY,
    supplier_id INT NOT NULL,
    order_date DATE,
    product VARCHAR(150),
    quantity INT,
    amount DECIMAL(10,2),
    status VARCHAR(50),
    FOREIGN KEY (supplier_id) REFERENCES suppliers(id)
        ON DELETE CASCADE
);
3. Create the Java Project
Open NetBeans or Eclipse and create a Java project named:
SupplierManagementSystemCreate a Java class named:
SupplierManagementSystem.javaAdd the MySQL Connector/J JAR file to the project libraries.
4. Complete Java Source Code
The following is the complete Java source code for the supplier management application:
import javax.swing.*;
import javax.swing.table.DefaultTableModel;
import java.awt.*;
import java.sql.*;

public class SupplierManagementSystem extends JFrame {

    private JTextField nameField, contactField, phoneField,
            emailField, addressField, productsField;

    private JTable table;
    private DefaultTableModel model;

    private static final String URL =
            "jdbc:mysql://localhost:3306/java_app";

    private static final String USER = "root";
    private static final String PASSWORD = "";

    public SupplierManagementSystem() {

        setTitle("Supplier Management System");
        setSize(1050, 650);
        setDefaultCloseOperation(JFrame.EXIT_ON_CLOSE);
        setLocationRelativeTo(null);

        JPanel mainPanel = new JPanel(new BorderLayout(10, 10));

        mainPanel.setBorder(
                BorderFactory.createEmptyBorder(
                        10, 10, 10, 10));

        JPanel formPanel = new JPanel(
                new GridLayout(6, 2, 8, 8));

        nameField = new JTextField();
        contactField = new JTextField();
        phoneField = new JTextField();
        emailField = new JTextField();
        addressField = new JTextField();
        productsField = new JTextField();

        formPanel.add(new JLabel("Supplier Name"));
        formPanel.add(nameField);

        formPanel.add(new JLabel("Contact Person"));
        formPanel.add(contactField);

        formPanel.add(new JLabel("Phone"));
        formPanel.add(phoneField);

        formPanel.add(new JLabel("Email"));
        formPanel.add(emailField);

        formPanel.add(new JLabel("Address"));
        formPanel.add(addressField);

        formPanel.add(new JLabel("Products / Services"));
        formPanel.add(productsField);

        JPanel buttonPanel = new JPanel();

        JButton addButton = new JButton("Add Supplier");
        JButton updateButton = new JButton("Update");
        JButton deleteButton = new JButton("Delete");
        JButton clearButton = new JButton("Clear");
        JButton refreshButton = new JButton("Refresh");

        buttonPanel.add(addButton);
        buttonPanel.add(updateButton);
        buttonPanel.add(deleteButton);
        buttonPanel.add(clearButton);
        buttonPanel.add(refreshButton);

        model = new DefaultTableModel(
                new String[]{
                        "ID",
                        "Supplier Name",
                        "Contact Person",
                        "Phone",
                        "Email",
                        "Address",
                        "Products / Services"
                }, 0);

        table = new JTable(model);

        JScrollPane scrollPane =
                new JScrollPane(table);

        mainPanel.add(
                formPanel,
                BorderLayout.NORTH);

        mainPanel.add(
                scrollPane,
                BorderLayout.CENTER);

        mainPanel.add(
                buttonPanel,
                BorderLayout.SOUTH);

        add(mainPanel);

        addButton.addActionListener(
                e -> addSupplier());

        updateButton.addActionListener(
                e -> updateSupplier());

        deleteButton.addActionListener(
                e -> deleteSupplier());

        clearButton.addActionListener(
                e -> clearFields());

        refreshButton.addActionListener(
                e -> loadSuppliers());

        table.getSelectionModel()
                .addListSelectionListener(e -> {

            if (!e.getValueIsAdjusting()
                    && table.getSelectedRow() != -1) {

                int row = table.getSelectedRow();

                nameField.setText(
                        model.getValueAt(row, 1).toString());

                contactField.setText(
                        model.getValueAt(row, 2).toString());

                phoneField.setText(
                        model.getValueAt(row, 3).toString());

                emailField.setText(
                        model.getValueAt(row, 4).toString());

                addressField.setText(
                        model.getValueAt(row, 5).toString());

                productsField.setText(
                        model.getValueAt(row, 6).toString());
            }
        });

        loadSuppliers();
    }

    private Connection getConnection()
            throws SQLException {

        return DriverManager.getConnection(
                URL, USER, PASSWORD);
    }

    private void addSupplier() {

        String sql =
                "INSERT INTO suppliers " +
                "(supplier_name, contact_person, phone, email, " +
                "address, products_services) " +
                "VALUES (?, ?, ?, ?, ?, ?)";

        try (Connection con = getConnection();
             PreparedStatement ps =
                     con.prepareStatement(sql)) {

            ps.setString(1, nameField.getText());
            ps.setString(2, contactField.getText());
            ps.setString(3, phoneField.getText());
            ps.setString(4, emailField.getText());
            ps.setString(5, addressField.getText());
            ps.setString(6, productsField.getText());

            ps.executeUpdate();

            JOptionPane.showMessageDialog(
                    this,
                    "Supplier added successfully.");

            clearFields();
            loadSuppliers();

        } catch (SQLException ex) {

            JOptionPane.showMessageDialog(
                    this,
                    "Database Error: "
                            + ex.getMessage());
        }
    }

    private void updateSupplier() {

        int row = table.getSelectedRow();

        if (row == -1) {

            JOptionPane.showMessageDialog(
                    this,
                    "Please select a supplier first.");

            return;
        }

        int id = Integer.parseInt(
                model.getValueAt(row, 0).toString());

        String sql =
                "UPDATE suppliers SET supplier_name=?, " +
                "contact_person=?, phone=?, email=?, " +
                "address=?, products_services=? " +
                "WHERE id=?";

        try (Connection con = getConnection();
             PreparedStatement ps =
                     con.prepareStatement(sql)) {

            ps.setString(1, nameField.getText());
            ps.setString(2, contactField.getText());
            ps.setString(3, phoneField.getText());
            ps.setString(4, emailField.getText());
            ps.setString(5, addressField.getText());
            ps.setString(6, productsField.getText());
            ps.setInt(7, id);

            ps.executeUpdate();

            JOptionPane.showMessageDialog(
                    this,
                    "Supplier updated successfully.");

            clearFields();
            loadSuppliers();

        } catch (SQLException ex) {

            JOptionPane.showMessageDialog(
                    this,
                    "Database Error: "
                            + ex.getMessage());
        }
    }

    private void deleteSupplier() {

        int row = table.getSelectedRow();

        if (row == -1) {

            JOptionPane.showMessageDialog(
                    this,
                    "Please select a supplier first.");

            return;
        }

        int id = Integer.parseInt(
                model.getValueAt(row, 0).toString());

        int result = JOptionPane.showConfirmDialog(
                this,
                "Are you sure you want to delete this supplier?",
                "Confirm Delete",
                JOptionPane.YES_NO_OPTION);

        if (result != JOptionPane.YES_OPTION) {
            return;
        }

        String sql =
                "DELETE FROM suppliers WHERE id=?";

        try (Connection con = getConnection();
             PreparedStatement ps =
                     con.prepareStatement(sql)) {

            ps.setInt(1, id);
            ps.executeUpdate();

            JOptionPane.showMessageDialog(
                    this,
                    "Supplier deleted successfully.");

            clearFields();
            loadSuppliers();

        } catch (SQLException ex) {

            JOptionPane.showMessageDialog(
                    this,
                    "Database Error: "
                            + ex.getMessage());
        }
    }

    private void loadSuppliers() {

        model.setRowCount(0);

        String sql =
                "SELECT * FROM suppliers ORDER BY id DESC";

        try (Connection con = getConnection();
             Statement st = con.createStatement();
             ResultSet rs = st.executeQuery(sql)) {

            while (rs.next()) {

                model.addRow(new Object[]{
                        rs.getInt("id"),
                        rs.getString("supplier_name"),
                        rs.getString("contact_person"),
                        rs.getString("phone"),
                        rs.getString("email"),
                        rs.getString("address"),
                        rs.getString("products_services")
                });
            }

        } catch (SQLException ex) {

            JOptionPane.showMessageDialog(
                    this,
                    "Unable to load suppliers: "
                            + ex.getMessage());
        }
    }

    private void clearFields() {

        nameField.setText("");
        contactField.setText("");
        phoneField.setText("");
        emailField.setText("");
        addressField.setText("");
        productsField.setText("");

        table.clearSelection();
    }

    public static void main(String[] args) {

        SwingUtilities.invokeLater(() -> {

            SupplierManagementSystem app =
                    new SupplierManagementSystem();

            app.setVisible(true);
        });
    }
}
5. MySQL Connector Configuration
The Java application requires MySQL Connector/J because JDBC uses it to communicate with MySQL.
After downloading the connector JAR, add it to the project.
In NetBeans:
Right Click Project
→ Properties
→ Libraries
→ Add JAR/Folder
→ Select mysql-connector-j.jar
→ Apply
→ OK
If your MySQL server uses a password, change this section:
private static final String USER = "root";
private static final String PASSWORD = "";
For example:
private static final String USER = "root";
private static final String PASSWORD = "your_password";
6. Running the Project
Follow these steps to run the application:
- Start XAMPP.
- Start MySQL.
- Open phpMyAdmin.
- Create the
java_appdatabase. - Execute the supplied SQL code.
- Open the Java project in NetBeans or Eclipse.
- Add MySQL Connector/J.
- Check the database username and password.
- Run
SupplierManagementSystem.java.
The application will open with fields for entering supplier information. Enter the required details and click Add Supplier.
The stored suppliers will appear in the table.
Select a record from the table to update or delete it.
How the System Works
The application uses JDBC to establish a connection between Java and MySQL. When a supplier is added, Java sends an INSERT query to the database.
When the user selects a supplier and updates its information, an UPDATE query changes the existing database record.
The delete operation uses a DELETE query, while the refresh operation executes a SELECT query and displays the current supplier records inside the JTable.
The additional database tables for performance, contracts, and orders provide the structure required for maintaining the supplier management information described in the project.
Expanding the System
Supplier Performance Analytics
Supplier delivery, quality, and compliance information can be used to display supplier performance data.
Automated Contract Renewal Reminders
A notification system can be added to identify contracts that are approaching their expiry dates.
User Roles and Permissions
A user management module can be introduced to provide different levels of access to different users.
These additions can be developed separately while keeping the main supplier database structure.
Project Requirements
Software Requirements
- Java JDK
- NetBeans IDE or Eclipse
- XAMPP
- MySQL
- MySQL Connector/J
Technologies Used
- Java
- Java Swing
- JDBC
- MySQL
- SQL
Conclusion
The Supplier Management System in Java provides a practical example of developing a database-driven Java application. It organizes supplier information and demonstrates important operations such as adding, viewing, updating, and deleting supplier records.
The project is also useful for students because it combines Java Swing, JDBC, SQL, and MySQL in a single application. The database structure provides tables for suppliers, performance, contracts, and orders, while the Java application demonstrates the core supplier management operations.
Keywords
Supplier Management System in Java, Supplier Management System Java, Supplier Management System with Source Code, Java Supplier Management Project, Supplier Management Software in Java, Java Project with MySQL, Java Swing Project, Java JDBC Project, Supplier Management Project, Supplier Database Management System, Supplier Management System Source Code, Java MySQL Project, NetBeans Java Project, Java Desktop Application, MySQL Database Project, Supplier Management Software, Java Management System, Supplier Tracking System, Supplier Database Project, Java Final Year Project