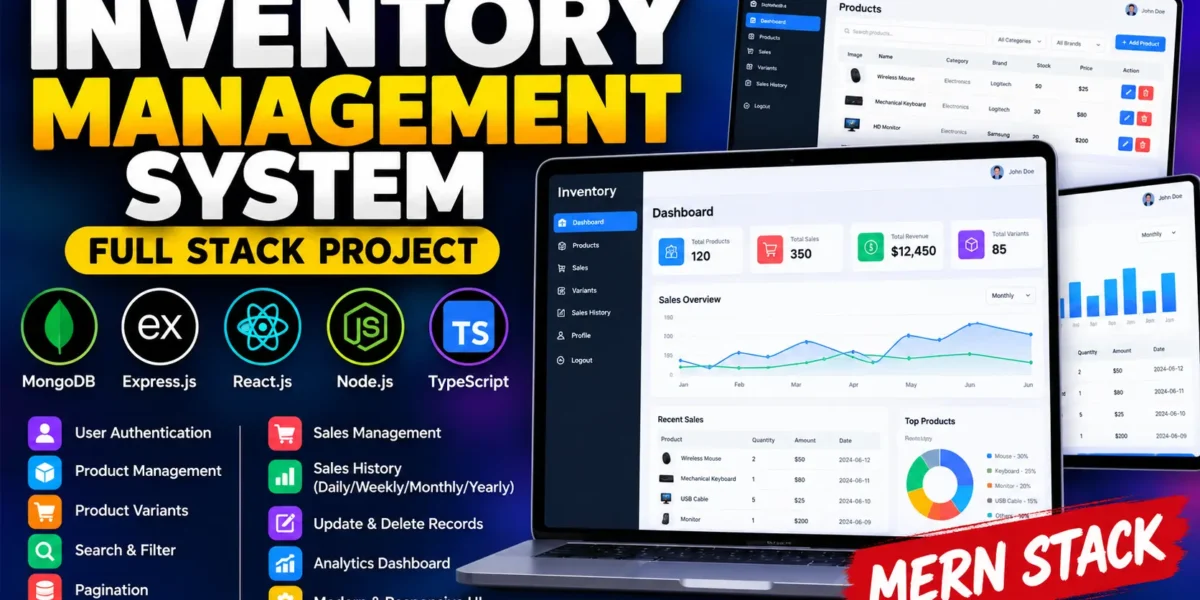
Inventory Management System Using MERN Stack
Managing products and sales efficiently is essential for every business. The Inventory Management System is a full-stack web application designed to simplify product management, record sales transactions, and maintain organized inventory records. Users can manage products, create product variants, search and filter records, and analyze sales history through different time periods.
Developed using TypeScript, React.js, Node.js, Express.js, and MongoDB, this project demonstrates how modern web technologies can be combined to build a practical business management application. It is suitable for students who want hands-on experience with full-stack development and real-world inventory management operations.
Table of Contents
Complete Advance AI Topics: Click Here
Real Time Projects on YouTube:- DecodeIT
Project Overview
| Property | Details |
|---|---|
| Project Name | Inventory Management System |
| Languages Used | TypeScript, JavaScript, HTML, CSS |
| Database | MongoDB |
| Frontend | React.js |
| Backend | Node.js and Express.js |
| Type | Full Stack Web Application |
Introduction
The Inventory Management System provides a centralized platform for managing products and sales records. Users can register, log in, create products, update existing information, and search or filter product lists. The application also supports product variants, sales management, and sales history reports.
The frontend is built with React and TypeScript, while the backend uses Node.js and Express.js. MongoDB stores application data, and supporting libraries help manage navigation, application state, form validation, and data visualization.
Available Features
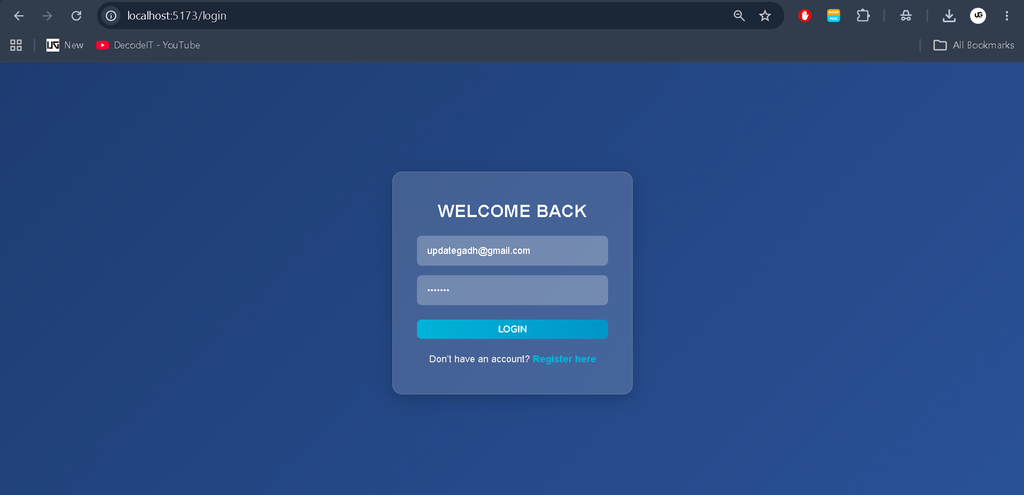
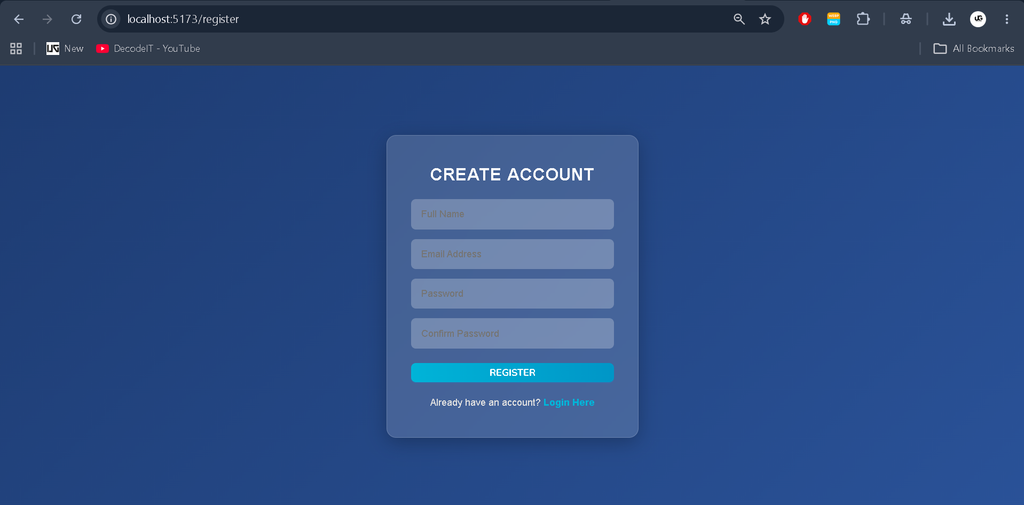
1. User Authentication
- Register a new account.
- Log in to an existing account.
- Access products associated with the logged-in user.
2. Product Management
- Add new products with relevant information.
- View products belonging to the logged-in user.
- Search and filter products using different fields.
- Navigate product records using pagination.
- Update existing product details.
- Delete products when required.
- Create new variants of existing products.
- Record sales for selected products.
3. Sales Management
- View sales records with pagination.
- Update existing sales information.
- Delete sales records when required.
- Manage previously recorded transactions.
4. Sales History
The system organizes sales history according to different time periods:
- Yearly sales history
- Monthly sales history
- Weekly sales history
- Daily sales history
These options help users review sales activity over different periods.
Technologies Used
Frontend Technologies
- React.js
- TypeScript
- JavaScript
- HTML and CSS
- Redux Toolkit for state management
- Ant Design for interface components
- React Router DOM for navigation
Backend Technologies
- Node.js
- Express.js
- TypeScript
- MongoDB for database management
- JWT-based authentication
- Zod for data validation
- Recharts for data visualization
- SweetAlert2 for notifications
The exact availability of individual libraries depends on the dependencies included in the project source code.
Software and Tools Required
- Node.js and npm
- MongoDB or a MongoDB Atlas database
- Visual Studio Code
- A modern web browser
- Inventory Management System source code
How to Download
The complete package is available so you can run, study, and submit it with confidence. It includes:
- Full Source Code
- Project Report
- Synopsis
- PPT Presentation
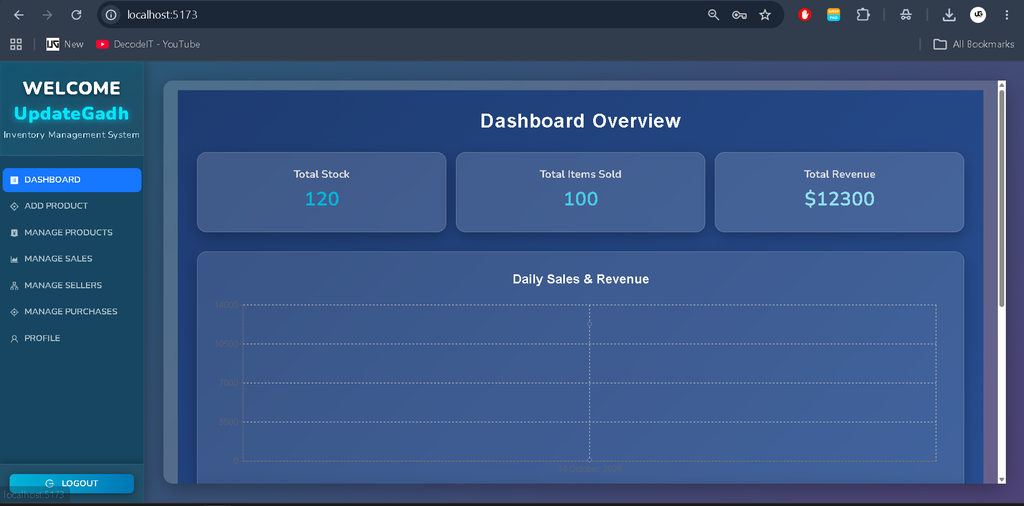
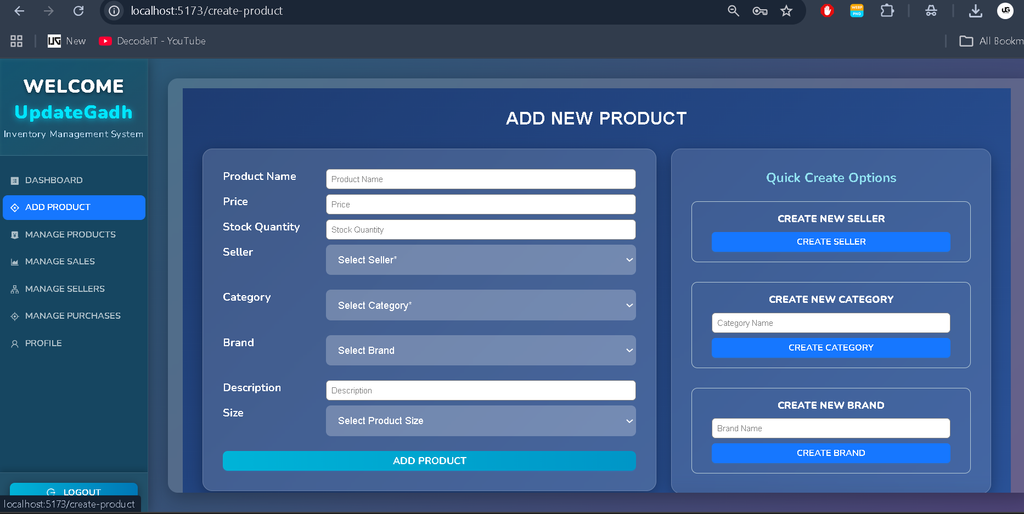
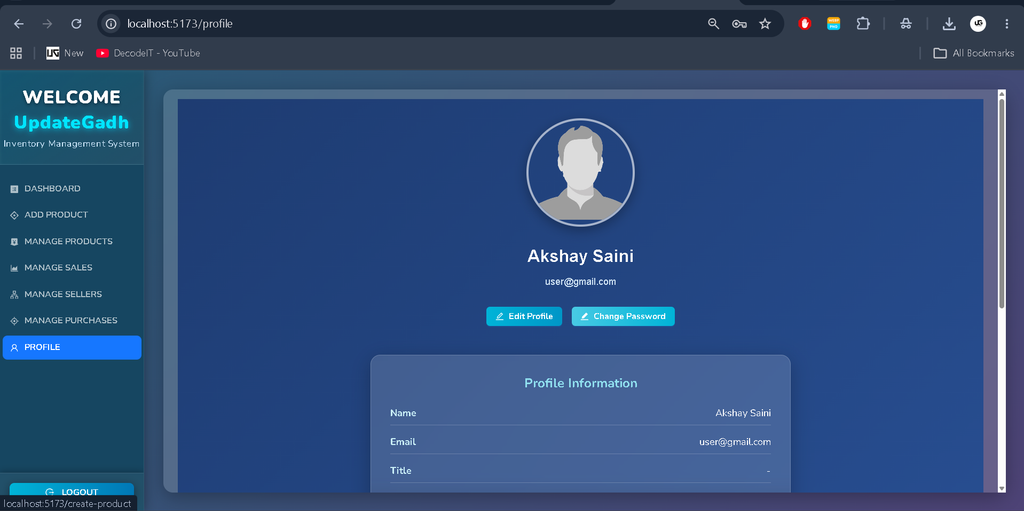
Screenshot
Installation Guide for VS Code
Follow these steps to configure and run the Inventory Management System on your local machine.
Step 1: Open the Project
Extract the project ZIP file and open the project folder in Visual Studio Code.
Step 2: Configure Environment Variables
Create a .env file in the backend project root directory and add the following configuration:
NODE_ENV=dev
PORT=5000
DATABASE_URL=your_mongodb_connection_string
JWT_SECRET=your_jwt_secret
Replace the database URL with your actual MongoDB connection string and use a secure JWT secret. Ensure that the variable names match those expected by the backend source code.
Step 3: Install Backend Dependencies
Open the VS Code terminal in the directory containing the backend’s package.json file and execute:
npm installStep 4: Start the Backend Server
Run the development server using:
npm run devTo start the production server, use the following commands if they are configured in the project’s package scripts:
npm run build
npm start
Step 5: Install Frontend Dependencies
If the project contains a separate frontend directory, open a new terminal and navigate to it:
cd frontend
npm install
Step 6: Start the Frontend
Run the frontend using the command configured in its package.json. For example, if the project uses the start script:
npm startStep 7: Open the Application
Once the frontend and backend are running, open the local frontend URL displayed in the terminal. Ensure that the frontend is configured to communicate with the correct backend API URL.
Live Application: https://mhs-inventory.netlify.app
Backend Server: https://inventory-420.vercel.app
Usage Guide
1. User Authentication
Register a new account or log in using an existing account to access the application’s product management features.
2. Product Management
Create new products, search and filter product records, update product information, delete products, and create variants when required.
3. Sales Management
Record sales against selected products and manage existing transactions. Users can update or delete sales records as needed.
4. Sales History
Review sales history by day, week, month, or year to understand sales activity over different periods.
Why This Project Is Useful for Students
This project provides practical experience in developing a full-stack web application. It combines authentication, database integration, CRUD operations, API communication, form validation, and state management in a single application.
Students can use this project to learn:
- How to structure frontend and backend applications.
- How to integrate React with Node.js and Express.js.
- How to store and retrieve information using MongoDB.
- How to implement product and sales management operations.
- How to work with TypeScript in full-stack development.
- How to manage application state and navigate between pages.
This project is suitable as a final-year BCA, BSc IT, or MCA project and can also serve as a portfolio project for students interested in full-stack web development.
Real-Life Applications
- Retail Stores: Organize product records and manage sales transactions.
- Small Businesses: Maintain product information and review sales history.
- Wholesale Businesses: Manage product variants and recorded sales.
- E-Commerce Businesses: Organize product information and track sales activities.
Conclusion
The Inventory Management System is a useful full-stack project for learning modern web development and understanding digital inventory operations. Its product management, sales management, and sales history features demonstrate how software can help organize routine business activities.
For students, this project offers an opportunity to practice TypeScript, React.js, Node.js, Express.js, and MongoDB while building a practical application that can be presented as a final-year project or included in a development portfolio.
Visit UPDATEGADH for more software projects, programming tutorials, and student resources: https://updategadh.com/
SEO Details
SEO Title: Inventory Management System Full Stack Project
Meta Description: Explore the Inventory Management System full-stack project built with React, TypeScript, Node.js, Express.js, and MongoDB. Learn about features, technologies, and installation steps.
Keywords: Inventory Management System, Inventory Management System Project, Full Stack Inventory Management System, React Inventory Management Project, TypeScript Project, Node.js Project, MongoDB Project, BCA Final Year Project