Event Management System using MERN Stack
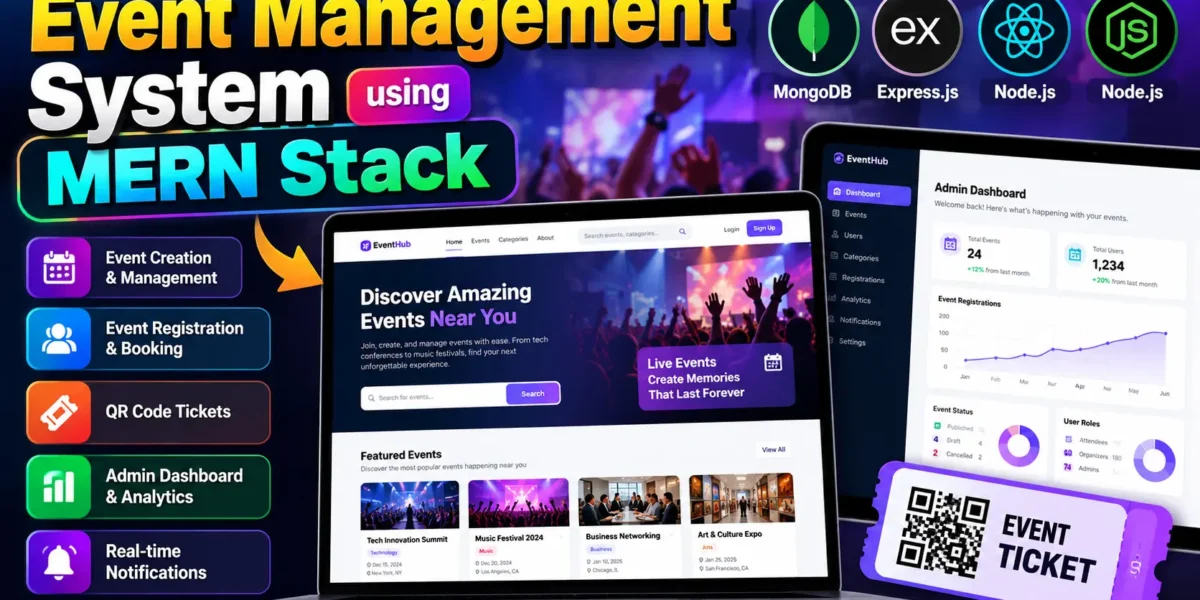
The Event Management System is a full-stack web application designed to simplify event planning, registration, ticket management, and attendee coordination. This project, named EventHub, provides a centralized platform where users can discover events, organizers can publish and manage activities, and administrators can monitor the overall platform.
The application includes event discovery, category-based filtering, event registration, QR-code tickets, waitlist management, profile management, notifications, and an interactive administration dashboard. It is a useful academic project for students who want to understand frontend development, backend APIs, authentication, database operations, and role-based access control.
Table of Contents
Complete Advance AI Topics: Click Here
Real Time Projects on YouTube:- DecodeIT
Project Overview
| Project Detail | Description |
|---|---|
| Project Name | Event Management System using MERN Stack |
| Frontend | React.js, JavaScript, Tailwind CSS |
| Backend | Python Flask |
| Database | SQLite with SQLAlchemy |
| Authentication | Session-based authentication and role-based access |
| Real-Time Communication | Flask-SocketIO and Socket.IO client |
| Charts | Recharts |
Available Features
1. User Registration and Authentication
The application includes user registration, login, email verification, forgot-password, and password-reset functionality. It uses password hashing and server-side sessions to help protect user accounts. Protected routes and authorization checks restrict access to features according to the user’s role.
2. Event Discovery and Search
Users can explore available events through a searchable event listing interface. The application supports keyword searching, category and location filtering, date-range selection, and sorting options. Event details provide information such as the title, description, venue, schedule, category, tags, and registration availability.
3. Event Creation and Management
Organizers can create and manage events by providing details such as the event title, description, category, location, venue, capacity, event dates, and registration deadline. The system supports draft, published, and cancelled event statuses, allowing organizers to manage their listings throughout the event lifecycle.
4. Event Registration and Waitlist
Users can register for available events and manage their registrations from their accounts. Capacity checks help prevent registrations from exceeding the configured event limit. When an event is full, eligible users can join a waitlist, and the application includes logic for promoting waitlisted attendees when a place becomes available.
5. QR-Code Ticket Generation
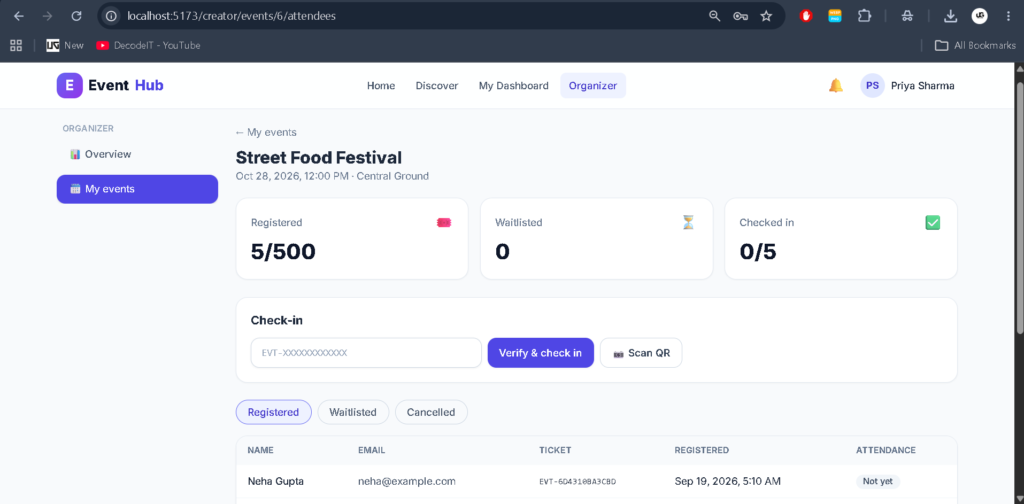
The application generates unique ticket codes for event registrations and can produce QR-code ticket images. A QR scanner component is also included in the frontend, supporting the development of digital ticket verification and event check-in workflows.
6. Admin Dashboard and Analytics
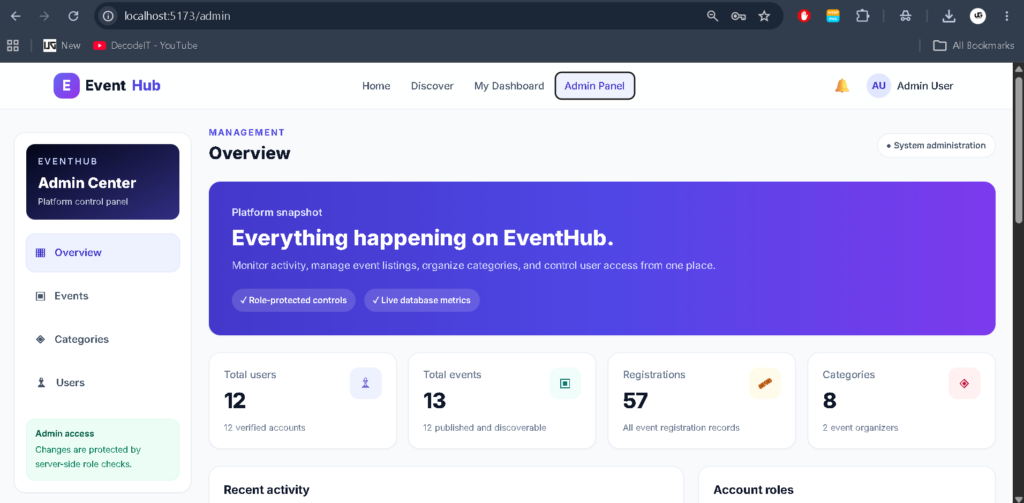
The administration dashboard provides an overview of users, events, categories, registrations, verified users, and organizers. It includes event-status statistics, recent event information, and monthly user and registration trends. Recharts is used to display analytical information through visual charts.
7. Category and User Management
Administrators can manage event categories and oversee user accounts. The administration interface includes searching, role-based filtering, and event management operations. These features help maintain organized event listings and centralized platform administration.
8. Notifications and Real-Time Updates
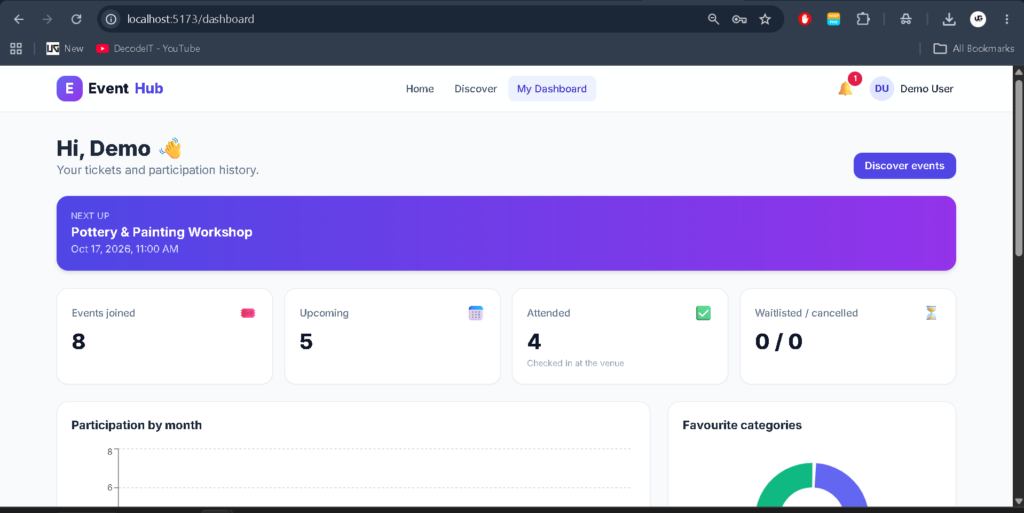
The application includes an in-app notification system with unread counts, read-status management, and notification deletion. Flask-SocketIO and the Socket.IO client provide real-time communication capabilities for notification delivery and event-related rooms.
9. Image Uploads
Authenticated users can upload event-related images. The backend validates permitted image extensions and file signatures before saving uploaded files. The configured upload limit is 5 MB per request.
10. Security and Validation
The backend implements password hashing, role-based authorization, protected API endpoints, input validation, CSRF token checks for API write operations, and permission checks for event management and ticket access.
Technology Stack
- React.js: Builds the interactive user interface and reusable components.
- JavaScript: Implements frontend interactions and application logic.
- Tailwind CSS: Provides styling and responsive layouts.
- Python Flask: Handles backend requests, business logic, and API endpoints.
- SQLAlchemy: Manages database models and database operations.
- SQLite: Provides the default relational database.
- Flask-SocketIO: Supports real-time communication.
- Recharts: Displays dashboard charts and analytical information.
- QR-Code Libraries: Support QR-code ticket generation.
Software Requirements
- Visual Studio Code
- Python compatible with the project’s dependencies
- Node.js and npm compatible with the frontend dependencies
- A modern web browser
- Git (optional)
How to Download
The complete package is available so you can run, study, and submit it with confidence. It includes:
- Full Source Code
- Project Report
- Synopsis
- PPT Presentation
Screenshot
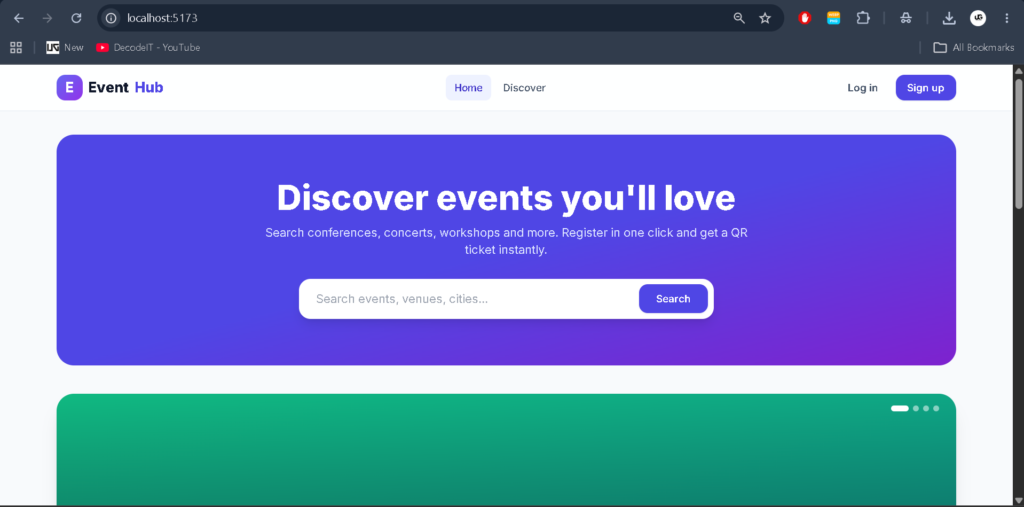
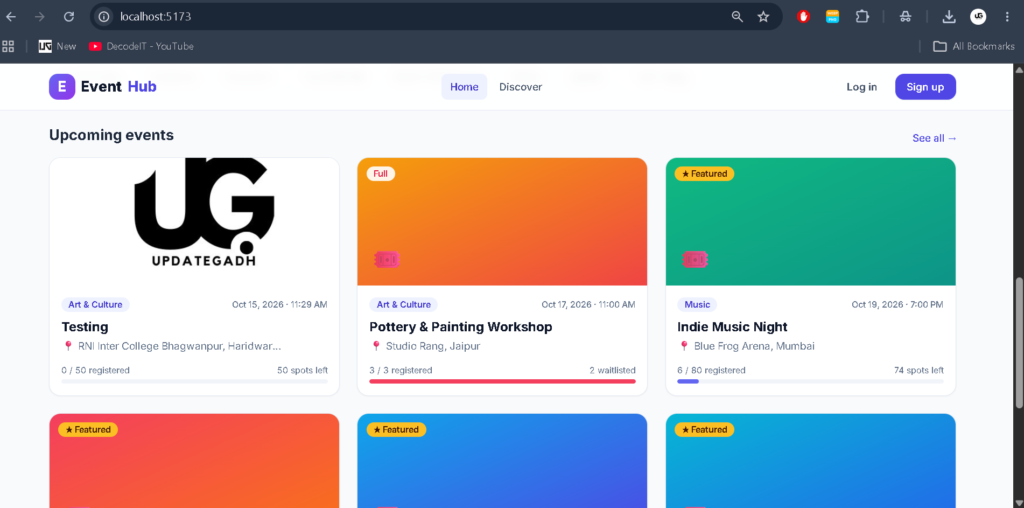
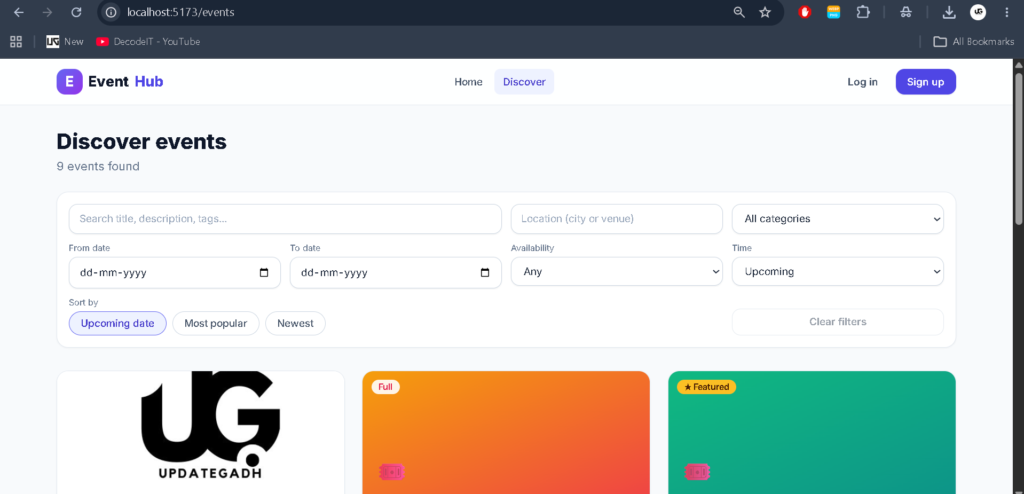
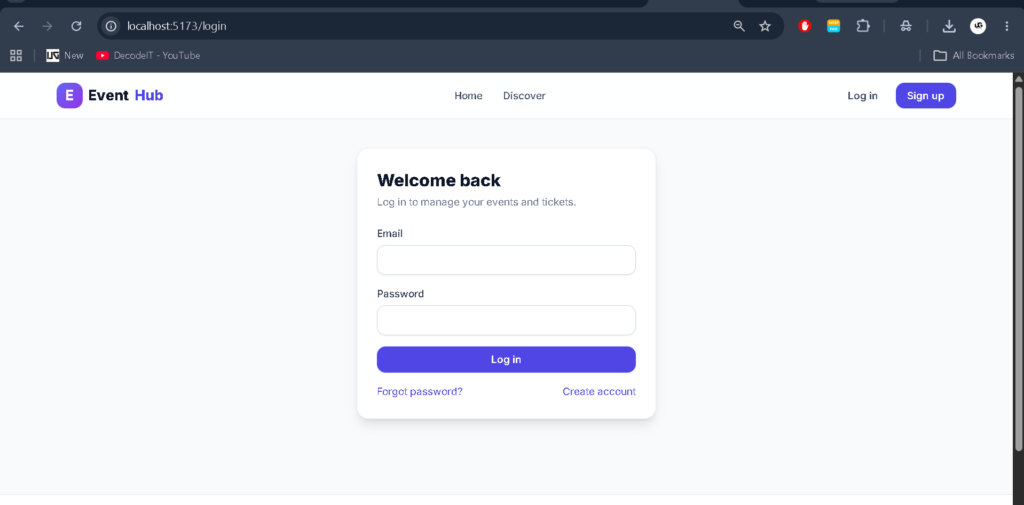
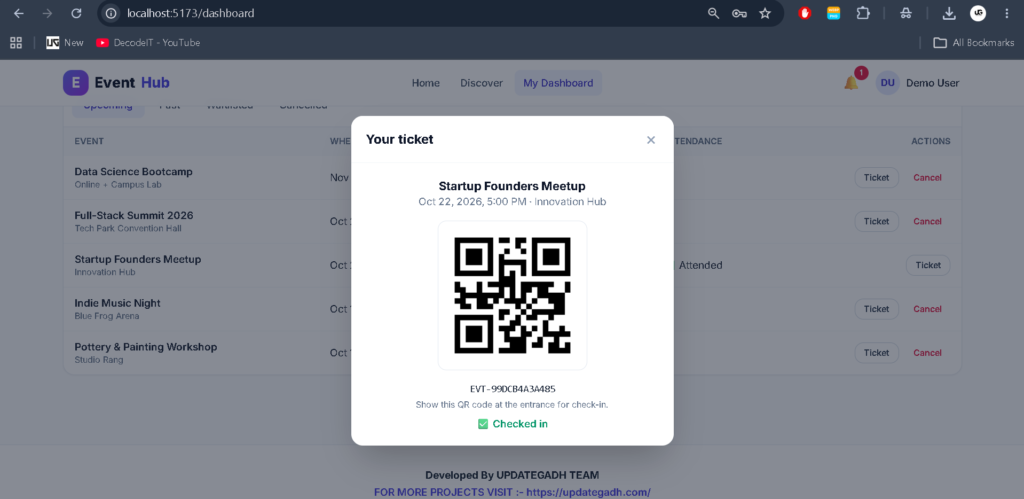
Installation Guide for VS Code
Follow these steps to set up the downloaded Event Management System project on your local computer. Because the uploaded project has separate frontend and backend directories, install their dependencies separately.
Step 1: Extract the Project
Extract the downloaded ZIP file into a suitable folder and open the extracted project directory in Visual Studio Code.
Step 2: Set Up the Backend
Open the VS Code terminal and navigate to the backend directory containing the Flask application.
cd backend
python -m venv venv
Activate the virtual environment on Windows:
venv\Scripts\activateInstall the dependencies using the requirements file if it is present in the backend directory:
pip install -r requirements.txtIf the project uses a different dependency file or has a documented installation process, follow the instructions provided in that directory.
Step 3: Configure Environment Variables
Check the backend configuration and any provided environment-variable example file. Configure the required Flask secret key, database URL, email settings, and other required values according to the project’s existing configuration. Do not publish production credentials or secret keys.
Step 4: Initialize the Database
Check the backend’s database initialization and migration instructions before starting the application. The project uses SQLAlchemy and defaults to SQLite, but the correct initialization command depends on the Flask application configuration and available migration scripts.
Step 5: Start the Backend
Inspect the backend entry point and its Flask configuration to determine the correct startup command. If the project exposes a Flask application through wsgi.py, you can try the following command from the backend directory:
python -m flask --app wsgi run --debugUse this command only if wsgi.py exposes the Flask application under the expected name. Otherwise, use the entry point specified in the project files.
Step 6: Install Frontend Dependencies
Open another terminal and navigate to the frontend directory containing package.json.
cd frontend
npm install
Check the frontend configuration for the backend API URL and any required environment variables. Configure them using the naming convention expected by the application.
Step 7: Start the Frontend
Run the development server using the script defined in the frontend’s package.json file. For a project configured with the standard React development script, the command may be:
npm startIf the project uses Vite or another development tool, use its configured script, such as npm run dev, instead.
Step 8: Open the Application
Open the local frontend URL displayed in the terminal. Ensure the Flask backend is running and the frontend API configuration points to the correct backend address. Configure any required email service before testing email verification and password-reset features.
How to Use the Event Management System
Administrator
The administrator manages platform users, event categories, and event records. The dashboard helps monitor event statuses, registrations, user statistics, and activity trends. Administrative permissions should be assigned only to authorized accounts.
Event Organizer
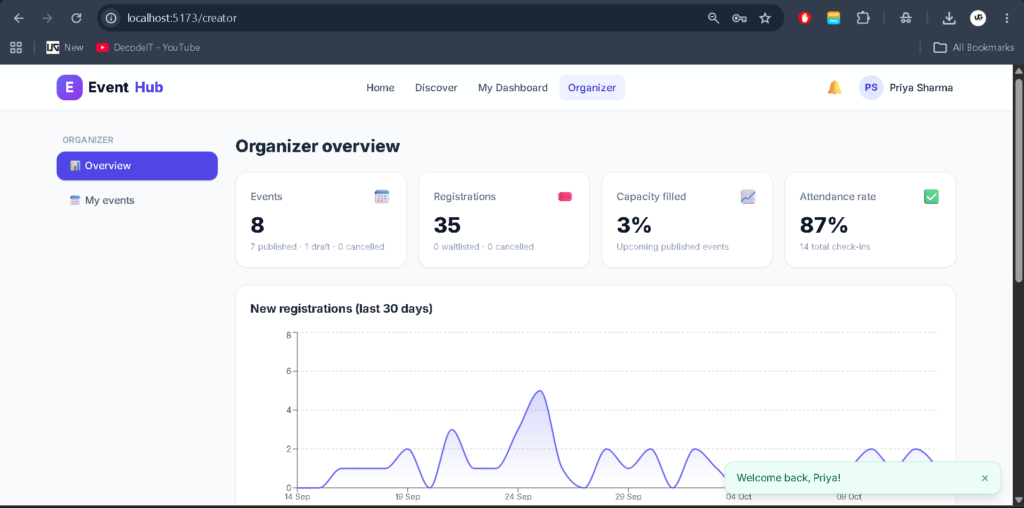
Organizers create event listings, update event information, publish events, manage their event records, and review attendee registrations. They can use the available dashboard and registration information to coordinate event activities.
Attendee
Attendees register for an account, explore available events, search by category or location, register for events, manage their registrations, access QR-code tickets, and review notifications.
Project Benefits
- Helps students understand full-stack web application development.
- Demonstrates authentication and role-based authorization.
- Provides practical experience with event registration and capacity management.
- Introduces QR-code tickets and waitlist workflows.
- Demonstrates interactive dashboards and data visualization.
- Shows how frontend components communicate with backend APIs.
- Provides a foundation for developing larger event booking platforms.
Limitations and Future Enhancements
The current uploaded implementation uses Flask and SQLAlchemy rather than Express.js and MongoDB. To make it a genuine MERN Stack project, the backend would need to be migrated to Node.js and Express.js, the database layer replaced with MongoDB and an appropriate data-access approach, and the frontend API integration updated accordingly.
Additional improvements could include payment gateway integration, calendar synchronization, automated email reminders, downloadable attendance reports, advanced event recommendations, and enhanced ticket validation. These should be treated as future enhancements unless they are implemented and verified in the source code.
Final Thoughts
As a student project, the Event Management System provides an opportunity to understand how event platforms organize users, event information, registrations, and digital tickets. Its combination of a React frontend, Flask backend, database models, notification features, and analytical dashboards demonstrates several important full-stack development concepts.
Keywords: Event Management System using MERN Stack, Event Management System Project, React Event Management System, Event Booking Application, Event Registration System, Event Management Project for Students, Flask Event Management System, QR Code Ticket Management,Event Management System using MERN Stack,Event Management System,Event Management System Event Management System -event management system project event management system project in php event management system project in python with source codeevent management system website event management system project report pdf event management system er diagram event management system project github event management system project report pdf free download event management system images