Install Node.js on Windows
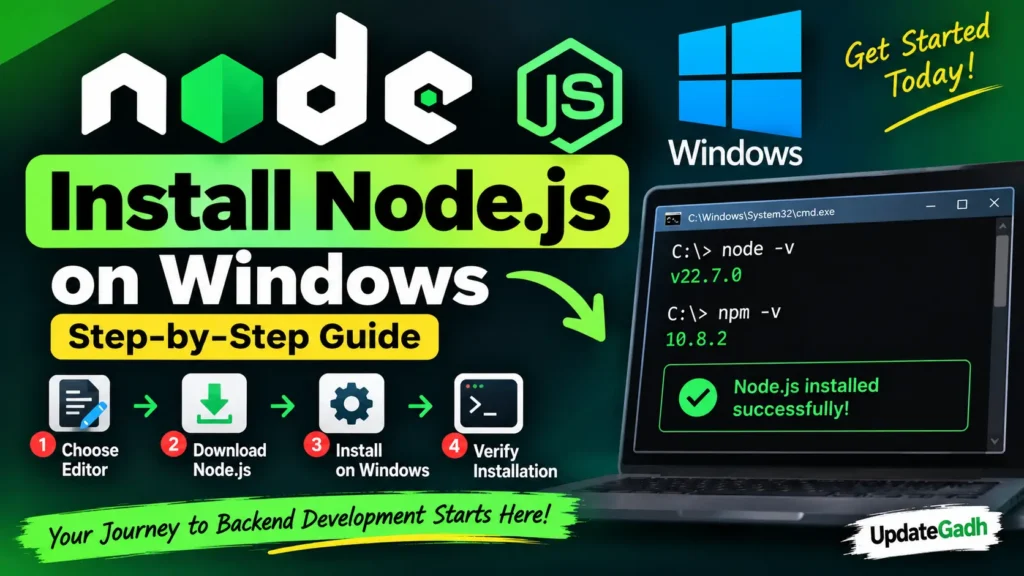
Installing Node.js on Windows is simple and takes only a few steps. To start developing with Node.js, you need a code editor and the Node.js runtime. Node.js also includes npm (Node Package Manager), which is used to install and manage packages.
This tutorial explains how to download, install, verify, and run your first Node.js program on Windows.
1. Choose a Text Editor
Before writing Node.js programs, you need a text editor or code editor. There are several editors available for Windows.
- Visual Studio Code (VS Code) – Recommended, free, and feature-rich.
- Sublime Text – Lightweight and fast.
- Notepad++ – Simple editor with useful programming features.
- Vim – Popular among experienced developers.
- Notepad – Suitable for very basic examples.
Node.js source files are saved with the .js extension.
2. Download Node.js
Download Node.js from the official Node.js website. For most developers, the LTS (Long Term Support) release is a good choice because it is designed for stability and long-term use.
Choose the Windows installer appropriate for your system and download the .msi installation file.
Complete Advance AI Topics: Click Here
SQL Tutorial: Click Here
3. Install Node.js on Windows
After downloading the installer, follow these steps to install Node.js:
- Open the downloaded
.msiinstaller. - Accept the Node.js License Agreement.
- Choose the installation location or keep the default path.
- Keep the default components selected, including npm.
- Continue through the installation wizard.
- Click Install to begin the installation.
- Wait for the installation to complete and click Finish.
The installer normally configures Node.js so that the node and npm commands can be used from Command Prompt or PowerShell.
4. Verify Node.js Installation
Once the installation is complete, open Command Prompt or PowerShell and check the installed versions.
node -v
npm -v
The commands should display version numbers. For example:
node -v
v22.x.x

npm -v
10.x.x
If both commands return version information, Node.js and npm have been installed successfully.
5. Run Your First Node.js Program
Now you can create your first Node.js application. Create a file named hello.js and add the following code:
// File: hello.js

console.log("Hello UpdateGadh from Node.js");
Open the terminal in the folder containing the file and run:
node hello.jsYou should see the following output:
Hello UpdateGadh from Node.js6. Bonus: Use nvm-windows for Multiple Node.js Versions
Developers sometimes need different Node.js versions for different projects. In this situation, nvm-windows can be useful because it allows you to install and switch between multiple Node.js versions.
This is especially helpful when an older project requires a different Node.js version than a newer application.
YT:- DecodeIT
Common Node.js Installation Commands
| Command | Purpose |
|---|---|
node -v | Displays the installed Node.js version. |
npm -v | Displays the installed npm version. |
node hello.js | Runs a Node.js JavaScript file. |
Conclusion
Installing Node.js on Windows is a straightforward process. First, choose a code editor, download the Node.js installer, complete the installation, and verify it using node -v and npm -v.
After installation, you can start creating JavaScript applications that run outside the browser. You can then explore npm, Node.js modules, HTTP servers, Express, and other Node.js development tools.
Keywords
node js install, Node.js install on Windows, install Node.js, Node.js installation, Node.js Windows, Node.js setup, Node.js download, Node.js LTS, npm installation, Node.js tutorial, Node.js beginner guide, Node.js first program, nvm-windows