NestJS Tutorial
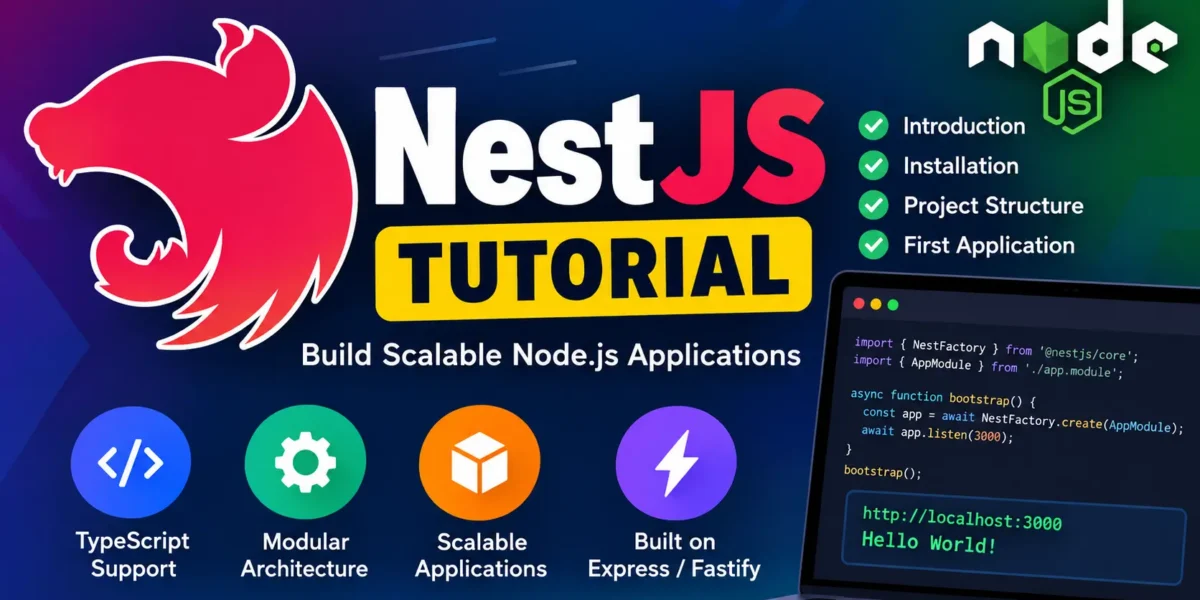
Welcome to this detailed tutorial on NestJS. This guide will help you understand NestJS from the basics and show you how to create and run your first NestJS application. You will also learn about its project structure, modules, controllers, services, and dependency injection.
What is NestJS?
NestJS is a powerful Node.js framework used to build scalable, maintainable, and efficient server-side applications. It is built with TypeScript and provides complete TypeScript support, while JavaScript can also be used.
NestJS uses Express.js by default as its underlying HTTP server framework. It can also be configured to use Fastify when required.
The framework combines concepts from Object-Oriented Programming (OOP), Functional Programming (FP), and Functional Reactive Programming (FRP). Its modular architecture makes it easier to organize and maintain large applications.
How NestJS Works
NestJS provides an abstraction layer over HTTP server frameworks such as Express and Fastify. Developers can use NestJS decorators, modules, controllers, and services while NestJS manages the underlying server functionality.
This architecture makes it easier to create modular applications and integrate third-party Node.js packages, APIs, databases, and other services.
Complete Advance AI Topics: Click Here
SQL Tutorial: Click Here
Installing NestJS
Before creating a NestJS application, make sure that Node.js and npm are installed on your system.
Install the NestJS CLI globally using the following command:
npm i -g @nestjs/cliAfter installation, verify the NestJS CLI version:
nest --versionNow create a new NestJS project:
nest new my-nestjs-01This command creates a new folder named my-nestjs-01 and installs the required dependencies for the project.
NestJS Project Structure
After creating the project, open the my-nestjs-01 folder. Most of the application development takes place inside the src directory.
The main files include:
- main.ts: Entry point of the NestJS application.
- app.module.ts: Defines the root module.
- app.controller.ts: Handles incoming HTTP requests and routes.
- app.service.ts: Contains business logic and reusable service methods.
- app.controller.spec.ts: Contains tests for the controller.
main.ts
import { NestFactory } from '@nestjs/core';
import { AppModule } from './app.module';

async function bootstrap() {
  const app = await NestFactory.create(AppModule);
  await app.listen(3000);
}

bootstrap();
The main.ts file is the entry point of the application. The NestFactory.create() method creates a NestJS application using AppModule.
The app.listen(3000) method starts the server on port 3000.
app.module.ts
import { Module } from '@nestjs/common';
import { AppController } from './app.controller';
import { AppService } from './app.service';

@Module({
  imports: [],
  controllers: [AppController],
  providers: [AppService],
})
export class AppModule {}
The @Module decorator defines the structure of a NestJS module. It allows you to organize controllers, providers, imports, and other application components.
Controllers handle incoming requests, while providers are commonly used for business logic and reusable services.
AppModule is the root module of the application and connects the main components of the application.
YT:- DecodeIT
app.controller.ts
import { Controller, Get } from '@nestjs/common';
import { AppService } from './app.service';

@Controller()
export class AppController {
  constructor(private readonly appService: AppService) {}

  @Get()
  getHello(): string {
    return this.appService.getHello();
  }
}
The AppController handles requests for the application. The @Controller() decorator defines the controller, while the @Get() decorator creates a GET route for the root URL.
The controller uses dependency injection to access the AppService. This keeps the controller focused on handling requests while the service manages the application logic.
app.service.ts
import { Injectable } from '@nestjs/common';

@Injectable()
export class AppService {
  getHello(): string {
    return 'Hello World!';
  }
}
The @Injectable() decorator marks the AppService as a provider that can be injected into controllers or other services.
The getHello() method returns the message Hello World!.
Running the NestJS Application
To start the NestJS application, run the following command inside your project directory:
npm run startOnce the server starts successfully, open the following URL in your browser:
http://localhost:3000You should see the following output:
Hello World!This confirms that your NestJS application is running successfully and that the root GET route is working correctly.
Summary
In this tutorial, you learned the fundamentals of NestJS, including its architecture, installation process, project structure, modules, controllers, services, and dependency injection.
You also created a basic NestJS application, started the development server, and accessed the application through a browser. These concepts provide the foundation for building larger and more scalable NestJS applications.
Keywords
NestJS, NestJS Tutorial, NestJS Framework, Node.js NestJS, NestJS Installation, NestJS CLI, NestJS Project Structure, NestJS Controller, NestJS Service, NestJS Module, NestJS Dependency Injection, TypeScript NestJS, NestJS Application NestJS Tutorial, NestJS Framework, NestJS Installation, NestJS CLI, NestJS Project Structure, NestJS Controller, NestJS Service, NestJS Module, NestJS Dependency Injection, Node.js NestJS, TypeScript NestJS, NestJS for Beginners, Learn NestJS, NestJS Application, NestJS Server-side Framework