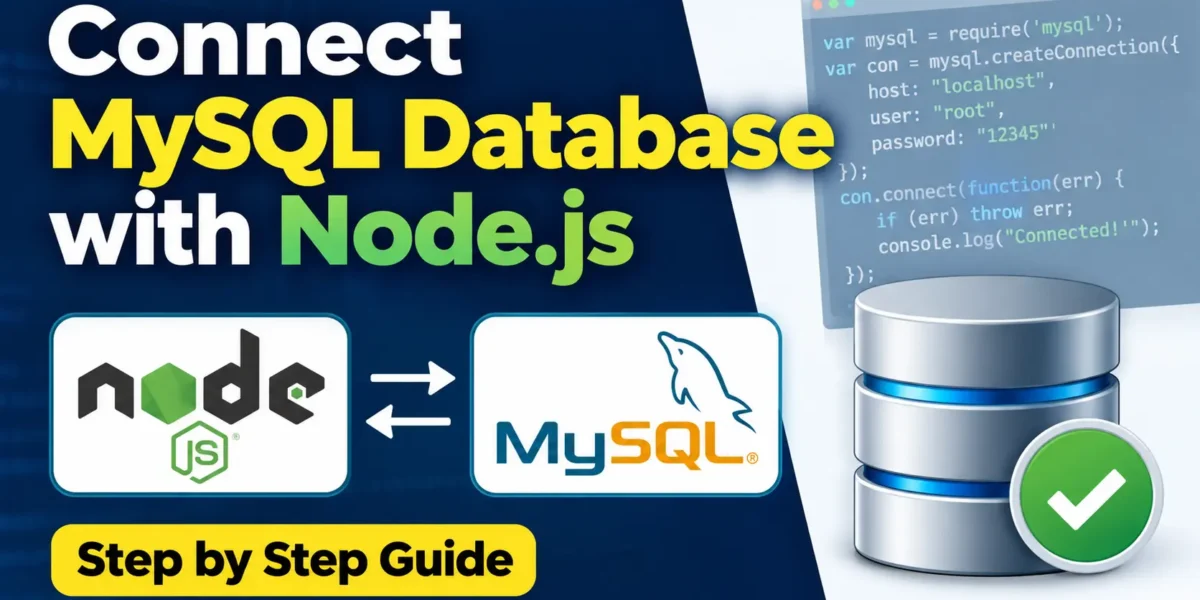
Connect MySQL Database with Node.js
Connecting a MySQL database with Node.js allows your application to store, retrieve, and manage data efficiently. To establish a connection, you need to install the MySQL driver and configure your database connection details.
In this tutorial, you will learn how to connect a Node.js application to a MySQL database step by step.
Step 1: Install the MySQL Module
Before connecting Node.js to MySQL, install the mysql module from npm.
Open your Command Terminal and run the following command:
npm install mysqlThis command installs the MySQL driver in your Node.js project. The driver allows your application to communicate with the MySQL server.
Complete Advance AI Topics: Click Here
SQL Tutorial: Click Here
Step 2: Create a Project Folder
Next, create a folder for your Node.js project. For this example, we will create a folder named DBexample.
Inside the folder, create a JavaScript file named connection.js.
Your project structure should look like this:
DBexample/
    connection.js
Step 3: Connect Node.js to MySQL
Open the connection.js file and add the following code:
var mysql = require('mysql');

var con = mysql.createConnection({
  host: "localhost",
  user: "root",
  password: "12345"
});

con.connect(function(err) {
  if (err) throw err;
  console.log("Connected!");
});
Explanation of the Code
require('mysql')loads the MySQL module into the Node.js application.mysql.createConnection()creates a connection object using the MySQL server credentials.hostspecifies the MySQL server address. In this example, it islocalhost.userspecifies the MySQL username.passwordspecifies the password for the MySQL user.con.connect()attempts to establish a connection with the MySQL server.console.log("Connected!")displays a success message when the connection is established.
Make sure you replace the host, user, and password values with the credentials configured on your MySQL server.
Step 4: Run the Node.js Connection File
After saving the connection.js file, open the Command Terminal and navigate to your project folder.
Run the following command:
node connection.jsIf the connection is successful, you will see the following output in the terminal:
YT:- DecodeIT
Connected!This message confirms that your Node.js application has successfully connected to the MySQL server.
Conclusion
In this tutorial, you learned how to connect a MySQL database with Node.js using the mysql module. You installed the MySQL driver, created a project, configured the database connection, and tested the connection using Node.js.
This connection is the foundation for performing database operations such as creating tables, inserting records, updating data, deleting records, and retrieving information from MySQL.
Keywords
Node.js MySQL, connect MySQL with Node.js, Node.js database connection, MySQL connection in Node.js, Node.js MySQL tutorial, mysql npm module, Node.js database tutorial, connect Node.js to MySQL
Connect MySQL Database with Node.js
Connecting a MySQL database with Node.js allows your application to store, retrieve, and manage data efficiently. To establish a connection, you need to install the MySQL driver and configure your database connection details.
In this tutorial, you will learn how to connect a Node.js application to a MySQL database step by step.
Step 1: Install the MySQL Module
Before connecting Node.js to MySQL, install the mysql module from npm.
Open your Command Terminal and run the following command:
npm install mysqlThis command installs the MySQL driver in your Node.js project. The driver allows your application to communicate with the MySQL server.
Step 2: Create a Project Folder
Next, create a folder for your Node.js project. For this example, we will create a folder named DBexample.
Inside the folder, create a JavaScript file named connection.js.
Your project structure should look like this:
DBexample/
    connection.js
Step 3: Connect Node.js to MySQL
Open the connection.js file and add the following code:
var mysql = require('mysql');

var con = mysql.createConnection({
  host: "localhost",
  user: "root",
  password: "12345"
});

con.connect(function(err) {
  if (err) throw err;
  console.log("Connected!");
});
Explanation of the Code
require('mysql')loads the MySQL module into the Node.js application.mysql.createConnection()creates a connection object using the MySQL server credentials.hostspecifies the MySQL server address. In this example, it islocalhost.userspecifies the MySQL username.passwordspecifies the password for the MySQL user.con.connect()attempts to establish a connection with the MySQL server.console.log("Connected!")displays a success message when the connection is established.
Make sure you replace the host, user, and password values with the credentials configured on your MySQL server.
Step 4: Run the Node.js Connection File
After saving the connection.js file, open the Command Terminal and navigate to your project folder.
Run the following command:
node connection.jsIf the connection is successful, you will see the following output in the terminal:
Connected!This message confirms that your Node.js application has successfully connected to the MySQL server.
Conclusion
In this tutorial, you learned how to connect a MySQL database with Node.js using the mysql module. You installed the MySQL driver, created a project, configured the database connection, and tested the connection using Node.js.
This connection is the foundation for performing database operations such as creating tables, inserting records, updating data, deleting records, and retrieving information from MySQL.
Keywords
Node.js MySQL, connect MySQL with Node.js, Node.js database connection, MySQL connection in Node.js, Node.js MySQL tutorial, mysql npm module, Node.js database tutorial, connect Node.js to MySQL Node.js MySQL, Connect MySQL with Node.js, Node.js Database Connection, MySQL Connection in Node.js, Node.js MySQL Tutorial, MySQL npm Module, Node.js Database Tutorial, Connect Node.js to MySQL, MySQL Database, Node.js Tutorial