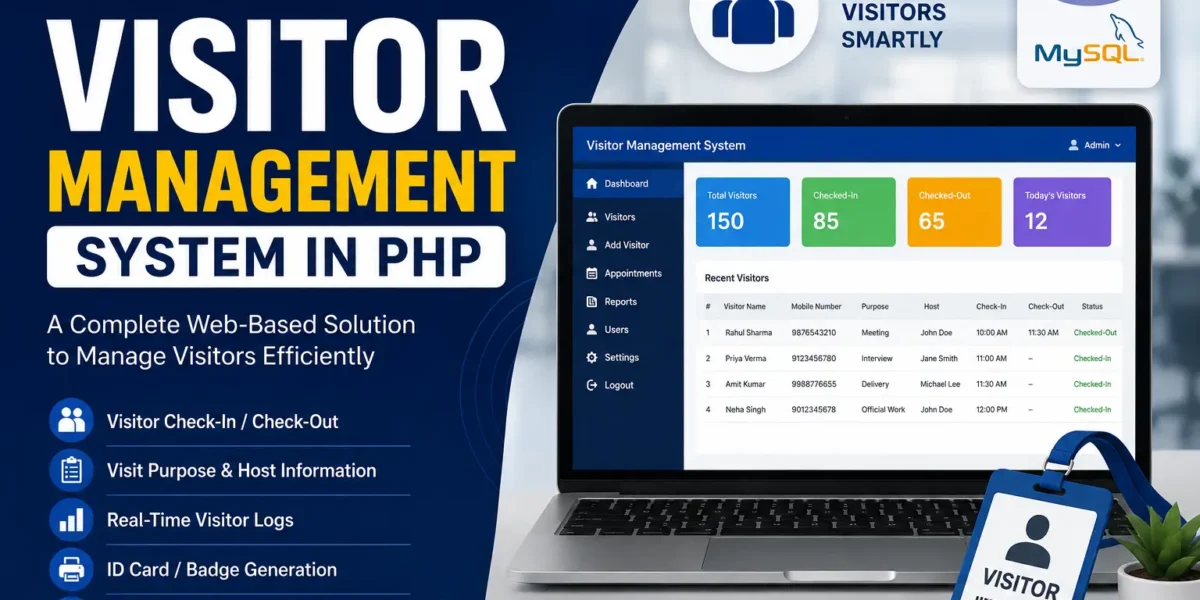
Visitor Management System in PHP
The Visitor Management System in PHP is a web-based application designed to manage and maintain visitor information in an organized way. Keeping proper visitor records is important for organizations that need to monitor visitors and maintain information about their entry and exit. This project provides a simple platform where visitor details, employee information, department details, and visitor activity can be managed through dedicated sections.
The system is developed using PHP and CSS and provides separate interfaces for the Admin and User (Guard). The admin section is used for managing employees, departments, visitors, reports, and users, while the guard section is mainly used for recording visitor check-in and check-out information.
Table of Contents
Visitor Management System
Managing visitor records manually can make it difficult to maintain accurate information about people entering and leaving an organization. The Visitor Management System provides a centralized web-based solution for recording and managing these details.
The application allows visitor information to be entered and maintained through the system. It also keeps employee and department information organized so that the administrator can manage the available records from the admin interface.
The system is designed with two main sections. The first is the Admin Section, where the administrator can manage employees, departments, visitor records, reports, and users. The second is the User or Guard Section, where guards can add visitor details and record their check-in and check-out times.
This structure separates administrative activities from the visitor registration process and allows the system to be used according to the responsibilities of each user role.
Project Overview
The Visitor Management System is a lightweight web-based application built using PHP and CSS. It provides the required sections for managing visitor and employee-related information.
The admin can manage employee data and department information through the system. Visitor records can also be viewed and filtered according to specific dates. The report section allows administrators to generate reports related to visitor activity.
Users such as security guards or receptionists can use the user interface to enter visitor information. They can record both the check-in and check-out time of visitors, helping maintain an organized visitor log.
The application provides a simple interface so that both administrators and guards can operate the available functions without a complicated workflow.
Admin Section
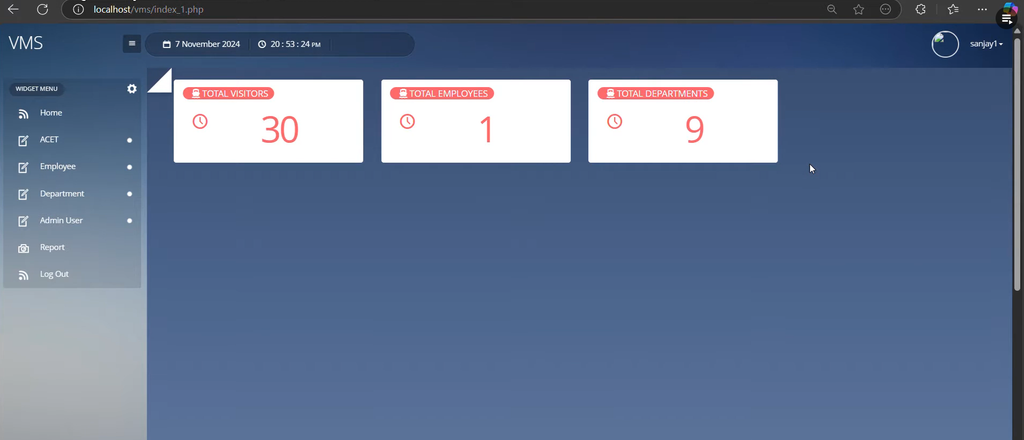
The Admin Section provides the main management functionality of the Visitor Management System. The administrator has access to the different sections required for managing employees, departments, visitors, reports, and users.
Employee and Department Management
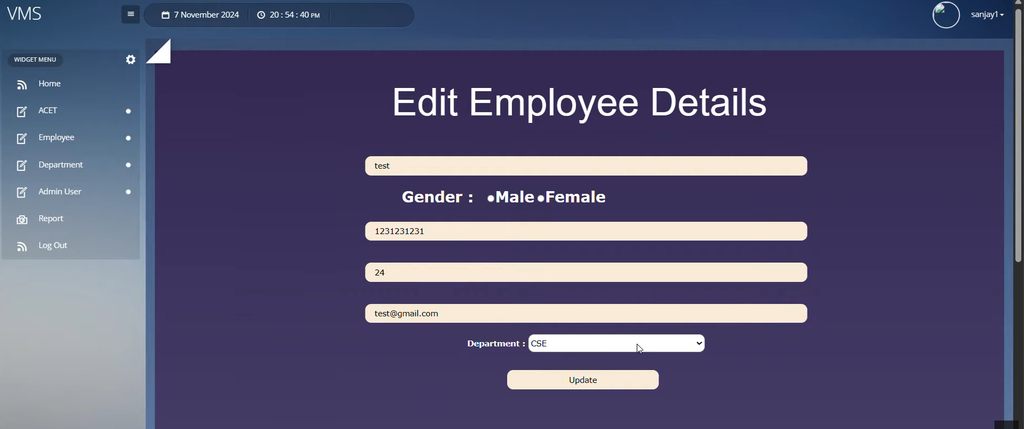
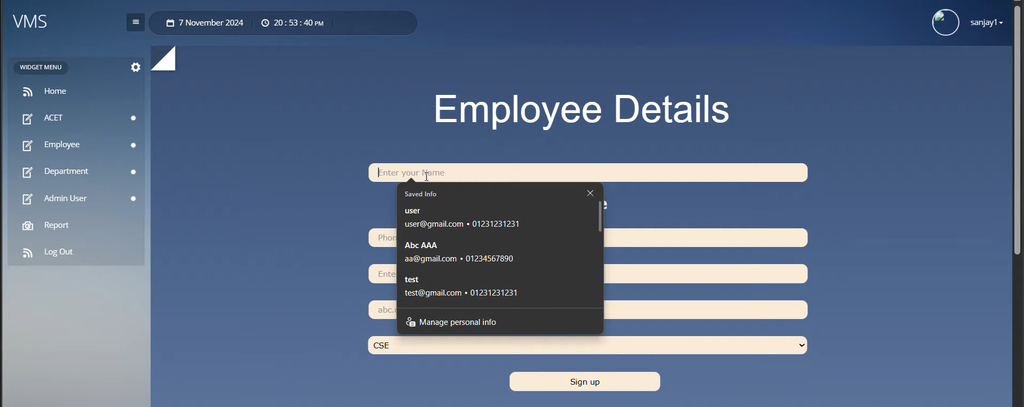
The employee and department management section allows the administrator to manage employee information and department details. Keeping these records updated helps organize personnel information within the system.
The administrator can manage employee data and departments from the admin interface. This provides a dedicated area where the available employee and department information can be maintained.
Visitor Records
The Visitor Records section allows administrators to view visitor logs stored in the system. The records can be filtered by specific dates, making it easier to review visitor activity for a particular period.
Date-based filtering provides a convenient way to find visitor information without having to review all records manually. This makes the visitor record section useful when checking previously recorded visitor activity.
Report Generation
The Report Generation feature allows the administrator to generate reports related to visitor activity. These reports provide an overview of the visitor records maintained by the system.
Visitor activity reports can be used to review the recorded information and understand visitor traffic within the organization. The report section gives administrators access to the visitor information in a more organized form.
User Management
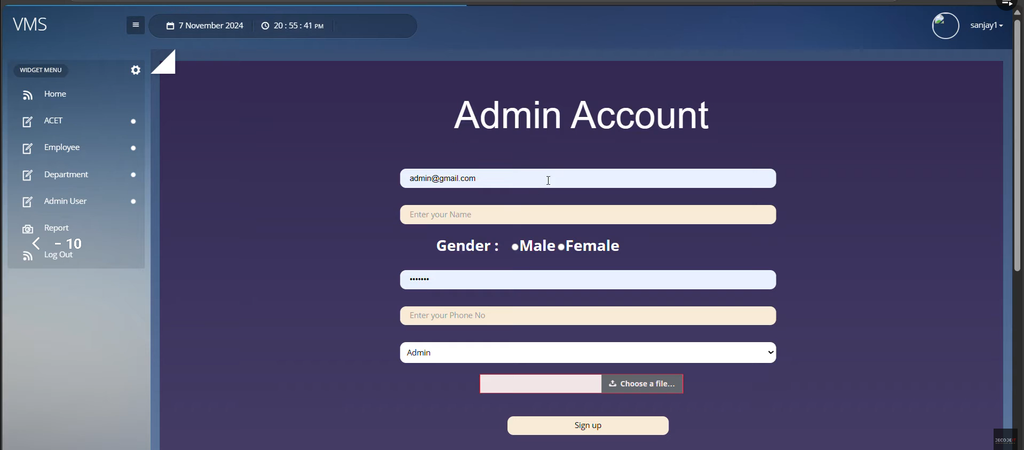
The User Management section is used by the administrator to manage users of the system. These users are typically security personnel or receptionists who are responsible for entering visitor information.
By managing users through the admin section, the system can keep the user accounts organized and provide role-based access to the available functionality.
User or Guard Section
The User (Guard) Section is designed for security guards or other users responsible for registering visitors. The main function available in this section is visitor check-in and check-out.
Visitor Check-In and Check-Out
Guards can enter visitor information through the system when a visitor arrives. The application records the visitor’s check-in time as part of the visitor record.
When the visitor leaves, the guard can record the check-out time. By maintaining both check-in and check-out information, the system keeps a record of the visitor’s activity.
This functionality helps streamline the visitor registration process and provides an organized method for maintaining visitor logs.
Key Features
1. User-Friendly Interface
The system provides a simple and intuitive interface for both administrators and guards. The straightforward design makes it easier for users to navigate through the available sections and perform their required tasks.
Administrators can access the management sections, while guards can use the visitor registration functionality without needing to navigate through unnecessary administrative options.
2. Data Organization
The application keeps records organized into dedicated sections for employees, departments, and visitors. This structure allows users to access the required information more easily.
Instead of keeping visitor, employee, and department information separately, the system provides a centralized interface for managing these records.
3. Report Generation
The report feature allows administrators to obtain information about visitor activity. These reports provide insights into visitor traffic and can help with reviewing the visitor records maintained by the system.
The administrator can use the available visitor information and reports to review activity over the required period.
4. Secure Access
The system provides different user roles for administrators and guards. This role-based structure ensures that users can access the functions associated with their role.
Administrators have access to management functionality, while guards are provided with the visitor check-in and check-out functionality required for visitor registration.
How to Run Visitor Management System in PHP
To run the Visitor Management System in PHP on a local computer, you need to configure a virtual server environment using XAMPP. The project files need to be placed in the XAMPP htdocs directory and the required database needs to be imported through phpMyAdmin.
Step 1: Download and Install XAMPP
First, download and install XAMPP on your computer. XAMPP provides the local server environment required to run the PHP project.
After installation is complete, open the XAMPP Control Panel and make sure that the required services are available.
Step 2: Start Apache and MySQL
Open the XAMPP Control Panel and start the Apache and MySQL services.
Both services are required for running the PHP application and connecting the project with its MySQL database.
Step 3: Extract Project Files
After downloading the project, extract the provided project ZIP file on your computer.
Locate the main project folder after extraction. The project folder used for this system is referred to as vms.
Step 4: Move the Project to XAMPP Folder
Copy the main project folder and place it inside the XAMPP htdocs directory.
xampp/htdocs/For example, if the project folder is named vms, it should be placed inside the htdocs directory so that the local Apache server can access the project files.
Step 5: Create the Database
After placing the project files in the XAMPP directory, create the required database using phpMyAdmin.
- Open your browser.
- Open phpMyAdmin.
- Click on the Databases tab.
- Create a new database named vms.
- Select the newly created vms database.
- Open the Import tab.
- Browse for the vms(2).sql file included inside the project folder.
- Click Go to import the database.
Once the SQL file has been imported successfully, the required database information will be available for the project.
Step 6: Launch the Application
After completing the project and database setup, open the Visitor Management System through your browser using the local project address.
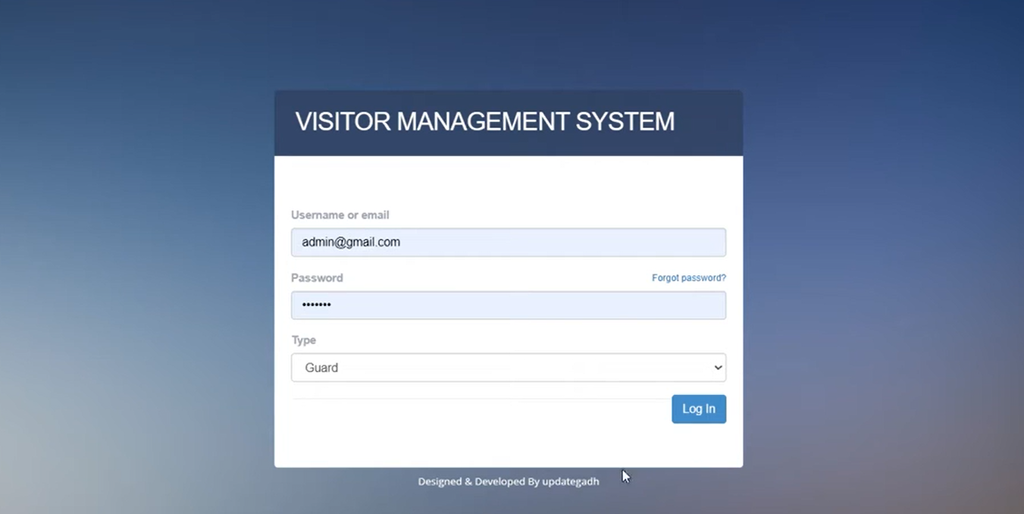
Once the application is opened, users can log in according to their assigned role. The system allows users to access either the admin section or the guard section.
The administrator can explore the management features, while the guard can use the visitor registration functionality to record visitor check-in and check-out information.
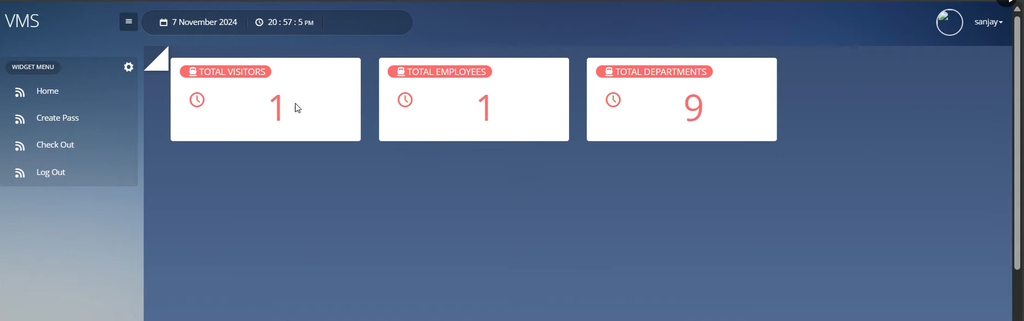
Screenshot:-
How to Download
Get This Project
The complete package is available so you can run, study, and submit it with confidence. It includes:
- Full Source Code
- Project Report
- Synopsis
- PPT Presentation
For any queries or a quick response, reach out on WhatsApp: +91 79834 34684
Keywords:-
- visitor management system in php github
- visitor management system in php pdf
- visitor management system in php example
- company visitor management system project
- company visitor management system project report pdf
- pos system in php
- transport management system project in php
- expense management system project in php