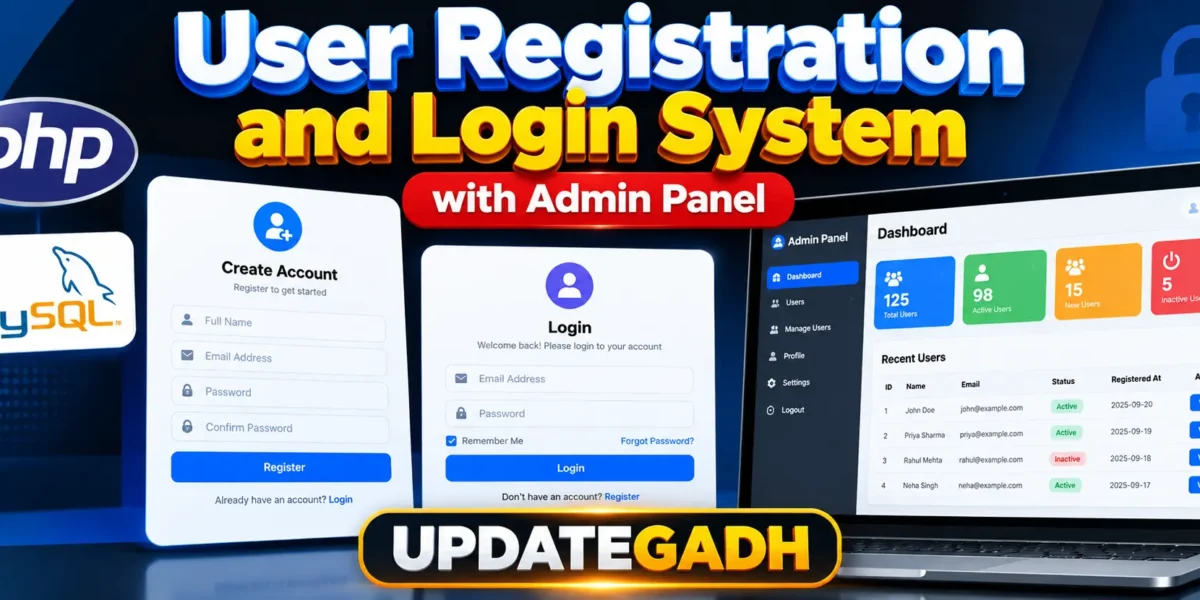
User Registration and Login System
Introduction
Looking for a secure and customizable User Registration and Login System with Admin Panel built using PHP and MySQL? This project provides a practical web-based solution for managing user registration, login, sessions, and administrative access from a single application.
The system is suitable for developers, students, and small businesses who need a simple authentication mechanism with an integrated admin dashboard. It demonstrates how PHP and MySQL can be combined to create a functional registration and login workflow with session handling and database connectivity.
Complete Advance AI Topics: Click Here
Real Time Projects on YouTube:- DecodeIT
Project Details
| Field | Information |
|---|---|
| Project Name | User Registration and Login System with Admin Panel |
| Language/s Used | PHP |
| PHP Version | 5.6.3, 7.4.12 (Recommended) |
| Database | MySQL |
| Type | Web Application |
Available Features
Based on the actual project files, the following features are included:
- User Registration
- Secure User Login with Session Handling
- Admin Login Dashboard
- Logout Functionality
- Responsive Admin Panel Interface
- MySQL Database Integration
- PHP
mysqli-based Secure Connection
Complete Run
To run the User Registration and Login System smoothly on your local server, follow the setup steps below.
Requirements
- XAMPP, WAMP, or another local server supporting PHP and MySQL
- Recommended PHP Version: 5.6.3 or 7.4.12
- MySQL
- phpMyAdmin
- A web browser
- The complete project source code
Download complete source code
Screenshot
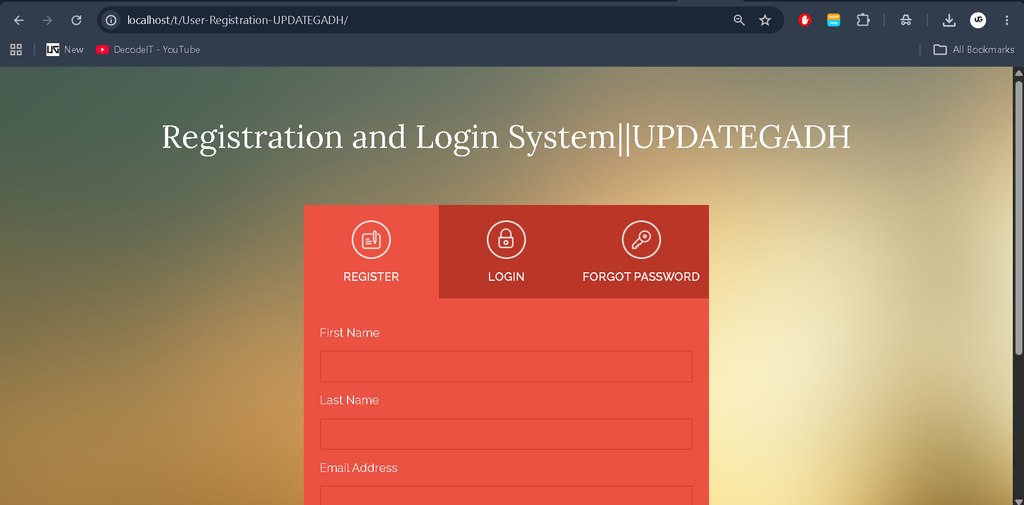
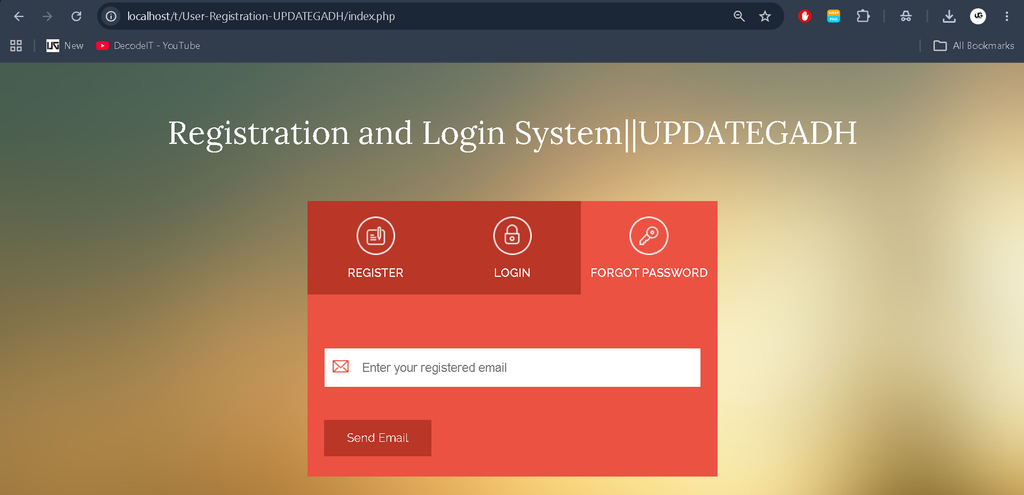
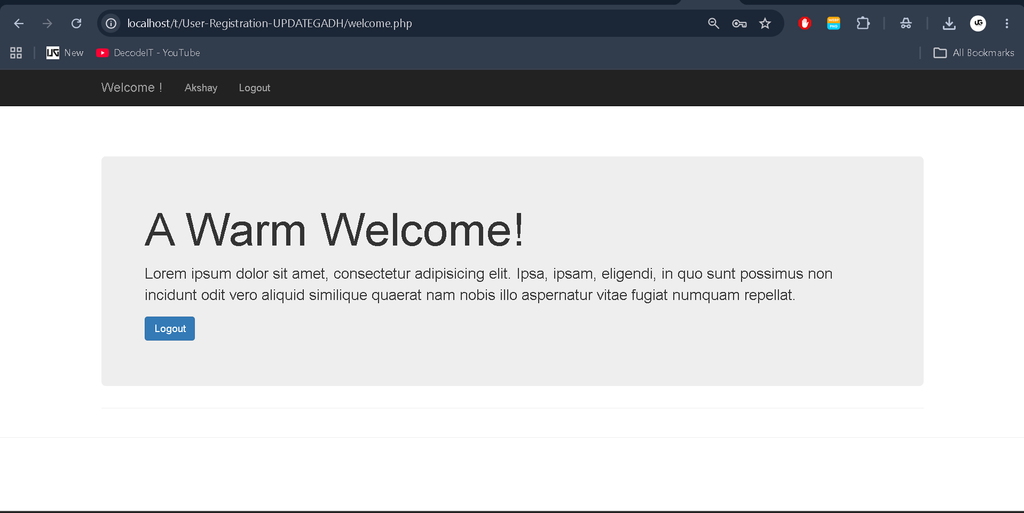
Step 1: Download and Extract
Download the project ZIP file and extract its contents.
Copy the extracted project folder into the root directory of your local server:
- For XAMPP:
C:/xampp/htdocs/ - For WAMP:
C:/wamp/www/
Make sure the project files are placed inside the appropriate server directory before continuing with the database configuration.
Step 2: Setup the Database
Open phpMyAdmin from your browser.
Create a new MySQL database named:
loginsystemThis database name is referenced in the project’s dbconnection.php file.
After creating the database, import the provided SQL file if it is included with the project. If an SQL file is not provided, create the required database tables according to the structure used by the project files.
Step 3: Configure Database Connection
Open the following file from the project directory:
dbconnection.phpCheck the database connection settings and make sure the database name, username, password, and server details match your local MySQL configuration.
The project uses PHP’s mysqli functionality for connecting the application with the MySQL database.
Step 4: Start the Local Server
Open the XAMPP or WAMP control panel and start the required services.
For XAMPP, start:
Apache
MySQL
Make sure both services are running successfully before opening the project in your browser.
Step 5: Run the Project
Open your browser and access the project through your local server URL.
http://localhost/project-folder/Replace project-folder with the actual name of the extracted project directory.
Once the application opens, you can register a new user and test the login functionality.
Depending on the user type and authentication flow, the user may be redirected to the appropriate page, such as the admin dashboard or welcome page.
Keywords
user registration and login system with admin panel, admin and user login in php mysql source code github, registration and login form in php with mysql source code, login and registration form in php source code, php login system, login system php source code, user management system in php mysql source code, php-login system github, user registration and login system, codeigniter 3 user registration and login system, user registration and login system with admin panel, user registration and login system using php with source code