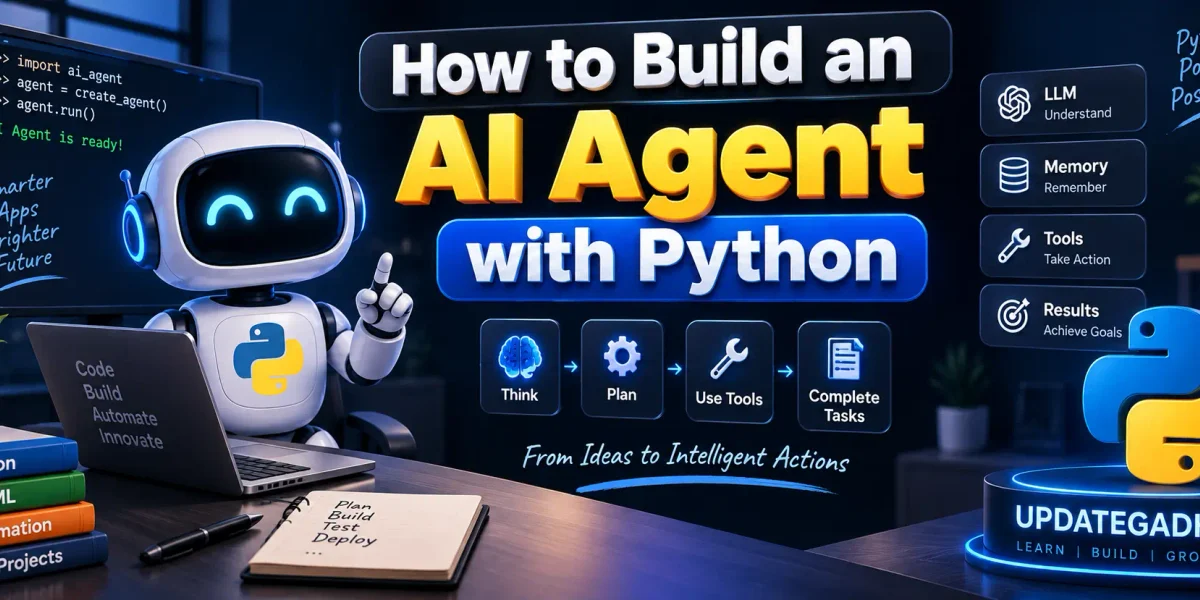
How to Build an AI Agent with Python
Artificial Intelligence is moving beyond simple chatbots and traditional machine learning applications. One of the most useful developments in modern AI is the AI Agent. Unlike a basic chatbot that responds to user messages, an AI agent can understand a goal, make decisions, use tools, process information, and complete tasks with limited human intervention.
Python is one of the most popular programming languages for developing AI agents because it provides a large ecosystem of libraries and frameworks for artificial intelligence, machine learning, APIs, automation, and natural language processing.
In this tutorial, you will learn how to build an AI agent with Python and understand the basic architecture behind an intelligent agent.
Table of Contents
Complete Advance AI Topics: Click Here
SQL Tutorial: Click Here
What is an AI Agent?
An AI agent is a software system that can receive a goal or instruction, reason about the task, use available tools, and produce an appropriate result.
A simple AI agent can contain the following components:
- User Input: Provides instructions or goals.
- AI Model: Understands the request and generates decisions.
- Memory: Stores relevant information from previous interactions.
- Tools: Allows the agent to perform external tasks.
- Agent Logic: Determines what action should be performed.
- Output: Returns the final result to the user.
For example, an AI research agent could receive a topic, decide what information is required, use available tools to collect information, process the results, and generate a final summary.
Why Use Python for AI Agents?
Python is widely used for AI development because it is easy to learn and has extensive support for AI and automation technologies.
Some advantages of Python for AI agent development include:
- Simple and readable syntax
- Large AI and machine learning ecosystem
- Easy API integration
- Support for natural language processing
- Large developer community
- Excellent automation capabilities
Python can also be combined with different AI frameworks and model APIs to create more advanced agent-based applications.
Prerequisites
Before building an AI agent, make sure Python is installed on your computer. You should also have basic knowledge of Python programming, functions, modules, and working with APIs.
You can verify Python installation by opening the terminal in VS Code and running:
python --versionCreate a new project folder and open it in VS Code. It is recommended to create a virtual environment for the project:
python -m venv venvActivate the virtual environment on Windows:
venv\Scripts\activateYou can now install the libraries required by your selected AI model or agent framework.
For more Python learning resources, you can also explore Python tutorials on UPDATEGADH.
Basic Architecture of a Python AI Agent
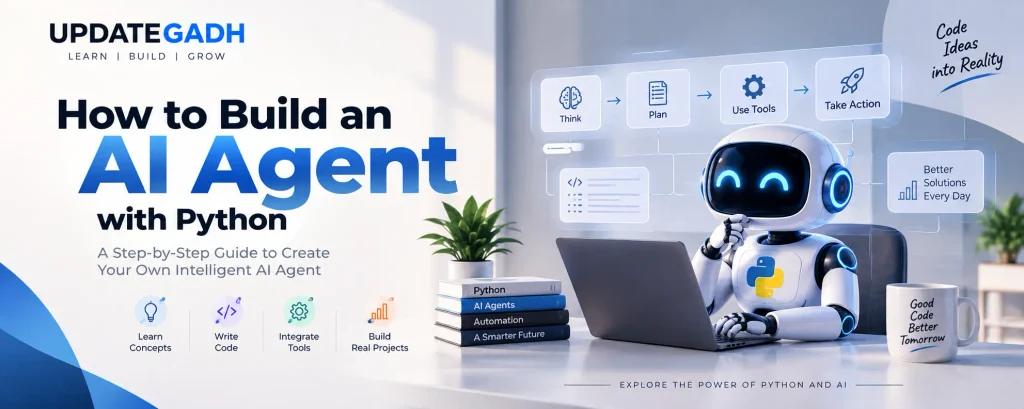
A simple AI agent can be represented using the following workflow:
User
  ↓
Goal / Prompt
  ↓
AI Model
  ↓
Decision
  ↓
Tool or Action
  ↓
Result
  ↓
AI Model
  ↓
Final Response
The important difference between a normal AI application and an agent is that an agent can determine what action is required instead of simply generating a response.
Step 1: Create the Python Project
Create a project directory named python-ai-agent and open it in VS Code.
mkdir python-ai-agent
cd python-ai-agent
Create and activate your virtual environment:
python -m venv venv
venv\Scripts\activate
Step 2: Create the AI Model Connection
An AI agent needs a language model to understand instructions and generate decisions. The model can be connected through an API provided by an AI platform.
Store your API key in an environment variable instead of directly placing it inside your Python source code.
For example, your project can use a .env file:
AI_API_KEY=your_api_key_hereDo not publish API keys on GitHub, websites, screenshots, or other public platforms.
Step 3: Create a Simple Agent Function
The first version of an AI agent can be kept simple. The function receives a user request and sends it to the AI model.
def run_agent(user_request):
    prompt = f"""
    You are a helpful AI agent.
    Understand the user's goal and provide
    the most useful response.

    User request:
    {user_request}
    """

    response = call_ai_model(prompt)

    return response
The call_ai_model() function represents the API call to the selected AI model. Its exact implementation depends on the AI provider or framework you choose.
Step 4: Add Tools to the Agent
Tools make AI agents much more useful. Instead of only generating text, an agent can use functions to perform specific operations.
For example, you can create a calculator tool:
def calculator(a, b, operation):
    if operation == "add":
        return a + b
    elif operation == "subtract":
        return a - b
    elif operation == "multiply":
        return a * b
    elif operation == "divide":
        return a / b

    return "Invalid operation"
The AI agent can decide when this tool is useful and provide the required parameters.
Other possible tools include database search, file processing, web search, email automation, APIs, and custom Python functions.
Step 5: Add Agent Decision Logic
The decision-making component determines which action should be taken for a particular request.
A simple example is:
def choose_action(request):
    request = request.lower()

    if "calculate" in request:
        return "calculator"

    return "conversation"
In advanced AI agents, the language model itself can determine which tool should be called based on the user’s goal.
Step 6: Add Memory
Memory allows an AI agent to maintain useful information between interactions. Without memory, each request may be treated independently.
A basic memory implementation can use a Python list:
conversation_history = []

def add_memory(user_message, agent_response):
    conversation_history.append({
        "user": user_message,
        "agent": agent_response
    })
For larger applications, memory can be stored using databases or vector databases so that relevant information can be retrieved when required.
Step 7: Create the Main Program
Now you can connect the components into a basic command-line AI agent.
while True:
    user_input = input("You: ")

    if user_input.lower() == "exit":
        print("Agent stopped.")
        break

    response = run_agent(user_input)

    print("Agent:", response)
This creates a simple interactive loop where the user communicates with the agent through the terminal.
How an AI Agent Works
When a user provides a request, the agent first analyzes the goal. It then determines whether it can answer directly or needs to use a tool. After receiving the tool result, the agent processes the information and generates the final response.
The complete process can be summarized as:
- User provides a goal.
- The AI model analyzes the request.
- The agent selects an appropriate action.
- A tool is executed if required.
- The result is returned to the AI model.
- The agent generates the final response.
Practical AI Agent Project Ideas
Once you understand the basic architecture, you can create more advanced Python AI agent projects such as:
- AI Research Assistant
- AI Resume Analyzer
- Customer Support Agent
- AI Coding Assistant
- Document Question-Answering Agent
- AI Data Analysis Agent
- Personal Productivity Agent
- Automated Email Assistant
Advantages of AI Agents
- Automate repetitive tasks
- Reduce manual effort
- Interact naturally with users
- Use external tools and APIs
- Process large amounts of information
- Support multi-step workflows
YT:- DecodeIT
Conclusion
Building an AI agent with Python starts with a simple idea: combine an AI model with decision-making logic, tools, and optionally memory. Python makes this process accessible because developers can connect AI models with normal Python functions, APIs, databases, and automation workflows.
For beginners, the best approach is to start with a simple conversational agent and gradually add tools, memory, and more advanced decision-making. As your understanding improves, you can develop AI agents capable of completing complex multi-step tasks.
AI agents are becoming an important part of modern software development, making this a valuable topic for Python, AI, and machine learning students to learn.
Keywords
How to Build an AI Agent with Python, Python AI Agent, AI Agent Python, Build AI Agent, Python Artificial Intelligence, AI Agent Tutorial, Python AI Tutorial, AI Automation, AI Agent Development,AI Agent Python, Python Machine Learning,How to Build an AI Agent with Python, AI Agent with Python,AI Agent Python, Python AI Agent, Build AI Agent Using Python, AI Agent Tutorial, Python AI Tutoria,AI Agent Pythonl, Artificial Intelligence with Python, AI Agent Development, Python AI Projects, AI Agent Python,AI Automation with Python, Intelligent AI Agent, AI Agent Development Tutorial, Python Artificial Intelligence, AI Automation, Machine Learning with Python, AI Tools with Python, Python Agent Framework, How AI Agents Work, AI Programming, AI Projects for Beginners,AI Agent Python,AI Agent Python