E Medical System Web Project Using Spring Boot
Introduction
In today’s fast-paced world, the integration of technology into healthcare systems has become essential for efficient patient care and management. One such technological advancement is the development of E-Medical Systems, which streamline various processes within medical facilities. In this blog post, we will explore the creation of an E-Medical System web project using Spring Boot.
Table of Contents
Step 1: Making the Project
The first step in creating an E-Medical System web project is setting up the development environment and initiating the project structure. Utilizing Spring Boot, developers can easily bootstrap the project, saving time and effort. By leveraging Spring’s powerful features, such as dependency injection and MVC architecture, building a robust medical system becomes more manageable.
Check 50+ JAVA Projects with Source Code
Step 2: Essential Features
An E-Medical System should encompass several essential features to facilitate seamless healthcare management. Some of these features include patient registration, appointment scheduling, medical record management, prescription generation, and billing functionalities. Implementing these features ensures comprehensive patient care and efficient workflow within medical facilities.
Step 3: Required Software and Tools
To develop the E-Medical System web project using Spring Boot, developers need essential software and tools. This includes Java Development Kit (JDK), Integrated Development Environment (IDE) such as IntelliJ IDEA or Eclipse, Spring Boot framework, and a database management system like MySQL . Additionally, knowledge of HTML, CSS, and JavaScript is beneficial for frontend development.
- JDK 1.8
- Maven 3
- Springboot
- Java
- Mysql
Step 4: Running Project
Once the project is developed, running it locally or deploying it on a server is crucial for testing and production purposes. With Spring Boot’s embedded server capabilities, developers can easily run the project locally by executing a simple command. Moreover, deploying the project to cloud platforms like AWS or Heroku enables accessibility from anywhere, enhancing scalability and availability.
To run the application locally, there are multiple approaches. One method involves executing the main method in the com.medical.SpringMVC class directly from your Integrated Development Environment (IDE).
mvn spring-boot:runFor deploying the application to OpenShift, a straightforward approach is to utilize the OpenShift Command Line Interface (CLI). Use the following command:
oc new-app /E-Medical-System-Web-Project-Using-Spring-Boot-Security-MVC-Hibernate-JPA-Rest-Thymeleaf-HQLThis command sets up the necessary components such as:
- An ImageStream named “springboot-maven3-centos”
- An ImageStream named “springboot-sample-app”
- A BuildConfig named “springboot-sample-app”
- A DeploymentConfig named “springboot-sample-app”
- A Service named “springboot-sample-app”
To enable access to the application from outside your OpenShift installation, you’ll need to expose the springboot-sample-app service. This can be achieved with the following command, adjusting the hostname as necessary:
oc expose springboot-sample-app --hostname=www.example.comStep 5: Project Screenshots
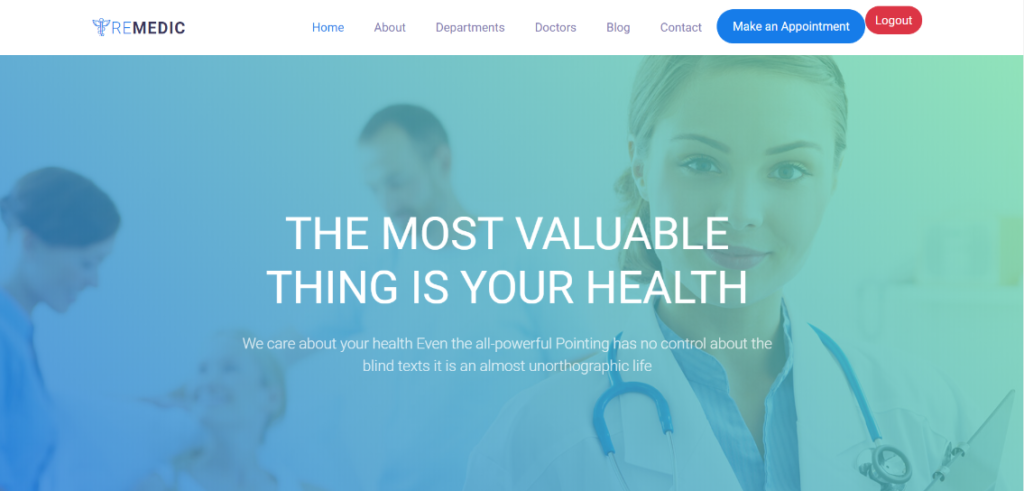
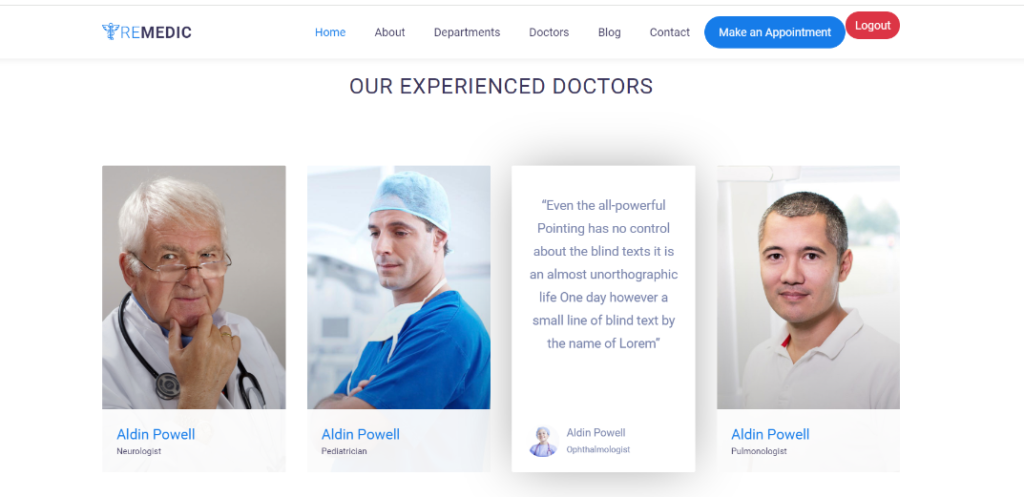
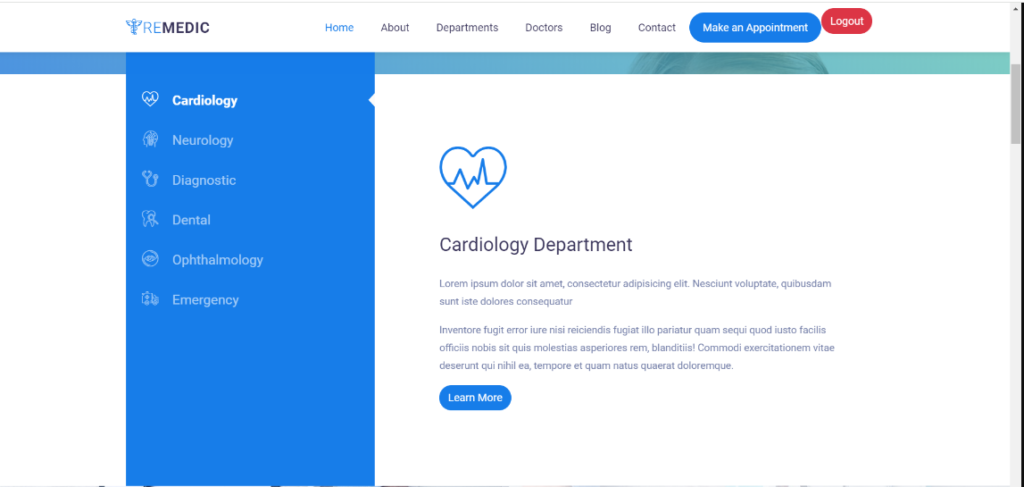
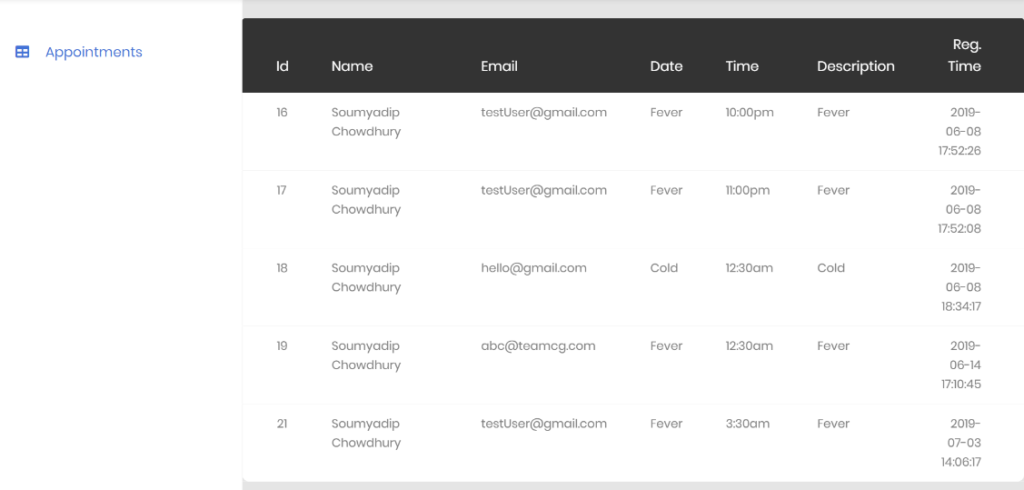
Visual representation of the E-Medical System web project through screenshots provides insight into its functionality and user interface design. Screenshots showcasing patient registration forms, appointment scheduling interfaces, medical record displays, and other features offer a glimpse into the system’s capabilities and user experience.



Step 6: Download Project
To facilitate learning and exploration, providing a downloadable link to the E-Medical System web project source code is beneficial for developers. By examining the project’s structure, codebase, and implementation, aspiring developers can gain valuable insights into Spring Boot application development and healthcare system architecture.
Virus note: All files are scanned once-a-day by updategadh.com for viruses, but new viruses come out every day, so no prevention program can catch 100% of them
FOR YOUR OWN SAFETY, PLEASE:
1. Re-scan downloaded files using your personal virus checker before using it.
2. NEVER, EVER run compiled files (.exe’s, .ocx’s, .dll’s etc.)–only run source code.

Download Free E Medical System Project :-Click Here
Download Free Project ( With Setup ) : Click here

Step 7: Conclusion
In conclusion, the development of an E-Medical System web project using Spring Boot offers a practical solution for modern healthcare management. By incorporating essential features, leveraging Spring Boot’s capabilities, and adhering to best development practices, developers can create a robust and efficient medical system. Embracing technology in healthcare not only enhances patient care but also improves operational efficiency within medical facilities.
Tags and SEO
Tags: E-Medical System, Spring Boot, Web Development, Healthcare Management, Java, Software Development
SEO Keywords: E-Medical System, Spring Boot web project, healthcare management, Java web development, medical system development.
| E Medical System medical |
| o/e medical abbreviation |
| u&e medical abbreviation |
| v r e medical abbreviation |
| u and e medical abbreviation |
| a g e medical |
| o/e medical abbreviation in gynaecology |
| a & e medical ambulance service |
| c a r e medical group |
| t e e medical test |
| health e medical centre geelong |
