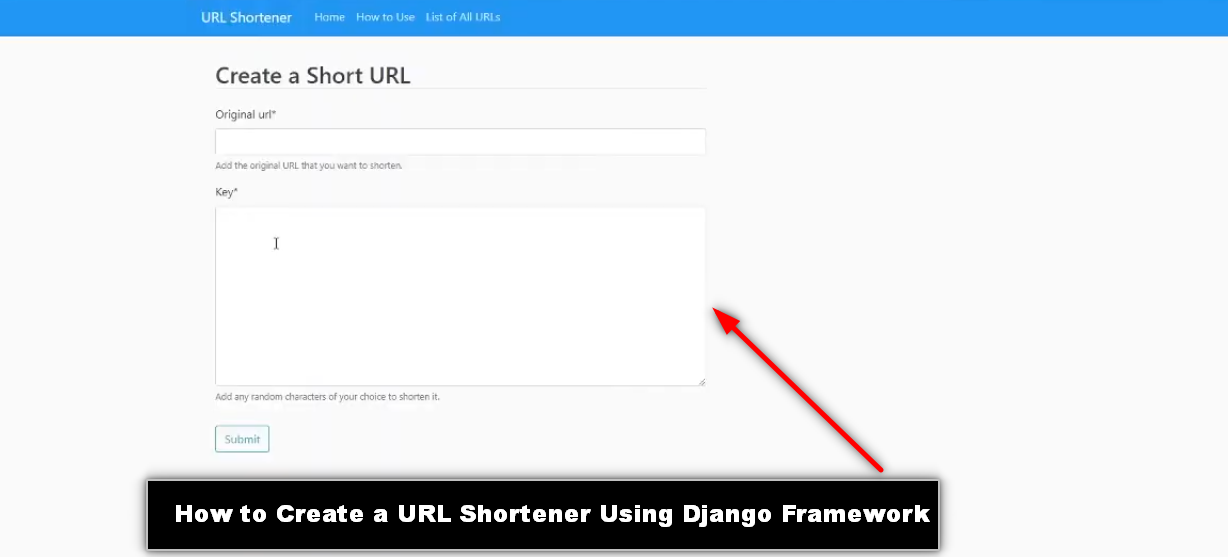
How to Create a URL Shortener Using Django Framework
Introduction
In today’s digital age, URL shorteners have become an essential tool for making long URLs manageable and shareable. They are widely used for social media, marketing campaigns, and simplifying complex links. In this blog post, we’ll explore how to create a URL shortener using the Django framework. We’ll walk through the entire process, from setting up the project to deploying it, and share some essential features and tools needed along the way.
Step 1: Making the Project
To start with, you need to set up a new Django project. Django, a high-level Python web framework, encourages rapid development and clean, pragmatic design.
Begin by creating a new virtual environment to keep your project dependencies isolated. Install Django within this environment and create a new project:
$ mkdir url_shortener
$ cd url_shortener
$ python -m venv venv
$ source venv/bin/activate
$ pip install django
$ django-admin startproject myurlshortener
$ cd myurlshortener
$ django-admin startapp shortener
This sets up the basic structure of your Django project and a new app called “shortener” where all the URL shortening logic will reside.
Step 2: Essential Features
For a functional URL shortener, the following features are essential:
- URL Input Form: A form where users can input the long URL they want to shorten.
- Short URL Generation: A system to generate unique short URLs.
- Redirection: Redirect users from the short URL to the original long URL.
- Analytics: Track the number of times a short URL is clicked.
- Admin Interface: Manage all URLs via Django’s admin interface.
Step 3: Required Software and Tools
To build this project, you will need the following software and tools:
- Python: Ensure you have Python installed on your machine.
- Django: The primary framework for this project.
- SQLite: The default database for Django projects, suitable for development.
- Virtualenv: For managing virtual environments.
- Text Editor/IDE: Any text editor or Integrated Development Environment like VS Code, PyCharm, or Sublime Text.
Step 4: Running the Project
Once you have completed the coding part, running the Django project is straightforward. First, apply migrations to set up your database tables:
$ python manage.py makemigrations
$ python manage.py migrate
Then, create a superuser to access the admin interface:
$ python manage.py createsuperuserFinally, run the Django development server:
$ python manage.py runserverNavigate to http://127.0.0.1:8000/ in your browser to see your project in action. You can also access the admin interface at http://127.0.0.1:8000/admin.
Step 5: Project Screenshots
Here are some screenshots of the project in action:

- Homepage: A simple form where users can input their long URLs and receive a shortened version.
- Short URL Redirect: Demonstrating the redirection from a short URL to the original long URL.
- Admin Interface: The Django admin interface showing a list of all shortened URLs and their analytics.
Step 6: Download Project
Download Project Free Click Here
Complete Python Course : Click here
Free Notes :- Click here
New Project :-https://www.youtube.com/@Decodeit2
How to setup this Project Complete video – Click here
- url shortener using django
- is url shortener safe
- url shortener how does it work
- what is the use of url shortener
- what are url shorteners
- short url example
- django url shortener Using Django
- how to create a url shortener in python
- python url shortener Using Django github
- django url shortener github
- url shortener Using Django python django
- python url shortener Using Django
- python url shortener library
- django url question mark
- django urlquote
- url shortener tutorial
- url shortener design interview


