In today’s digital age, online marketplaces have become increasingly popular for buying and selling goods. OLX, a well-known online classifieds platform, has inspired many developers to create their versions of similar platforms. In this tutorial, we’ll walk through the process of building an OLX clone using Java for the backend and MySQL for the database.
Creating an OLX clone involves designing a user-friendly interface, implementing robust backend functionalities, and ensuring smooth communication between the frontend and the database. We’ll cover each step in detail to help you understand how to develop such a platform from scratch.
Name
Required
Project Name
OLX-Clone using using using Java, JSP, MySQL (JSP)
Project Platform
JSP
Programming Language
Servlet/JSP/Bootstrap/HTML/MySQL
Front End
Html, css, js, jsp,
Back End
java, MySQL
IDE Tool
Eclipse Neon
Database
MySQL
Project Type
Web Application
Step 1: Making the Project
Firstly, set up your Java project using a suitable IDE like IntelliJ IDEA or Eclipse. Define the project structure and create packages for different components such as models, controllers, and views. Then, establish a connection with the MySQL database using JDBC.
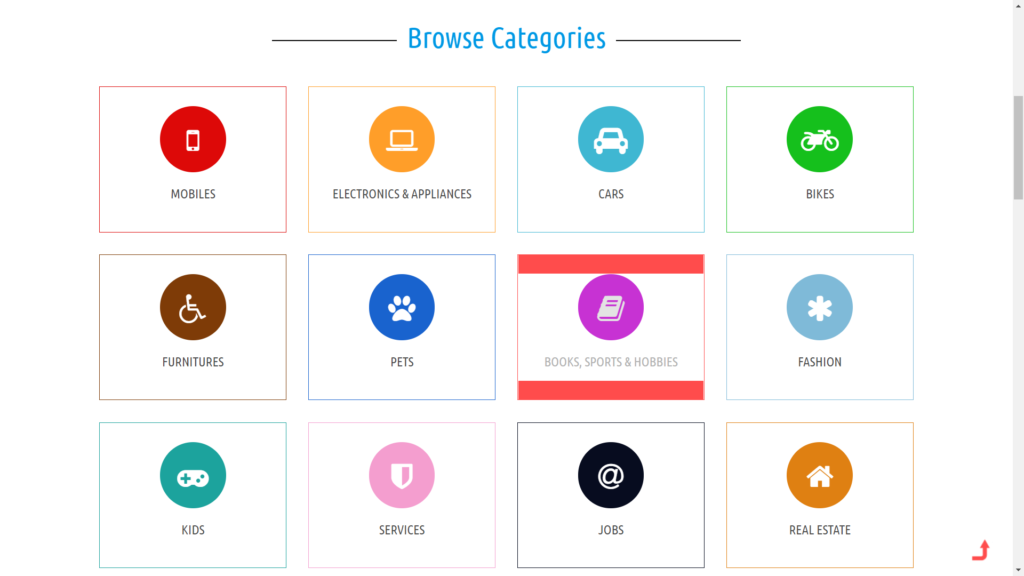
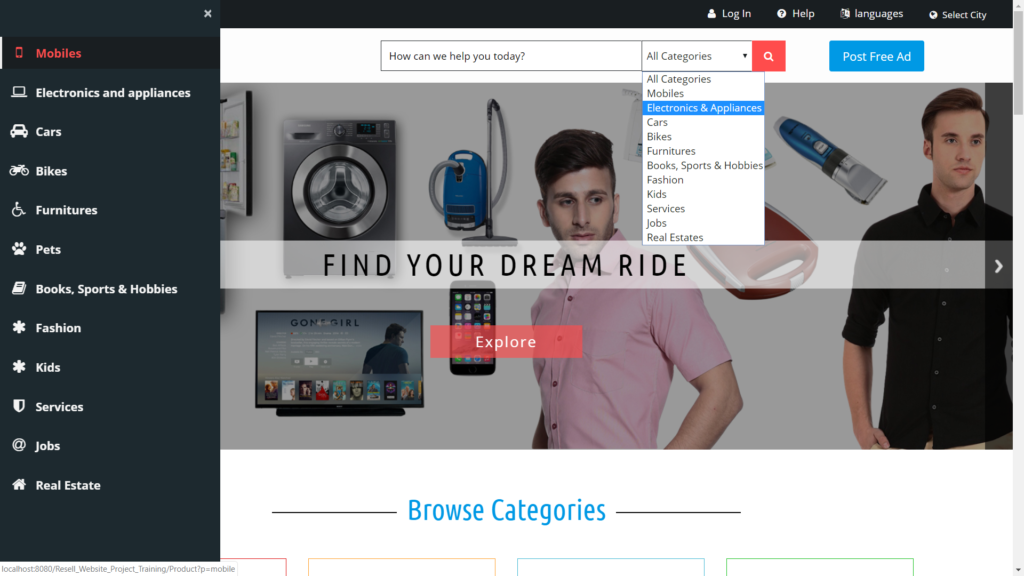
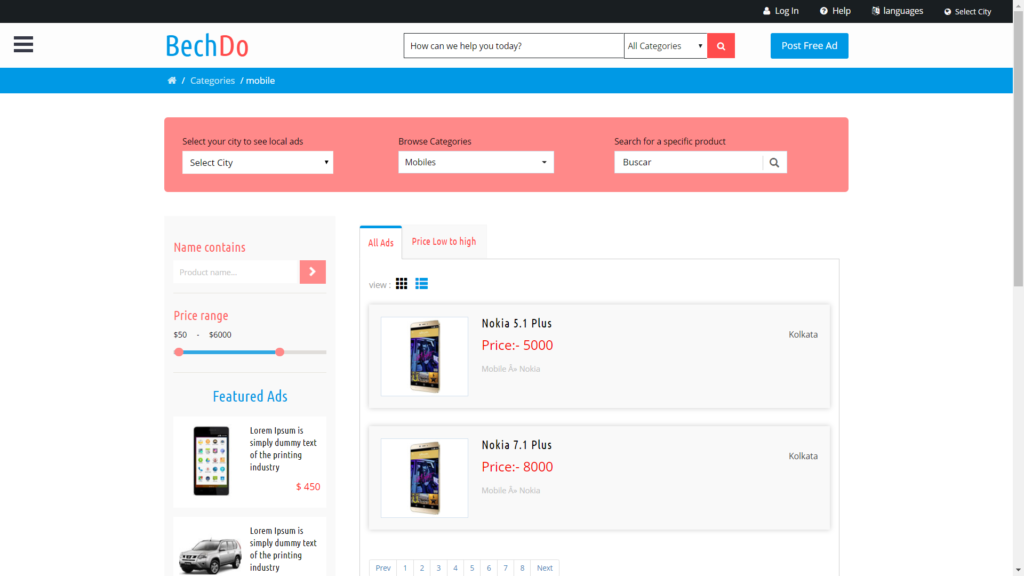
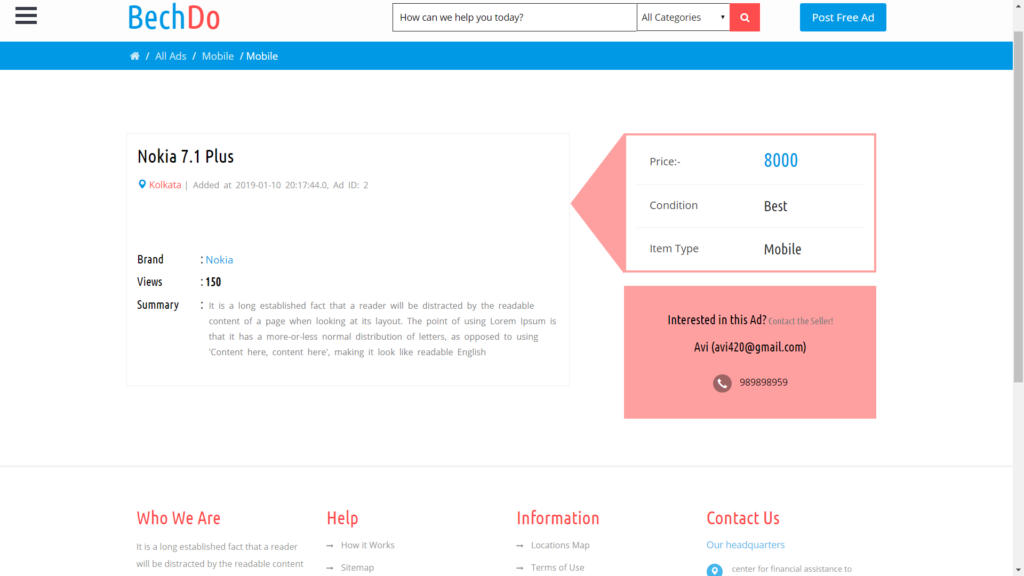
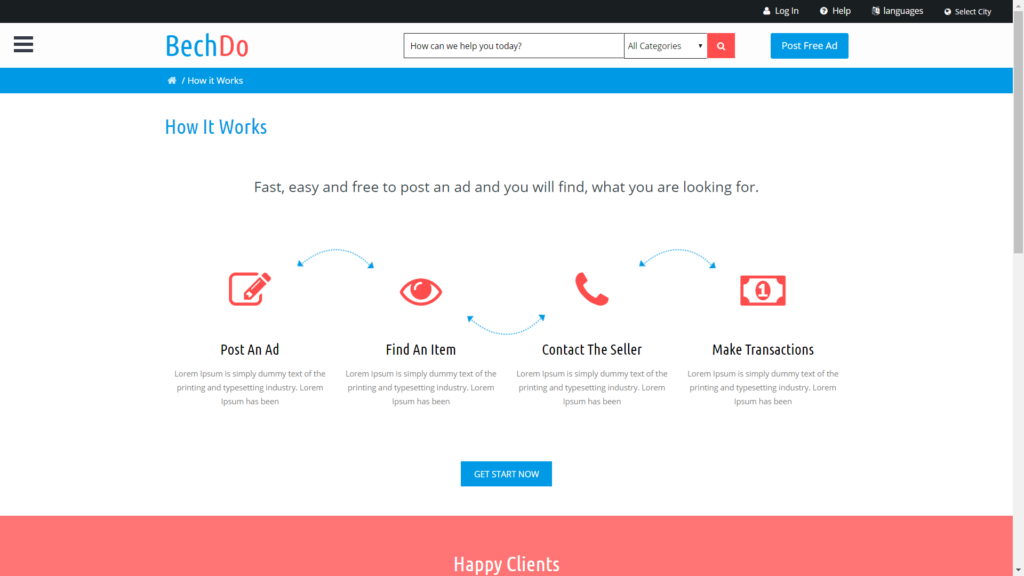
Identify and implement the essential features of an online marketplace like OLX. This includes user authentication, listing items for sale, searching for items, messaging between users, and managing user profiles. Ensure that these features are intuitive and user-friendly.
Advanced Search: Implement a sophisticated search mechanism allowing users to filter listings based on various criteria such as location, price range, category, and date posted.
Featured Listings: Highlight certain listings as “Featured” to increase their visibility and attract more attention from users.
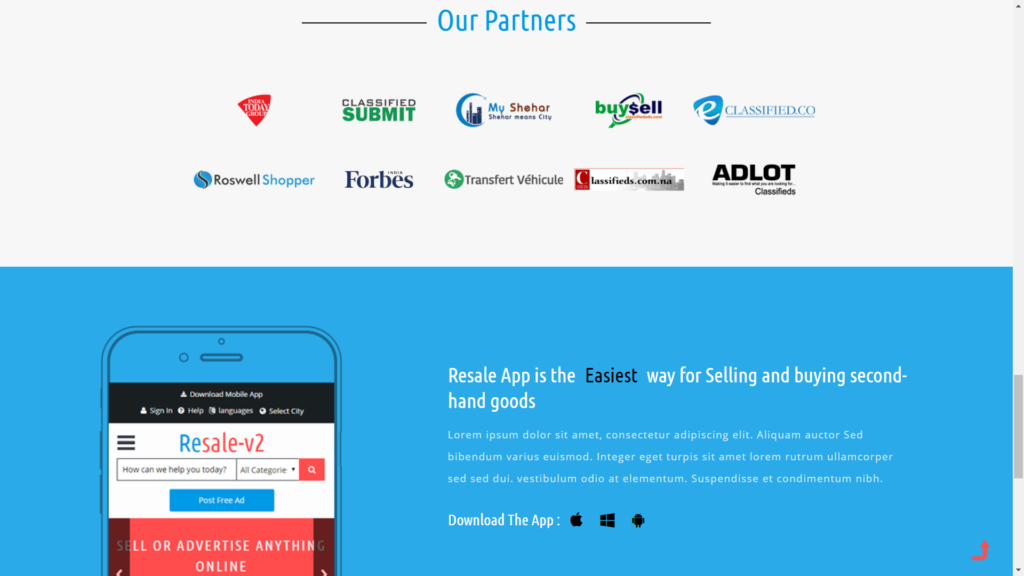
Social Media Integration: Enable users to share listings on popular social media platforms like Facebook, Twitter, and Instagram, amplifying the reach of your platform.
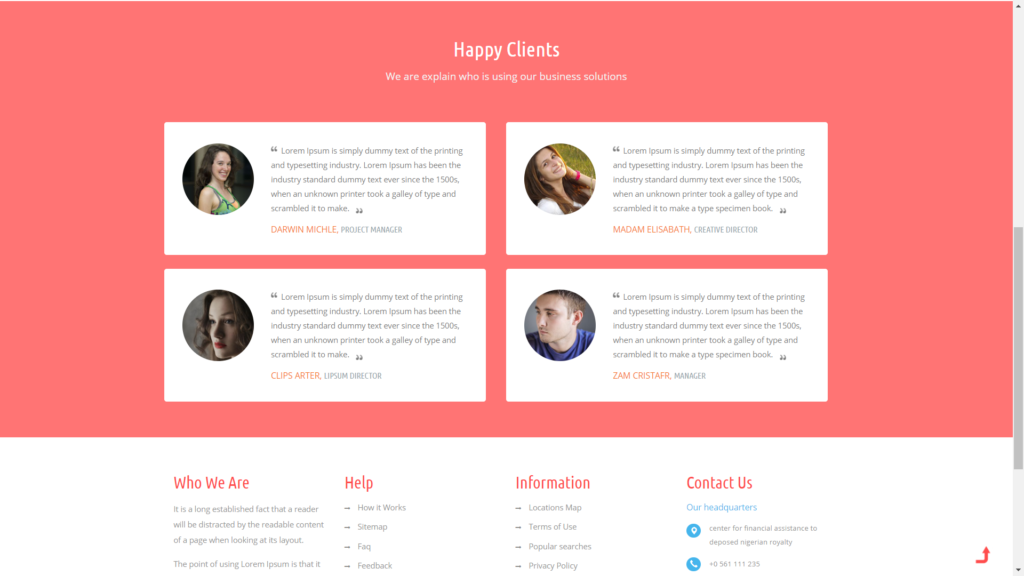
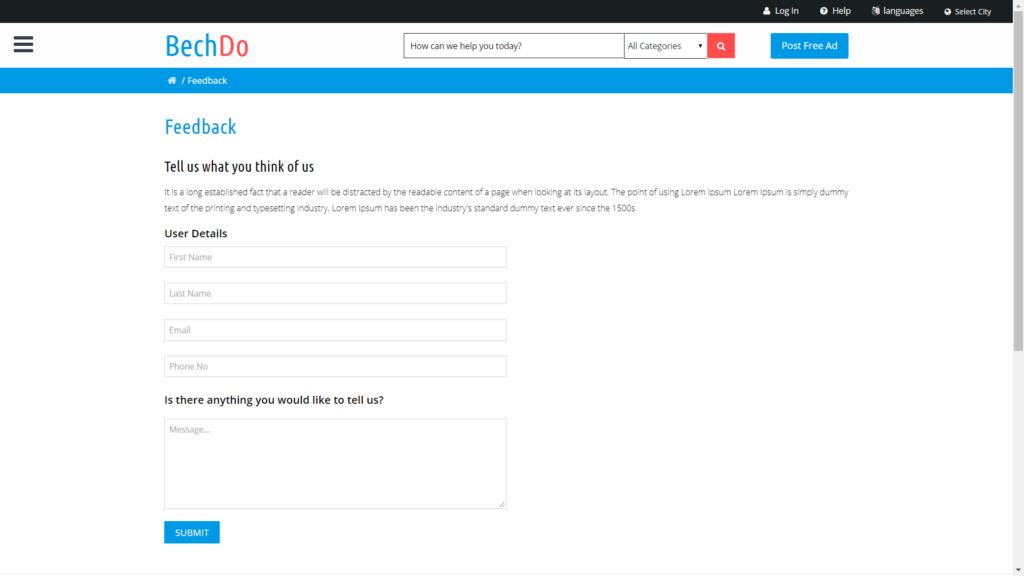
Feedback and Ratings: Allow users to rate and leave feedback for sellers based on their experience, fostering trust and accountability within the community.
Real-Time Notifications: Implement real-time notifications to keep users updated on new messages, listing updates, and other relevant activities.
Step 3: Required Software and Tools
Developers will require the following software and tools:
Java Development Kit (JDK)
Integrated Development Environment (IDE) like IntelliJ IDEA or Eclipse
Apache Tomcat for deploying the web application
MySQL database for storing user and job-related data
Technologies Used
Java
J2EE
Servlets
JSP
HTML
CSS
Bootstrap
Tomcat Server
Hardware Requirements
Check
Processor
Pentium IV
Hard Disk
40GB
RAM
512MB or more
Software Requirements
Operating System
Windows 10/11/7 or Linux
User Interface
HTML, CSS
Client-side Scripting
JavaScript
Programming Language
Java
Web Applications
JDBC, Servlets, JSP
Database
MySQL
Server Deployment
Tomcat 5.0
Step 4: Running Project
After setting up the environment and configuring the database, developers can compile and deploy the project on a local or remote server. They can test the functionality to ensure seamless performance.
Importing into Eclipse:
Download it as a ZIP file.
Open Eclipse IDE.
Navigate to File > Import.
Choose General > Existing Projects into Workspace.
Select the root directory of the cloned repository.
Click Finish.
Installing Apache Tomcat Server:
Download Apache Tomcat Server from here according to your operating system.
Extract the downloaded files to your desired location.
Follow the setup instructions in the documentation.
Configuring Tomcat Server in Eclipse:
In Eclipse, go to Window > Preferences.
Expand the Server section and select Runtime Environments.
Click Add and choose Apache Tomcat.
Browse and select the Tomcat installation directory.
Click Finish.
Installing MySQL:
Download MySQL from here according to your operating system.
Follow the installation instructions provided by MySQL for your specific operating system.
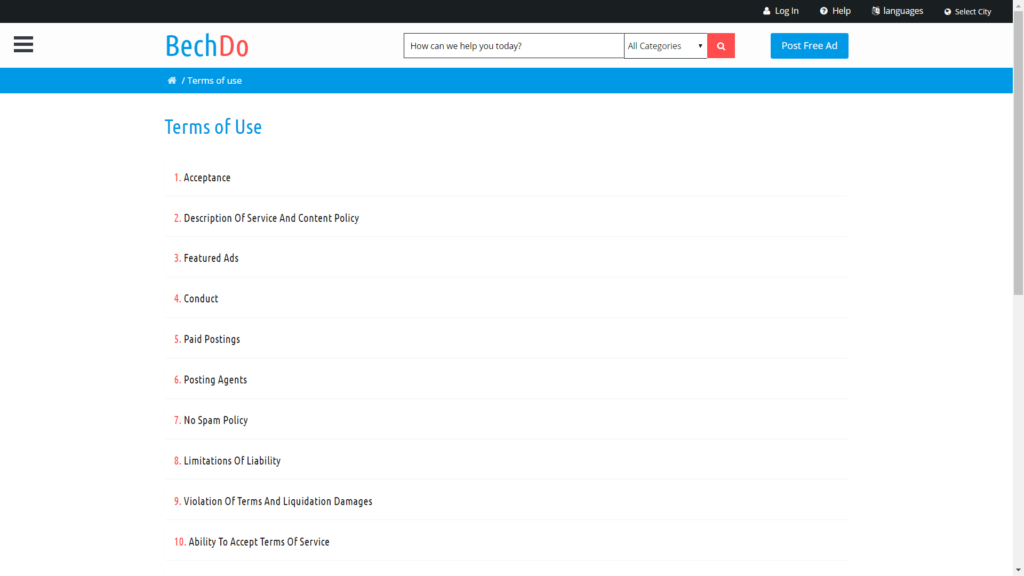
Capture screenshots of different functionalities of your OLX clone, including user registration, listing items, searching for products, and messaging between users. These screenshots will help users understand how the platform works and what they can expect.
OLX-Clone using JavaOLX-Clone using JavaOLX-Clone using JavaOLX-Clone using JavaOLX-Clone using JavaOLX-Clone using JavaOLX-Clone using JavaOLX-Clone using Java
Step 6: Download Project
Virus note: All files are scanned once-a-day by updategadh.com for viruses, but new viruses come out every day, so no prevention program can catch 100% of them FOR YOUR OWN SAFETY, PLEASE: 1. Re-scan downloaded files using your personal virus checker before using it. 2. NEVER, EVER run compiled files (.exe’s, .ocx’s, .dll’s etc.)–only run source code.
Download Free OLX-Clone using JavaProject :-Click Here
Building an OLX clone using Java and MySQL is a challenging yet rewarding endeavor. By following this tutorial, you’ve learned how to create a functional online marketplace with essential features. Continue to enhance your project by adding more advanced functionalities and improving the user experience.
By optimizing your content with relevant tags and keywords, you can improve its visibility on search engines and attract more visitors to your blog or website.