Planning a wedding can be overwhelming, but with the right tools and technology, you can simplify the process and make it more enjoyable for everyone involved. In today’s digital age, a wedding website is a must-have for modern couples. It serves as a central hub for all wedding-related information, from RSVPs to venue details and more. In this blog post, we’ll explore how to create a wedding website using JSP, Java, and MySQL, ensuring a smooth and memorable experience for all.
Making the Project
To begin, set up your development environment by creating a new Java web project using JSP (JavaServer Pages). JSP allows for dynamic content generation and is perfect for building interactive web applications like a wedding website. Utilize Java for server-side logic and MySQL for database management.

Check 50+ JAVA Projects with Source Code
Essential Features
- User Authentication: Implement a secure login system to allow users to access their personalized accounts.
- RSVP Functionality: Create a form for guests to RSVP directly through the website, streamlining the RSVP process.
- Event Details: Display important information such as date, time, and location of the wedding ceremony and reception.
- Photo Gallery: Share cherished moments with guests by incorporating a photo gallery feature.
- Guestbook: Provide a space for guests to leave heartfelt messages and well wishes for the happy couple.
- Registry Links: Include links to wedding registries for easy access to gift options.
| Name | Required |
|---|---|
| Project Name | Wedding Website using Java, JSP, MySQL (JSP) |
| Project Platform | JSP |
| Programming Language | Servlet/JSP/Bootstrap/HTML/MySQL |
| Front End | Html, css, js, jsp, |
| Back End | java, MySQL |
| IDE Tool | Eclipse Neon |
| Database | MySQL |
| Project Type | Web Application |
Inventory Management System in PHP and MYSQL :Click here
Step 3: Required Software and Tools
Developers will require the following software and tools:
- Java Development Kit (JDK)
- Integrated Development Environment (IDE) like IntelliJ IDEA or Eclipse
- Apache Tomcat for deploying the web application
- MySQL database for storing user and job-related data
| Technologies Used |
|---|
| Java |
| J2EE |
| Servlets |
| JSP |
| HTML |
| CSS |
| Bootstrap |
| Tomcat Server |
| Hardware Requirements | Check |
|---|---|
| Processor | Pentium IV |
| Hard Disk | 40GB |
| RAM | 512MB or more |
| Software Requirements | |
|---|---|
| Operating System | Windows 10/11/7 or Linux |
| User Interface | HTML, CSS |
| Client-side Scripting | JavaScript |
| Programming Language | Java |
| Web Applications | JDBC, Servlets, JSP |
| Database | MySQL |
| Server Deployment | Tomcat 5.0 |
Other PHP Projects :- https://updategadh.com/category/php-project/
Running Project
After setting up the environment and configuring the database, developers can compile and deploy the project on a local or remote server. They can test the functionality to ensure seamless performance.
- Importing into Eclipse:
- Download it as a ZIP file.
- Open Eclipse IDE.
- Navigate to File > Import.
- Choose General > Existing Projects into Workspace.
- Select the root directory of the cloned repository.
- Click Finish.
- Installing Apache Tomcat Server:
- Download Apache Tomcat Server from here according to your operating system.
- Extract the downloaded files to your desired location.
- Follow the setup instructions in the documentation.
- Configuring Tomcat Server in Eclipse:
- In Eclipse, go to Window > Preferences.
- Expand the Server section and select Runtime Environments.
- Click Add and choose Apache Tomcat.
- Browse and select the Tomcat installation directory.
- Click Finish.
- Installing MySQL:
- Download MySQL from here according to your operating system.
- Follow the installation instructions provided by MySQL for your specific operating system.
- MySQL JDBC Driver:
- Download MySQL JDBC Driver from here.
- Extract the downloaded files.
- Copy the JDBC Driver JAR file to the
WEB-INFfolder of your project
- Backend Setup:
- Open XAMPP and ensure Apache and MySQL services are activated.
- Go to http://localhost/phpmyadmin in your web browser.
- Import the project database using the “Import” option in PHPMyAdmin.
- Front-end Setup:
- Open Eclipse and import the project.
- Add MySQL Connector JAR file to the project’s lib folder.
- Run Java on Server:
- Right-click on the project in Project Explorer.
- Select “Run As” > “Run on Server”.
- Choose Tomcat V8.0 as the server.
- Click “Next” and then “Add All”.
- Click “Done” to complete the configuration.
- Open Browser After Succe
- Open your web browser.
- Navigate to http://localhost:8080/your_project_name.
Free Projects :- https://updategadh.com/category/free-projects/
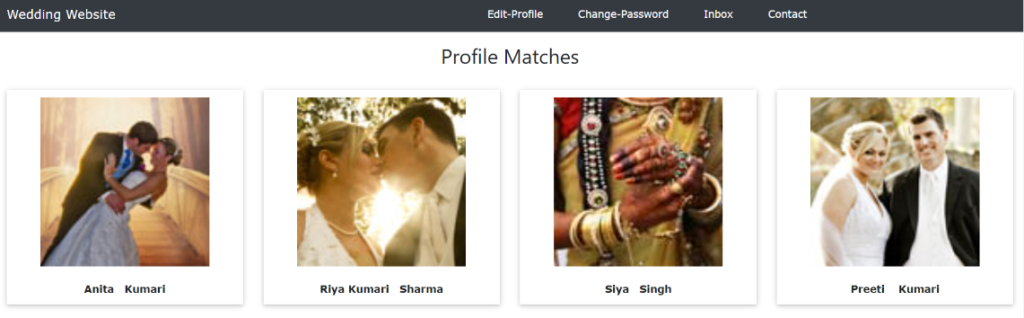
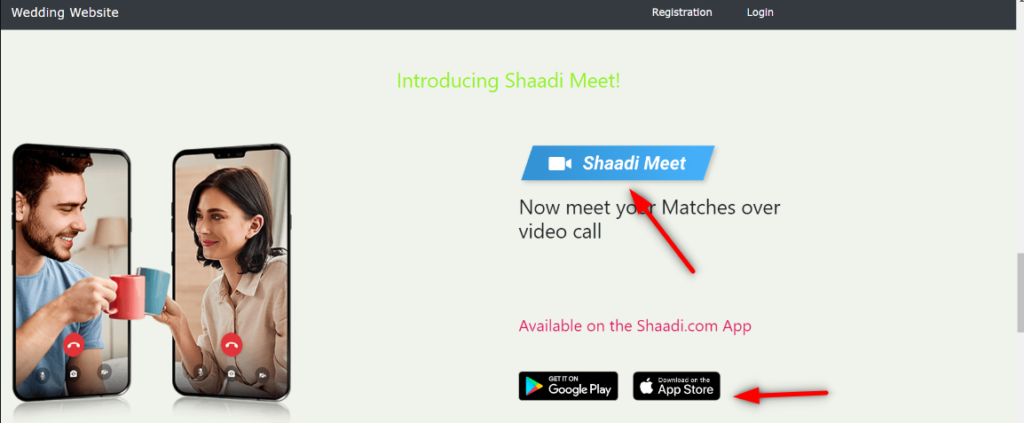
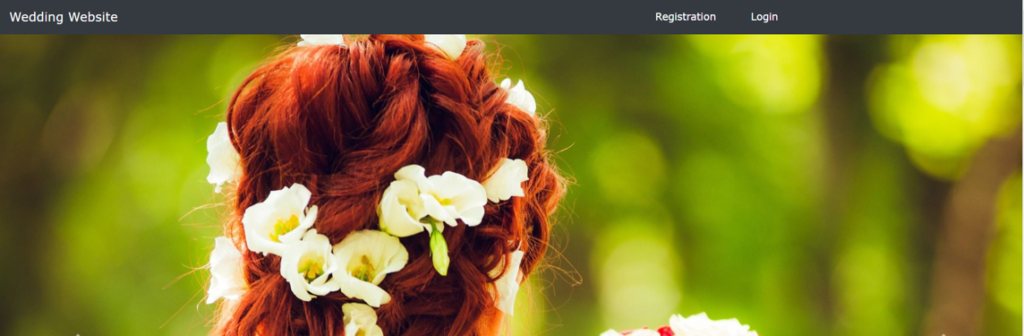
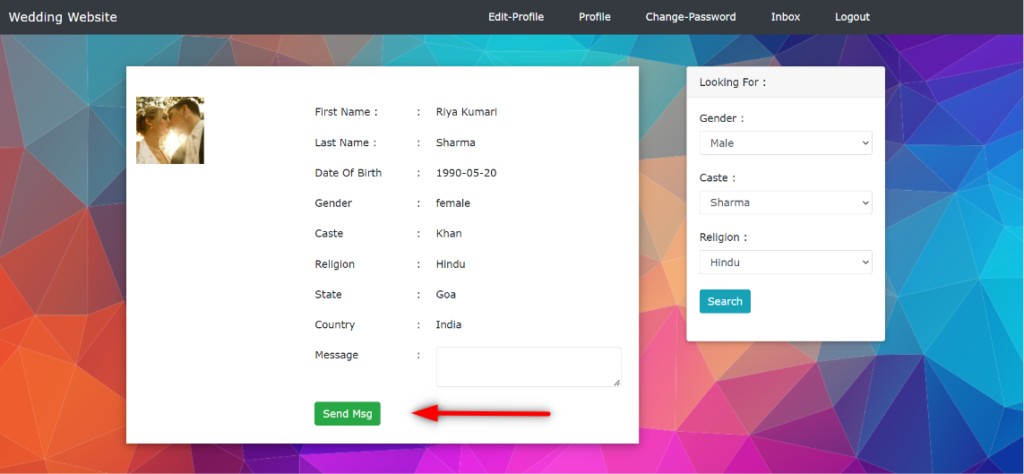
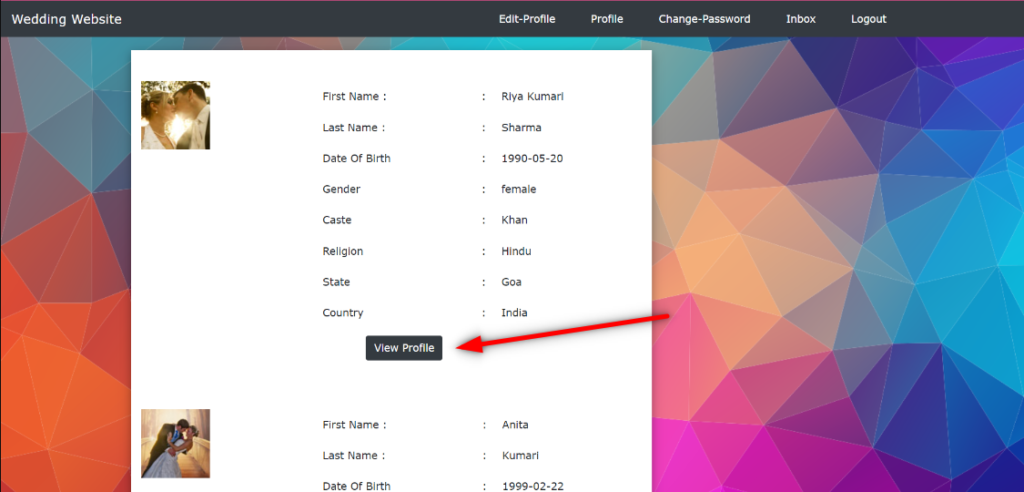
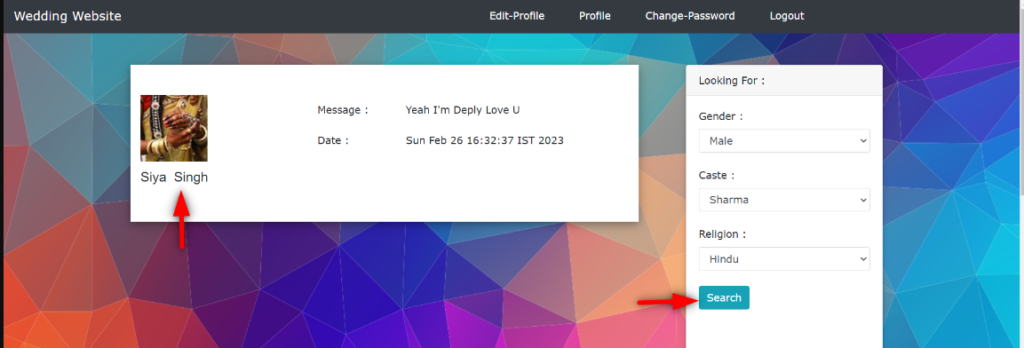
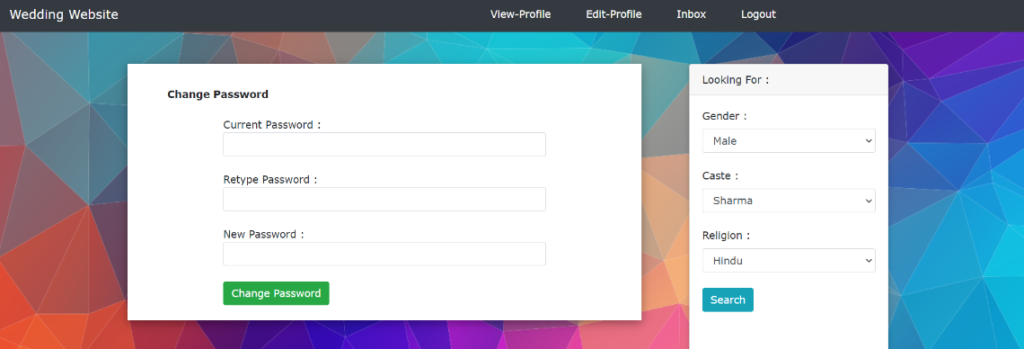
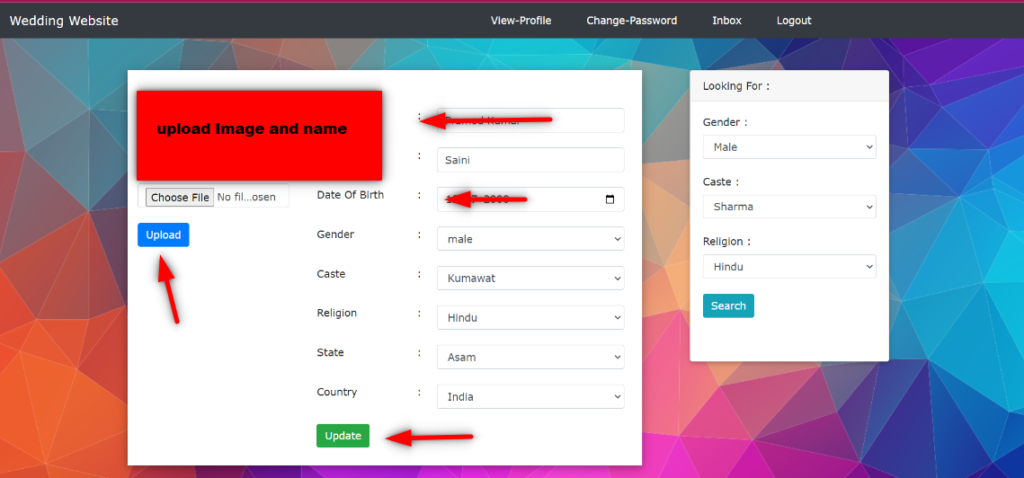
Project Screenshots
Capture screenshots of your wedding website to showcase its design and functionality. Include images of the homepage, RSVP form, photo gallery, and any other relevant features.
Java Projects :-https://updategadh.com/category/java-project/
Download Project
Virus note: All files are scanned once-a-day by updategadh.com for viruses, but new viruses come out every day, so no prevention program can catch 100% of them
FOR YOUR OWN SAFETY, PLEASE:
1. Re-scan downloaded files using your personal virus checker before using it.
2. NEVER, EVER run compiled files (.exe’s, .ocx’s, .dll’s etc.)–only run source code.
New Project :-https://www.youtube.com/@Decodeit2