Hello guys, today I am going to show you how to create a signature pad using HTML CSS & JavaScript, in this video, I will create a JavaScript signature pad using the signature pad JavaScript library.
Step-by-step Build a Signature Pad
Step 1: Establishing a Project
For the purpose of making a fantastic responsive website footer, we must establish a new project folder and files (index.html, style.css) in this phase. You will begin building the webpage’s structure in the following step.
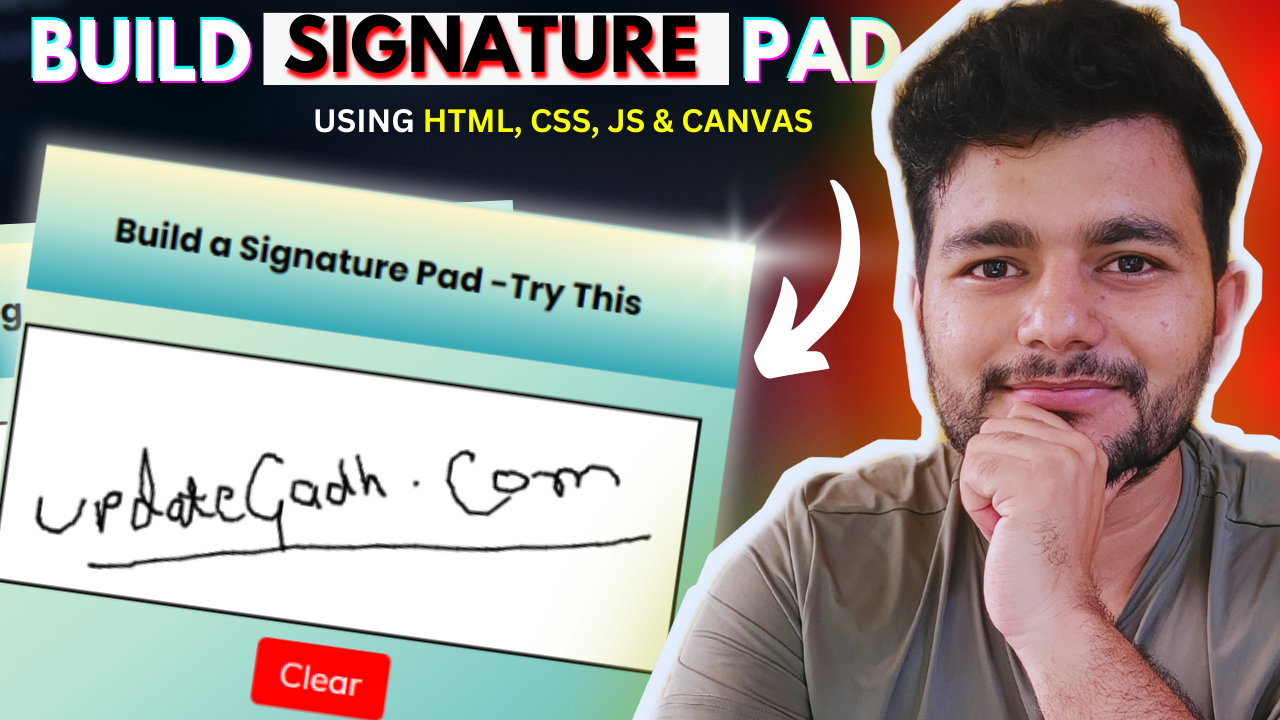
Build a Signature Pad -Try This
Complete Tutorial of Build a Signature Pad

You saw a demo of a Build a Signature Pad and how I made it using HTML, CSS, and JavaScript in the video above. As you can see, I utilized the preserve So, even if you’re a newbie, I believe you understand the codes and principles behind developing this QR app.
If you liked our Build a Signature Pad and want to acquire the source codes or files, you may do so at the bottom of this page. But, if you’re a newbie, I recommend watching the above video two or three times and attempting to construct it yourself because I’ve explained each JavaScript line with written comments in the video.
Table of Contents
You might like this:
- Interview-question
- How To Create a Parallax Scrolling Effect
- How to Build Library Management System Using HTML, CSS, and JavaScript (Source Code) Just 3 Simple Steps!
- Build a Quiz Application with HTML, CSS, and JavaScript, Free Source Code
Build a Signature Pad [Source Codes]
In JavaScript, develop a Build a Signature Pad . First, you must generate three files: HTML, CSS, and JavaScript. Simply copy and paste the supplied codes into your file after you’ve created these files. You can also obtain the source code files for this QR Code Generator App by clicking the download button below.
1 Create the HTML structure: Start by defining the basic structure of your web page. In your HTML file, use the following structure:
   <!DOCTYPE html>
   <html>
   <head>
       <title>Signature Pad</title>
       <!-- Add CSS styles here -->
   </head>
   <body>
       <!-- Add content here -->
       <script>
           // Add JavaScript code here
       </script>
   </body>
   </html>
2 Add a title and inline CSS: Inside the <head> section, add a title for your web page and include the CSS styles using the <style> tag. You can define your CSS styles within this tag.
3 Create a heading: Within the <body> section, add a heading to give your signature pad a title. You can use the <h1> tag and specify the text you want to display, such as “Signature.”
<h1>Signature</h1>4 Create a container for the signature pad: Below the heading, create a container div to hold the signature pad elements. Give it a class for styling purposes, such as “signature-container.”
   <div class="signature-container">
       <!-- Signature pad elements will go here -->
   </div>
5 Add a canvas element for drawing: Inside the signature container, add a <canvas> element that will serve as the area where users can draw their signature. Set its width and height attributes to define its dimensions.
<canvas id="signature-pad" width="300" height="150"></canvas>6 Create buttons for clearing and saving: Inside the signature container, add two buttons. One button will allow users to clear the signature, and the other will enable them to save the signature as an image.
   <button id="clear-button">Clear</button>
   <button id="save-button">Save</button>
7 Add JavaScript code: In the <script> section, include the JavaScript code that handles the signature drawing and button functionalities. This code should include event listeners for drawing, clearing, and saving the signature as an image.
   const canvas = document.getElementById("signature-pad");
   const clearButton = document.getElementById("clear-button");
   const saveButton = document.getElementById("save-button");
   const ctx = canvas.getContext("2d");

   // Add event listeners and drawing functions here
   // ...

   clearButton.addEventListener("click", () => {
       // Function to clear the signature
       // ...
   });

   saveButton.addEventListener("click", () => {
       // Function to save the signature as an image
       // ...
   });
Define event listeners and drawing functions: In the JavaScript code, implement event listeners for mouse actions (mousedown, mousemove, mouseup, and mouseleave) to capture the drawing of the signature on the canvas. Also, create functions for drawing, clearing the canvas, and saving the signature as an image.
Customize and style as needed: Customize the appearance and behavior of the signature pad by modifying the CSS styles and JavaScript code to suit your specific requirements.
Save the HTML file: Save the entire HTML code in a single HTML file, and you’ll have a self-contained signature pad. You can open this file in a web browser to use and demonstrate the signature pad.
Build a Signature Pad
Step 1: Set Up Your HTML Structure
Start by creating a basic HTML structure for your QR code generator. This will include the input field, a “Generate QR Code” button, a div for displaying the QR code, and the “Download” button (initially hidden). You can also include any other HTML elements or styling you prefer.
<!DOCTYPE html>
<html>
<head>
    <title>Signature Pad</title>
    <link rel="stylesheet" type="text/css" href="style.css">
</head>
<body>
    <div class="signature-container">
        <canvas id="signature-pad" width="300" height="150"></canvas>
        <button id="clear-button">Clear</button>
        <button id="save-button">Save</button> <!-- Add this button -->
    </div>
    <script src="script.js"></script>
</body>
</html>
Step 2: Add CSS Styles
Define your CSS styles to format and style the various elements within your QR code generator. Customize the styles to match your design preferences.
.signature-container {
    display: flex;
    flex-direction: column;
    align-items: center;
    margin-top: 20px;
}

#signature-pad {
    border: 2px solid #000;
}

#clear-button {
    margin-top: 10px;
    padding: 5px 10px;
    background-color: #f00;
    color: #fff;
    border: none;
    cursor: pointer;
}
Step 3 : Create JavaScript Functionality (script.js)
Write JavaScript code to handle user interactions and generate the QR code. This script will also control the visibility of the “Download” button.
// Get the canvas element and clear and save buttons
const canvas = document.getElementById("signature-pad");
const clearButton = document.getElementById("clear-button");
const saveButton = document.getElementById("save-button"); // New button
const ctx = canvas.getContext("2d");

let drawing = false;
let prevX = 0;
let prevY = 0;

// Event listeners for drawing
canvas.addEventListener("mousedown", (e) => {
    drawing = true;
    prevX = e.clientX - canvas.getBoundingClientRect().left;
    prevY = e.clientY - canvas.getBoundingClientRect().top;
});

canvas.addEventListener("mousemove", (e) => {
    if (!drawing) return;
    draw(e.clientX - canvas.getBoundingClientRect().left, e.clientY - canvas.getBoundingClientRect().top);
});

canvas.addEventListener("mouseup", () => {
    drawing = false;
});

canvas.addEventListener("mouseleave", () => {
    drawing = false;
});

// Function to draw on the canvas
function draw(x, y) {
    ctx.beginPath();
    ctx.strokeStyle = "#000";
    ctx.lineWidth = 2;
    ctx.lineJoin = "round";
    ctx.moveTo(prevX, prevY);
    ctx.lineTo(x, y);
    ctx.closePath();
    ctx.stroke();
    prevX = x;
    prevY = y;
}

// Event listener for the clear button
clearButton.addEventListener("click", () => {
    ctx.clearRect(0, 0, canvas.width, canvas.height);
});

// Event listener for the save button
saveButton.addEventListener("click", () => {
    const dataURL = canvas.toDataURL("image/png");
    const a = document.createElement("a");
    a.href = dataURL;
    a.download = "signature.png";
    a.click();
});
This JavaScript code listens for a click on the “Generate QR Code” button, generates the QR code based on the user input, displays the QR code, and makes the “Download” button visible with a download link to the generated QR code.
Download Complete Free Code –
- Top 40 Machine Learning Projects with Code and Documents

- Top 10 Final Year Project Ideas for IT Students
- 50 Real World React Projects for Students
- WhatsApp Contact Management
- Online Vehicle Auctions: A Comprehensive Guide with Step1st to last