Object Detection Using OpenCV Python
Object Detection Using OpenCV is a technology that falls under the broader domain of Computer Vision. This technology is capable of identifying objects that exist in images and videos and tracking them. Object Detection, also known as Object Recognition, has various applications like face detection, vehicle detection, pedestrian counting, self-driving vehicles, security systems, and a lot more.
The two significant objectives of object detection involve:
Identification of all objects that exist in an image Filtration of the object that seeks attention In the following tutorial, we will understand how to perform Object Detection Using OpenCV in the Python programming language. We will create a basic object detection model using OpenCV in Python by the end of this tutorial.

complete Demo Video :- Click Here
Table of Contents
Techniques
Deep Learning for Object Detection Deep learning techniques have demonstrated state-of-the-art performance for various object detection tasks. Some commonly used approaches in deep learning for object detection include:
- ImageAI
- Single Shot Detectors
- YOLO (You Only Look Once)
- Region-based Convolutional Neural Networks
However, in this tutorial, we will focus on understanding what ImageAI is and how to utilize it for performing object detection.
Understanding the ImageAI library Python provides a library designed to empower programmers and developers to build applications and systems with self-contained deep learning and computer vision capabilities using simple coding scripts. ImageAI includes a Python implementation of nearly all state-of-the-art deep learning algorithms such as , YOLOv3, and TinyYOLOv3.
Required Software and Tools
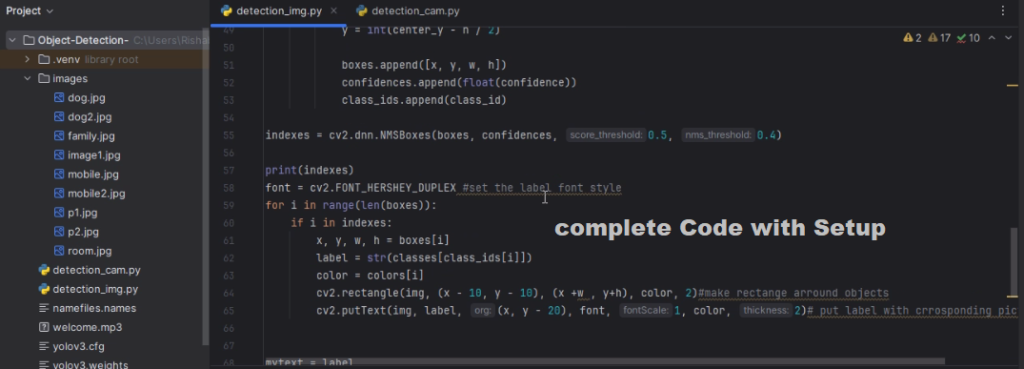
For Object Detection Using OpenCV in Python, we can utilize popular machine learning libraries such as YOLOv3.
Setting up the Environment
1st step: Install the following commands: (activate env)
Copy code
pip install opencv-python
pip install numpy
2nd step: Download the YOLO weight file.
Check 50+ JAVA Projects with Source Code
How To Run
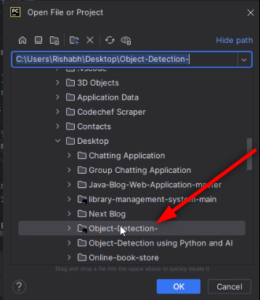
Downloading and Setting Up a Project in PyCharm:
- Download the Zip File:
- Visit the download link provided.
- Click on the “Download” button to download the zip file.
- Extract the File, Copy Folder, and Paste on the Desktop:
- Locate the downloaded zip file on your computer.
- Right-click on the file and choose “Extract” or “Extract Here” to extract its contents.
- You should now see a folder named “bms” after extraction.
- Copy the folder.
- Navigate to your desktop.
- Right-click on the desktop and choose “Paste” to copy the folder onto your desktop.
- Open PyCharm:
- Locate the PyCharm IDE on your computer and open it.
- If you don’t have PyCharm installed, you can download it from the official JetBrains website and follow the installation instructions.

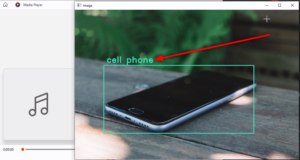
Screenshots


Download : (Note: Only for Educational Purpose)
Virus note: All files are scanned once-a-day by updategadh.com for viruses, but new viruses come out every day, so no prevention program can catch 100% of them
FOR YOUR OWN SAFETY, PLEASE:
1. Re-scan downloaded files using your personal virus checker before using it.
2. NEVER, EVER run compiled files (.exe’s, .ocx’s, .dll’s etc.)–only run source code.

- Buy This Project :-Click Here
- Download All Free Project :- Click here
Conclusion
ImageAI offers several offline APIs, including object detection, video detection, and object tracking APIs, which can be used without internet access. It utilizes pre-trained models and is easily customizable.


![Food Management System in Python [Django Framework ]](https://updategadh.com/wp-content/uploads/2024/06/Food-Management-System-in-Python-Django-Framework--300x169.png)
