Introduction
Creating invoices is something almost every freelancer, startup, or small business has to do. But let’s be honest making invoices again and again in Word or Excel quickly becomes frustrating. That’s why building an Invoice Generator web application is such a smart and practical project. It’s simple on the surface, yet powerful enough to show your real development skills.
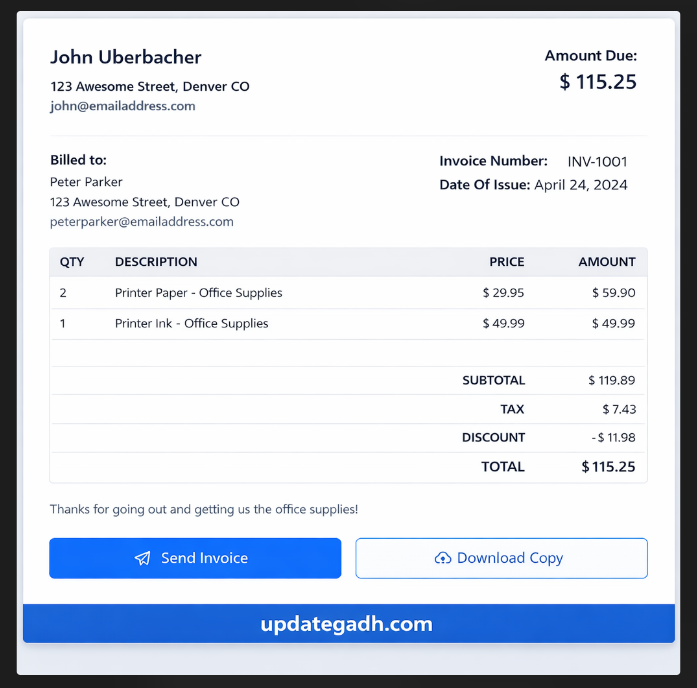
This project focuses on generating professional PDF invoices instantly using a clean React-based interface. Unlike basic beginner projects like counters or calculators, an invoice generator demonstrates real business logic and provides genuine value to users. It’s perfect for students who want to create something meaningful for their portfolio while learning essential React concepts.
Project Overview
| Project Name | Invoice Generator |
| Technology | React JS |
| Database | Not Required |
| Project Type | Frontend Web Application |
| Output | Downloadable PDF Invoice |
| Best For | Portfolio / Mini Project / Learning React |
Key Features of the Invoice Generator
Core Features
- Add multiple invoice items dynamically
- Automatic calculation of subtotal, tax, and discounts
- Clean and responsive user interface
- Generate and download invoices in PDF format
- No backend required (runs completely on the frontend)
- Professional invoice template with business details
- Real-time price calculations
- Form validation for required fields
Why This Project Is a Smart Choice
Most beginners stop at very basic apps like counters or to-do lists. This project goes a step further and helps you learn:
- Real-time state management: Managing complex state with multiple items and calculations
- Form handling and validations: Working with dynamic forms and user input
- PDF generation logic: Converting React components to downloadable PDFs
- A real business workflow: Understanding how invoicing works in the real world
- Component design: Creating reusable and organized React components
Step-by-Step Installation Guide
Step 1: Install Node.js
Download and install Node.js from the official website. Check your installation:
node -v
npm -v
Step 2: Create React App
npx create-react-app invoice-generator
cd invoice-generator
Step 3: Install Dependencies
Install the required packages for PDF generation:
npm install jspdf html2canvasStep 4: Start the Development Server
npm startStep 5: Open in Browser
Navigate to
Complete Code Example
Here’s a complete working example of the Invoice Generator:
App.js – Main Component
import React, { useState } from 'react';
import jsPDF from 'jspdf';
import html2canvas from 'html2canvas';
import './App.css';
function App() {
// State for invoice data
const [invoiceData, setInvoiceData] = useState({
invoiceNumber: '001',
date: new Date().toISOString().split('T')[0],
clientName: '',
clientEmail: '',
items: [
{ description: '', quantity: 1, price: 0 }
],
tax: 10,
discount: 0
});
// Add new item to invoice
const addItem = () => {
setInvoiceData({
...invoiceData,
items: [...invoiceData.items, { description: '', quantity: 1, price: 0 }]
});
};
// Remove item from invoice
const removeItem = (index) => {
const newItems = invoiceData.items.filter((_, i) => i !== index);
setInvoiceData({ ...invoiceData, items: newItems });
};
// Update item details
const updateItem = (index, field, value) => {
const newItems = invoiceData.items.map((item, i) => {
if (i === index) {
return { ...item, [field]: value };
}
return item;
});
setInvoiceData({ ...invoiceData, items: newItems });
};
// Calculate totals
const calculateSubtotal = () => {
return invoiceData.items.reduce((sum, item) => {
return sum + (item.quantity * item.price);
}, 0);
};
const calculateTax = () => {
return (calculateSubtotal() * invoiceData.tax) / 100;
};
const calculateTotal = () => {
return calculateSubtotal() + calculateTax() - invoiceData.discount;
};
// Generate PDF
const generatePDF = () => {
const input = document.getElementById('invoice-content');
html2canvas(input).then((canvas) => {
const imgData = canvas.toDataURL('image/png');
const pdf = new jsPDF();
const imgWidth = 210;
const pageHeight = 295;
const imgHeight = (canvas.height * imgWidth) / canvas.width;
let heightLeft = imgHeight;
let position = 0;
pdf.addImage(imgData, 'PNG', 0, position, imgWidth, imgHeight);
heightLeft -= pageHeight;
while (heightLeft >= 0) {
position = heightLeft - imgHeight;
pdf.addPage();
pdf.addImage(imgData, 'PNG', 0, position, imgWidth, imgHeight);
heightLeft -= pageHeight;
}
pdf.save(`invoice-${invoiceData.invoiceNumber}.pdf`);
});
};
return (
<div className="App">
<h1>Invoice Generator</h1>
{/* Invoice Form */}
<div className="invoice-form">
<div className="form-group">
<label>Invoice Number:</label>
<input
type="text"
value={invoiceData.invoiceNumber}
onChange={(e) => setInvoiceData({...invoiceData, invoiceNumber: e.target.value})}
/>
</div>
<div className="form-group">
<label>Client Name:</label>
<input
type="text"
value={invoiceData.clientName}
onChange={(e) => setInvoiceData({...invoiceData, clientName: e.target.value})}
/>
</div>
<div className="form-group">
<label>Client Email:</label>
<input
type="email"
value={invoiceData.clientEmail}
onChange={(e)