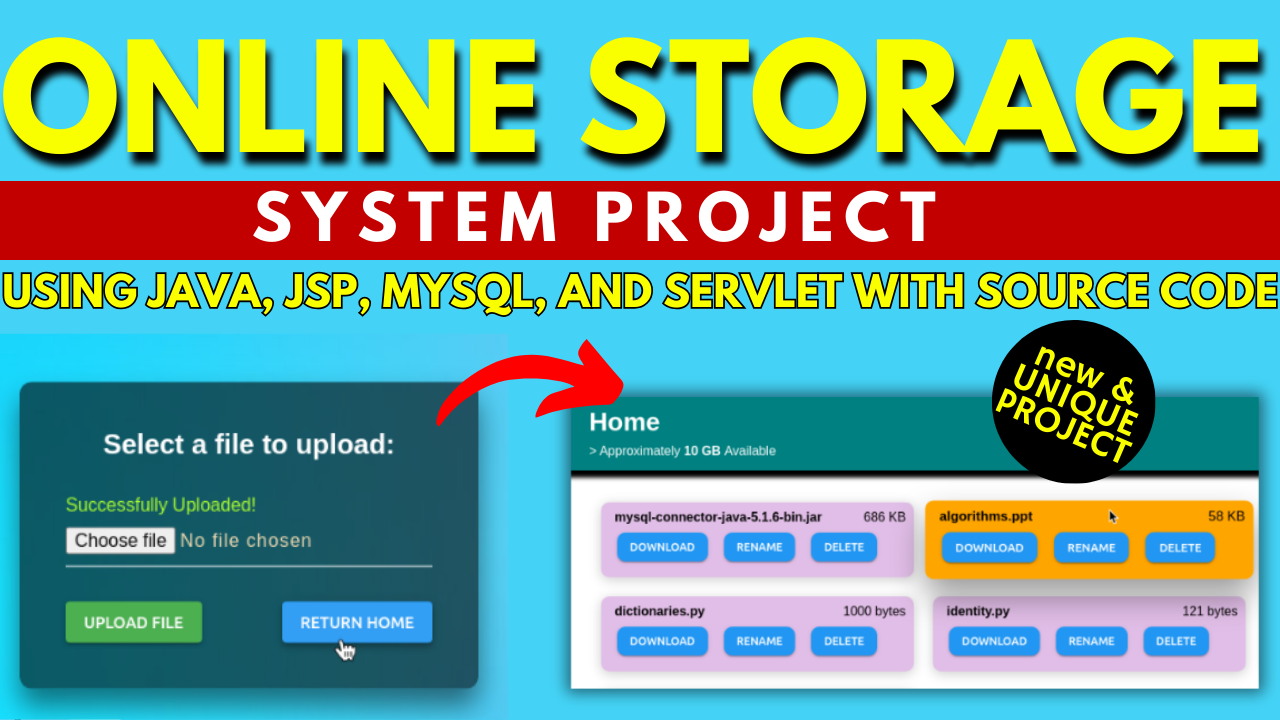
Are you looking for a reliable and efficient online storage system built on Java, JSP, MySQL, and Servlet? Look no further! In this article, we will guide you through the process of creating an online storage system that will meet your needs. Whether you are a developer or a business owner, having an online storage system is essential in today’s digital world. Without further ado, let’s dive into the steps involved in creating this system.
Table of Contents
Step 1: Making the Project
To start with, you need to set up your project in the Java Integrated Development Environment (IDE) of your choice. Create a new Java project and configure it with the necessary libraries and dependencies. This project will serve as the foundation for your online storage system. Next, you will need to design the user interface using JavaServer Pages (JSP). JSP allows you to dynamically generate HTML pages and provides support for Java code within the web pages. Use JSP to design an intuitive and user-friendly interface for your online storage system.
An online storage system should have certain essential features to ensure a seamless user experience. Let’s take a look at some of these features:
User Registration and Authentication: Implement a user registration and authentication system to allow users to create accounts and securely access the storage system.
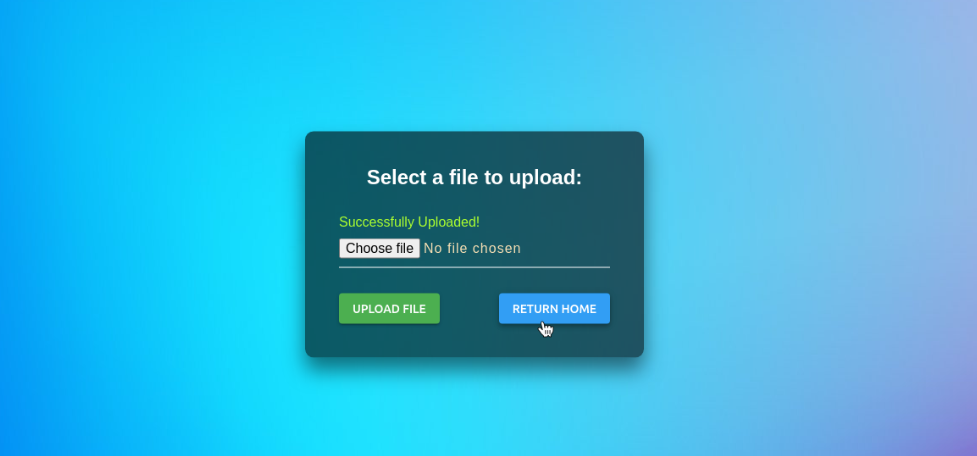
File Upload and Download: Enable users to upload and download files to and from their storage accounts. Implement file validation to ensure that only valid file types are allowed.
Folder Organization: Allow users to create folders and organize their files efficiently. Implement folder management features such as creating, renaming, and deleting folders.
Search Functionality: Implement a search feature that allows users to search for specific files or folders within their storage accounts. This will greatly enhance the user experience and ease the navigation through the system.
Access Control: Provide the ability to manage access control for shared files and folders. Users should be able to grant or revoke access to their files and folders to other users within the system.
Registration: Allocate a fixed amount of disk space for each client.
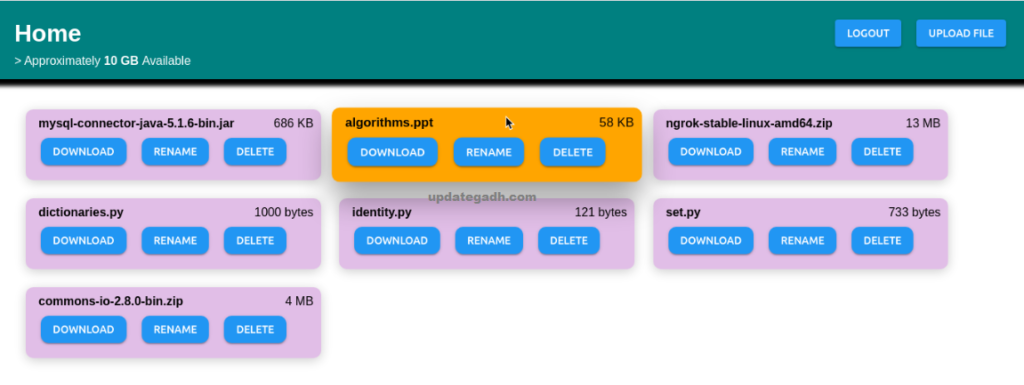
File Manipulation: Perform actions such as Upload, Delete, Rename, and Download files.
Disk Utility: Utilize a specified directory for storing data efficiently.
Database Connectivity: Seamlessly connect to a MySQL database to store user details securely.
Now that you have completed the development of your online storage system, it’s time to run the web application. Follow these steps to get your system up and running:
Deploy your web application on the Apache Tomcat server. Make sure the necessary configuration files are in place.
Connect your web application to the MySQL database. Configure the database connection details in your application’s configuration files.
Start the Apache Tomcat server and access your online storage system through a web browser. Test all the features to ensure they are functioning correctly. Congratulations! You have successfully created an online storage system on Java, JSP, MySQL, and Servlet. With this system in place, you can securely store and manage your files in the cloud.
Import Database: Within PHPMyAdmin, import the project database by selecting the “Import” option and choosing the provided database file.
[Front-end Setup]
Open Eclipse (Download link): Launch Eclipse, ensuring a smooth initiation of the development environment.
Import Project: Navigate to File > Import > General > Existing Projects into Workspace within Eclipse’s interface. Choose the root directory where your project is located and select the project before clicking Finish.
Add MySQL Connector: In the project structure, go to Src > Web > lib folder. Integrate the MySQL Connector JAR file seamlessly into this designated folder.
Right-click on Project: In the Project Explorer, right-click on your project to reveal a contextual menu.
Run As – Run on Server: Opt for “Run As” and then choose “Run on Server” to initiate the deployment process.
Select Tomcat V8.0: Choose Tomcat V8.0 as the server for execution during the configuration.
Next and Add All: Proceed to the next step in the configuration process. Click “Add All” to include all necessary resources and configurations for the project.
Done: Complete the configuration process by clicking “Done.”
Step 3: Open Browser After Successful Setup
After completing the above steps, open your web browser and navigate to the specified local server address or http://localhost:8080/your_project_name to access and interact with your successfully set up project.
Screenshots
Step 6 : Download : (Note: Only for Educational Purpose)
Virus note: All files are scanned once-a-day by updategadh.com for viruses, but new viruses come out every day, so no prevention program can catch 100% of them FOR YOUR OWN SAFETY, PLEASE: 1. Re-scan downloaded files using your personal virus checker before using it. 2. NEVER, EVER run compiled files (.exe’s, .ocx’s, .dll’s etc.)–only run source code.
This document file contains a project Synopsis, Reports, and various diagrams. Also, the abstract pdf file is inside the zip and you can modify it accordingly. Documents and Reports take 2-3 days to create as per the user Requirements
Conclusion
conclusion, the online storage system we have explored in this article provides a reliable and efficient solution for managing files and folders on the web. By following the steps mentioned above and leveraging the power of Java, JSP, MySQL, and Servlet, you can create a robust storage system that meets your requirements. So why wait? Start building your online storage system today and streamline your file management process.