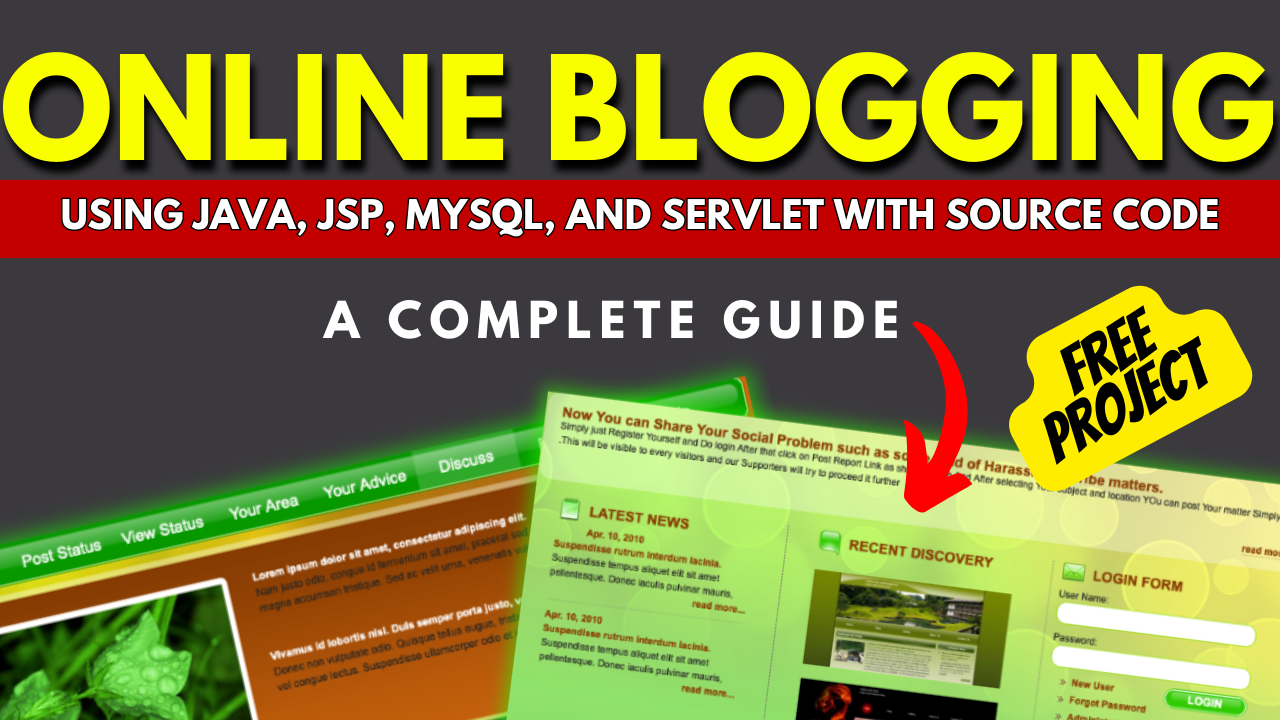
Online Blogging System Project in Java, JSP, MySQL
Introduction
In today’s digital age, having a powerful blog and report web application can greatly enhance your online presence and provide valuable insights to your audience. By incorporating HTML, CSS, JavaScript, Java JSP Servlet, and MySQL, you can create a dynamic and interactive platform that delivers an exceptional user experience. In this article, we will guide you through the steps to successfully build and deploy such an application, ensuring functionality, reliability, and ease of use.
Table of Contents
Planning Phase
Before diving into the development process, it is crucial to define the scope, objectives, and requirements of your project. Understand who your target audience is, what features and functionalities you want to incorporate, and what goals you aim to achieve with your web application. By having a clear plan in place, you can effectively manage your resources and ensure a smooth development process.
Once you have a clear understanding of your project’s requirements, it’s time to create a detailed design. This includes defining the architecture, user interface, and functionalities of your web application. Pay special attention to the user flow and overall user experience, as this will be the key to engaging and retaining your audience.
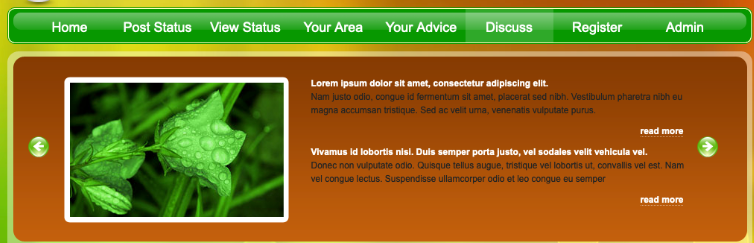
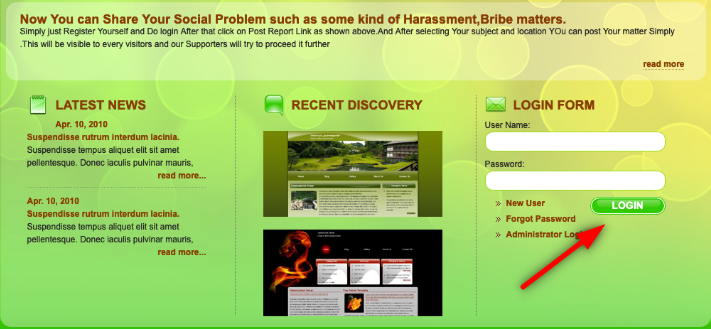
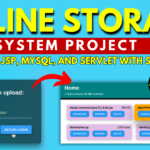
Online Blogging System
Development Phase
With the design in place, it’s time to start writing code according to the specifications. HTML, CSS, and JavaScript will be the foundation of your web application’s front-end. These technologies allow you to create a visually appealing and interactive user interface. Java JSP Servlet, on the other hand, provides server-side processing and dynamic content generation. It enables you to handle user requests, retrieve data from the database, and generate reports in real-time. MySQL, a popular database management system, will be used to store and manage your web application’s data.
Online Blogging System Project in Java, JSP, MySQL
Project Platform
JSP
Programming Language
Servlet/JSP/Bootstrap/HTML/MySQL
Front End
Html, css, js, jsp,
Back End
java, MySQL
IDE Tool
Eclipse Neon
Database
MySQL
Project Type
Web Application
Required Software and Tools
To work on this project, you will need several software and tools that ensure smooth development and deployment. Here is a list of essential requirements:
Java Development Kit (JDK): Install the latest JDK version to compile and run Java code.
IDE: Choose a suitable IDE, such as Eclipse or IntelliJ IDEA, to facilitate coding and debugging.
Apache Tomcat: Install Tomcat, a popular Java Servlet container, to run your web application.
MySQL Database: Set up a MySQL database to store product information, user details, and other relevant data.
JSP and Servlet Libraries: Ensure that your IDE includes the necessary libraries for JSP and Servlet development.
Import Database: Within PHPMyAdmin, import the project database by selecting the “Import” option and choosing the provided database file.
[Front-end Setup]
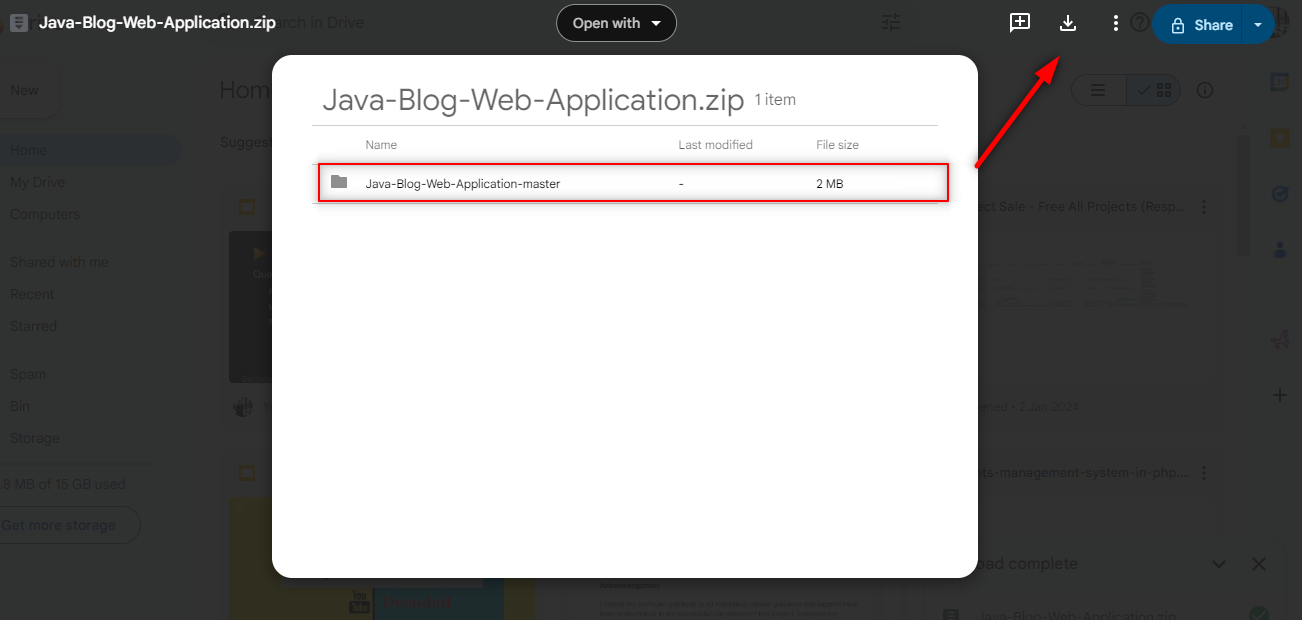
Open Eclipse (Download link): Launch Eclipse, ensuring a smooth initiation of the development environment.
Import Project: Navigate to File > Import > General > Existing Projects into Workspace within Eclipse’s interface. Choose the root directory where your project is located and select the project before clicking Finish.
Add MySQL Connector: In the project structure, go to Src > Web > lib folder. Integrate the MySQL Connector JAR file seamlessly into this designated folder.
Step 2: Run Project on Server
Right-click on Project: In the Project Explorer, right-click on your project to reveal a contextual menu.
Run As – Run on Server: Opt for “Run As” and then choose “Run on Server” to initiate the deployment process.
Select Tomcat V8.0: Choose Tomcat V8.0 as the server for execution during the configuration.
Next and Add All: Proceed to the next step in the configuration process. Click “Add All” to include all necessary resources and configurations for the project.
Done: Complete the configuration process by clicking “Done.”
Database Setup
Create a database named JavaBlogDB.
Create tables using the script provided in web/sql/sql_create_table.txt.
Open the project in your preferred IDE (e.g., Netbeans).
Run index.jsp located in web/index.jsp.
Note: advice.jsp and MyListener.java files are not included in the project from the original author (Engineering.Org.In). You may need to handle database creation and table setup manually using the provided script (sql_create_table.txt).
CREATE TABLE FORUMREG(
ID int,
USERNAME VARCHAR(4000),
USERPASS VARCHAR(4000),
EMAIL VARCHAR(4000),
MOBILE int,
ADDRESS VARCHAR(4000),
CONSTRAINT FORUMREG_PK PRIMARY KEY (ID));


CREATE TABLE FORUMREP(
ID int,
COUNTRY VARCHAR(4000),
STATE VARCHAR(4000),
DISTRICT VARCHAR(4000),
POLICE_STATION VARCHAR(4000),
REPORT VARCHAR(4000),
STATUS VARCHAR(4000),
IMAGE BLOB,
EMAIL VARCHAR(4000),
POSTEDON DATE,
CONSTRAINT FORUMREP_PK PRIMARY KEY (ID));


CREATE TABLE FORUMADVC(
RID int,
ID int,
CMT VARCHAR(4000),
EMAIL VARCHAR(4000),
CONSTRAINT FORUMADVC_PK PRIMARY KEY (ID));


CREATE TABLE  FORUMTPC (
ID int,
TOPIC VARCHAR(4000),
EMAIL VARCHAR(4000),
CREATEDON DATE NOT NULL,
CONSTRAINT FORUMTPC_PK PRIMARY KEY (ID));


CREATE TABLE  FORUMTADVC(
ID int,
TID int,
CMT VARCHAR(4000),
EMAIL VARCHAR(4000),
CONSTRAINT FORUMTADVC_PK PRIMARY KEY (ID));
Step 3: Open Browser After Successful Setup
After completing the above steps, open your web browser and navigate to the specified local server address or http://localhost:8080/your_project_name to access and interact with your successfully set up project.
Virus note: All files are scanned once-a-day by updategadh.com for viruses, but new viruses come out every day, so no prevention program can catch 100% of them FOR YOUR OWN SAFETY, PLEASE: 1. Re-scan downloaded files using your personal virus checker before using it. 2. NEVER, EVER run compiled files (.exe’s, .ocx’s, .dll’s etc.)–only run source code.
Learn how to build a powerful blog and report web application using HTML, CSS, JavaScript, Java JSP Servlet, and MySQL. Download resources and follow step-by-step instructions for successful execution. Enhance your online presence and deliver valuable insights to your audience.
Conclusion
Building a powerful blog and report web application requires careful planning, design, development, testing, and deployment. By following the outlined steps and utilizing the recommended software and tools, you can create a dynamic and interactive platform that engages your audience and delivers valuable content and insights. Stay up to date with the latest development practices and continuously enhance your web application to stay ahead in the ever-evolving digital landscape.