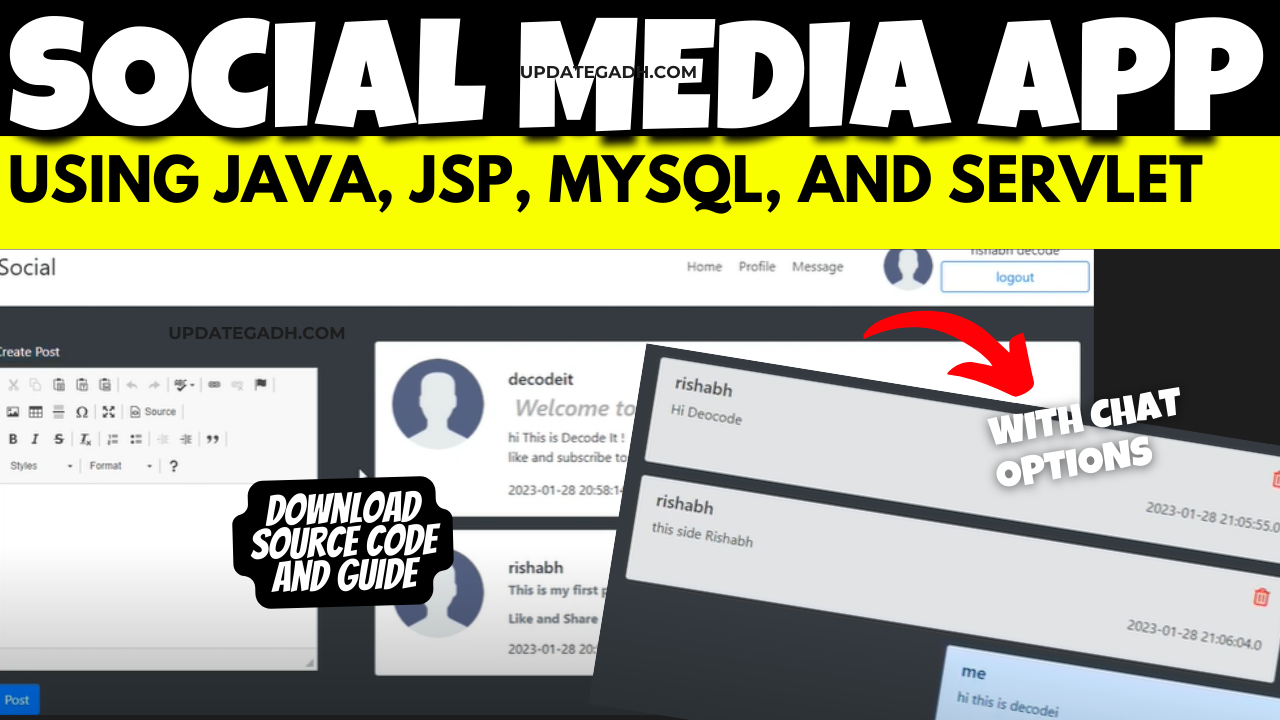
Social Media App using JSP
Are you looking to create a social media app using JSP (JavaServer Pages) but not sure where to start? Look no further! In this comprehensive guide, we will walk you through the process of making a social media app using JSP, including essential features, required software and tools, and how to run the web application.
Check 50+ JAVA Projects with Source Code

Introduction
JSP is a technology that allows developers to create dynamic web pages based on HTML or XML. Using JSP, you can easily integrate Java code into your web pages, making it an ideal choice for developing web applications. In this guide, we will focus on creating a social media app using JSP to showcase the power and flexibility of this technology.
| Name | Required |
|---|---|
| Project Name | Social Media App using Java, JSP, MySQL (JSP) |
| Project Platform | JSP |
| Programming Language | Servlet/JSP/Bootstrap/HTML/MySQL |
| Front End | Html, css, js, jsp, |
| Back End | java, MySQL |
| IDE Tool | Eclipse Neon |
| Database | MySQL |
| Project Type | Web Application |
Making the Project
The first step in creating a social media app using JSP is to set up your project. Start by creating a new web project in your favorite IDE (Integrated Development Environment) and configure it to use JSP. You will also need to set up a database to store user information, posts, and other relevant data. Once your project is set up, you can start designing the layout of your app and implementing the necessary functionality.
Essential Features
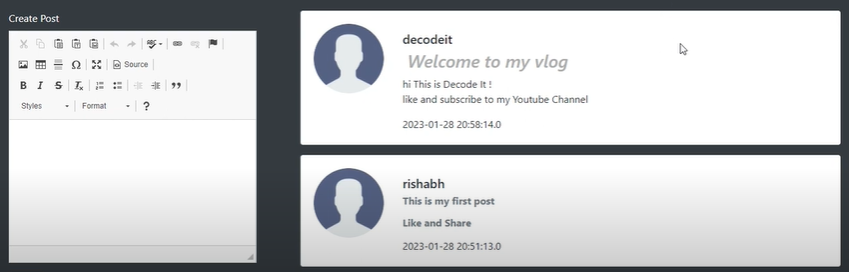
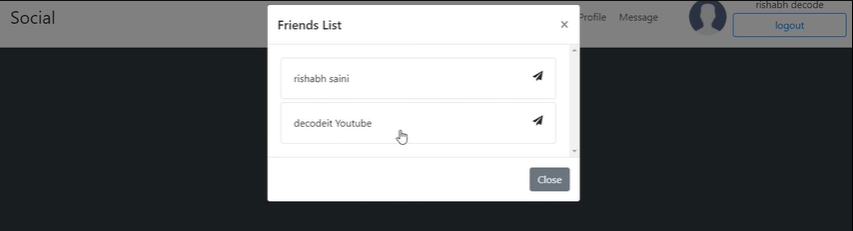
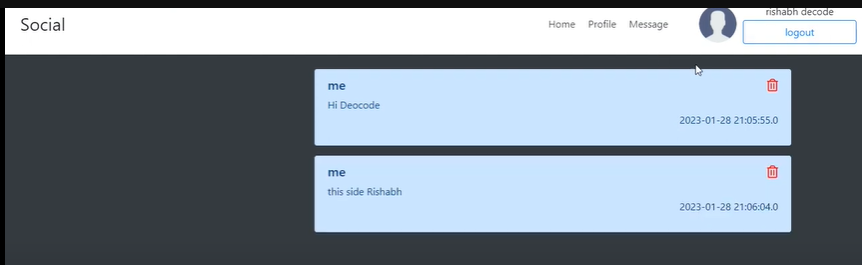
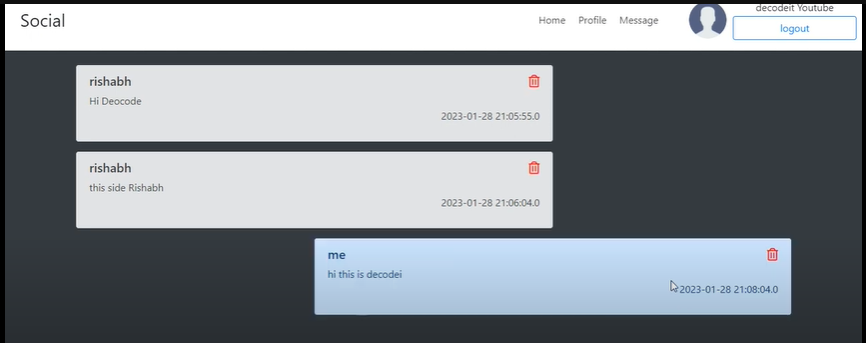
When creating a social media app, there are several essential features that you need to include to make it engaging and user-friendly. Some of these features include user authentication and authorization, the ability to create and share posts, like and comment on posts, as well as follow other users. You may also consider adding features such as direct messaging, notifications, and user profiles to enhance the user experience.
Required Software and Tools
To create a social media app using JSP, you will need to have a basic understanding of Java programming and web development. Additionally, you will need to install a web server such as Apache Tomcat, a database management system like MySQL, and an IDE such as Eclipse or IntelliJ IDEA. These tools will help you develop and deploy your web application efficiently.
To develop a Hostel Management System in JSP, you will need the following software and tools:
- Java Development Kit (JDK)
- Integrated Development Environment (IDE) such as Eclipse or IntelliJ IDEA
- Apache Tomcat server for running the web application
- MySQL database for storing and managing hostel data
- JDBC (Java Database Connectivity) for database connectivity
Ensure that you have installed and configured all the necessary software and tools before proceeding with the development process.
Technologies Used:
| Technologies Used |
|---|
| Java |
| J2EE |
| Servlets |
| JSP |
| HTML |
| CSS |
| Bootstrap |
| Tomcat Server |
| Hardware Requirements | Check |
|---|---|
| Processor | Pentium IV |
| Hard Disk | 40GB |
| RAM | 512MB or more |
| Software Requirements | |
|---|---|
| Operating System | Windows 10/11/7 or Linux |
| User Interface | HTML, CSS |
| Client-side Scripting | JavaScript |
| Programming Language | Java |
| Web Applications | JDBC, Servlets, JSP |
| Database | MySQL |
| Server Deployment | Tomcat 5.0 |
Running the Web Application
Once you have completed the development of your Farmers Buddy Community Portal, it’s time to run and test the web application.
- Importing into Eclipse:
- Download it as a ZIP file.
- Open Eclipse IDE.
- Navigate to File > Import.
- Choose General > Existing Projects into Workspace.
- Select the root directory of the cloned repository.
- Click Finish.
- Installing Apache Tomcat Server:
- Download Apache Tomcat Server from here according to your operating system.
- Extract the downloaded files to your desired location.
- Follow the setup instructions in the documentation.
- Configuring Tomcat Server in Eclipse:
- In Eclipse, go to Window > Preferences.
- Expand the Server section and select Runtime Environments.
- Click Add and choose Apache Tomcat.
- Browse and select the Tomcat installation directory.
- Click Finish.
- Installing MySQL:
- Download MySQL from here according to your operating system.
- Follow the installation instructions provided by MySQL for your specific operating system.
- MySQL JDBC Driver:
- Download MySQL JDBC Driver from here.
- Extract the downloaded files.
- Copy the JDBC Driver JAR file to the
WEB-INFfolder of your project
- Backend Setup:
- Open XAMPP and ensure Apache and MySQL services are activated.
- Go to https://updategadh.com/phpmyadmin in your web browser.
- Import the project database using the “Import” option in PHPMyAdmin.
- Front-end Setup:
- Open Eclipse and import the project.
- Add MySQL Connector JAR file to the project’s lib folder.
- Run Java on Server:
- Right-click on the project in Project Explorer.
- Select “Run As” > “Run on Server”.
- Choose Tomcat V8.0 as the server.
- Click “Next” and then “Add All”.
- Click “Done” to complete the configuration.
- Open Browser After Successful Setup:
- Open your web browser.
- Navigate to https://updategadh.com/your_project_name.
Screenshots
Document and Reports
This document file contains a project Synopsis, Reports, and various diagrams. Also, the abstract pdf file is inside the zip and you can modify it accordingly. Documents and Reports take 2-3 days to create as per the user Requirements Creating a social media app using JSP can be a rewarding and fulfilling experience. By following the steps outlined in this guide, you can create a high-quality social media app that is both functional and user-friendly. So, what are you waiting for? Start developing your social media app using JSP today and unleash your creativity on the web!
In conclusion
creating a social media app using JSP is a challenging yet exciting endeavor. With the right tools and knowledge, you can develop a dynamic and engaging web application that will attract users and keep them coming back for more. So, roll up your sleeves, dive into the world of JSP, and start building your social media empire today
new social media app
social media app
how to make a social media app
most popular social media app
how to create a social media app
most used social media app
threads social media app
social media app icons
create a social media app
how to create social media app