Introduction
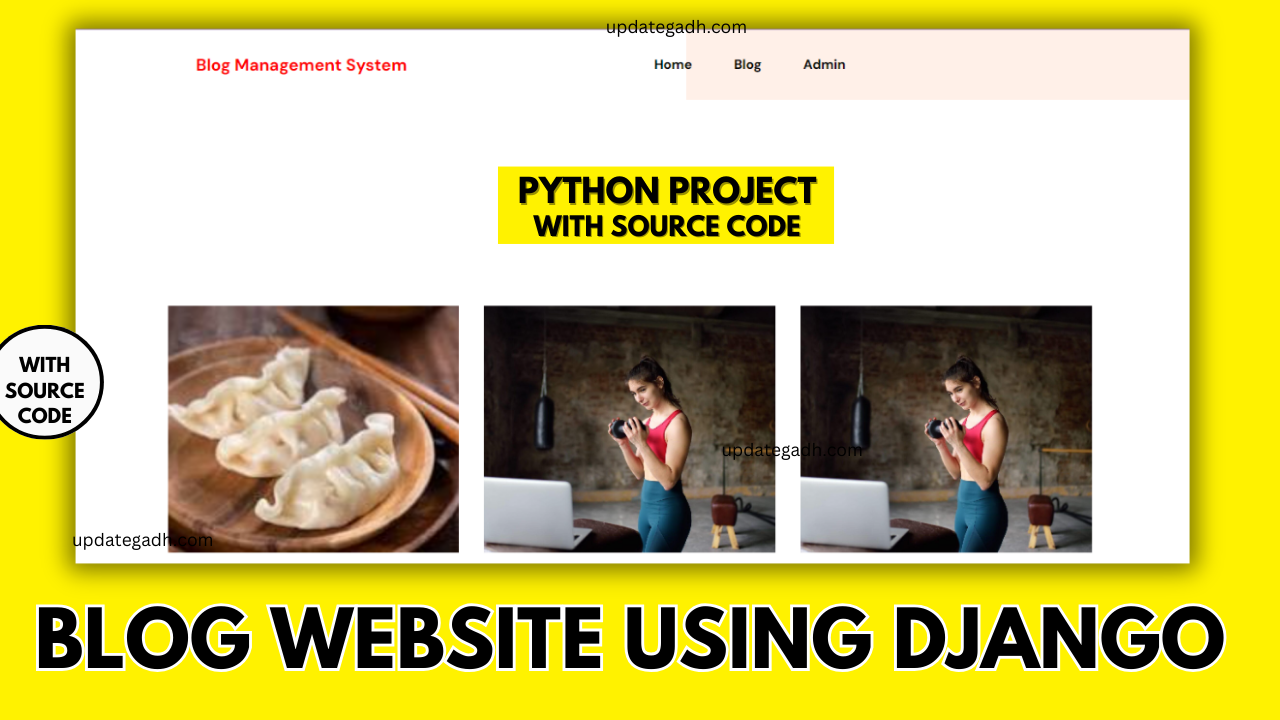
Project: Blog Website Using Django Python
A simple web-based project based on a Blog Management System. This project is developed to automate the traditional way of managing blogs using digital tools and modern web technologies. With this system, all valuable information related to blog posts, users, and categories can be stored securely for an extended period of time while allowing easy access and updates whenever needed.
The application allows admins to manage blogs, users, and categories, while authors or users can create, edit, and publish their own posts. It provides a structured way to handle data, ensuring that content is properly organized and easily retrievable. By replacing manual record-keeping with a computerized system, it reduces errors, saves time, and makes the blogging process more efficient.
For students, this project is an excellent example to understand the implementation of CRUD operations, authentication, database management, and role-based access in a web application. It mirrors real-world blogging platforms, making it both educational and practical. Overall, the Blog Management System Project is a complete and user-friendly solution that not only simplifies blog handling but also serves as a great learning project for academic and professional growth.
Blog Website Using Django Python
Requirement
Project Name : Blog Website Using Django Python
Language Used : Python
Framework Used : Django
Database : SQLite
User Interface Design : HTML,CSS,JAVASCRIPT ,JQUERY
Web Browser : Google Chrome, IE8,
Software /IDE : PyCharm
Feature
The “Blog Website Using Django Python” project consists of two key modules:
- Admin:
- The primary user responsible for overseeing the entire website.
- Category:
- Manage blog categories with the ability to Add, Update, and Delete.
- Posts:
- Control blog posts with functionalities to Add, Update, and Delete.
- Tags:
- Handle blog tags through actions such as Add, Update, and Delete.
- Change Password:
- Allows the admin to change their password for enhanced security.
- Reader (User):
- The audience and consumers of the blog content.
- Browse Categories:
- Explore the blog through different categories for a personalized reading experience.
- Search Posts:
- Utilize a search functionality to find specific posts of interest.
- Comment on Posts:
- Engage with the content by leaving comments and participating in discussions.
- Bookmark Favorite Posts:
- Allow users to bookmark or save their favorite posts for future reference.
- User Profile:
- Enable users to create and manage their profiles, track their activities, and customize preferences.
Software And Tools Required
Required tools Blog Website Using Django Python
- Django.
- PyCharm.
- Vs Code.
- Python
How To Run
How to create admin
First, run this command “python manage.py createsuperuser” and then fill username, email, and password.

Admin can recover their password by running the following command
python manage.py changepassword adminDownloading and Setting Up a Project in PyCharm:
- Download the Zip File:
- Visit the download link provided.
- Click on the “Download” button to download the zip file.
- Extract the File, Copy “bms” Folder, and Paste on the Desktop:
- Locate the downloaded zip file on your computer.
- Right-click on the file and choose “Extract” or “Extract Here” to extract its contents.
- You should now see a folder named “bms” after extraction.
- Copy the “bms” folder.
- Navigate to your desktop.
- Right-click on the desktop and choose “Paste” to copy the “bms” folder onto your desktop.
- Open PyCharm:
- Locate the PyCharm IDE on your computer and open it.
- If you don’t have PyCharm installed, you can download it from the official JetBrains website and follow the installation instructions.
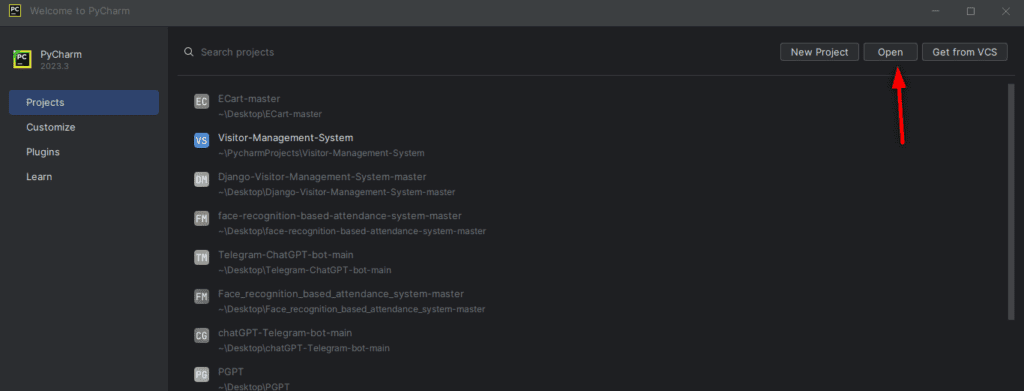
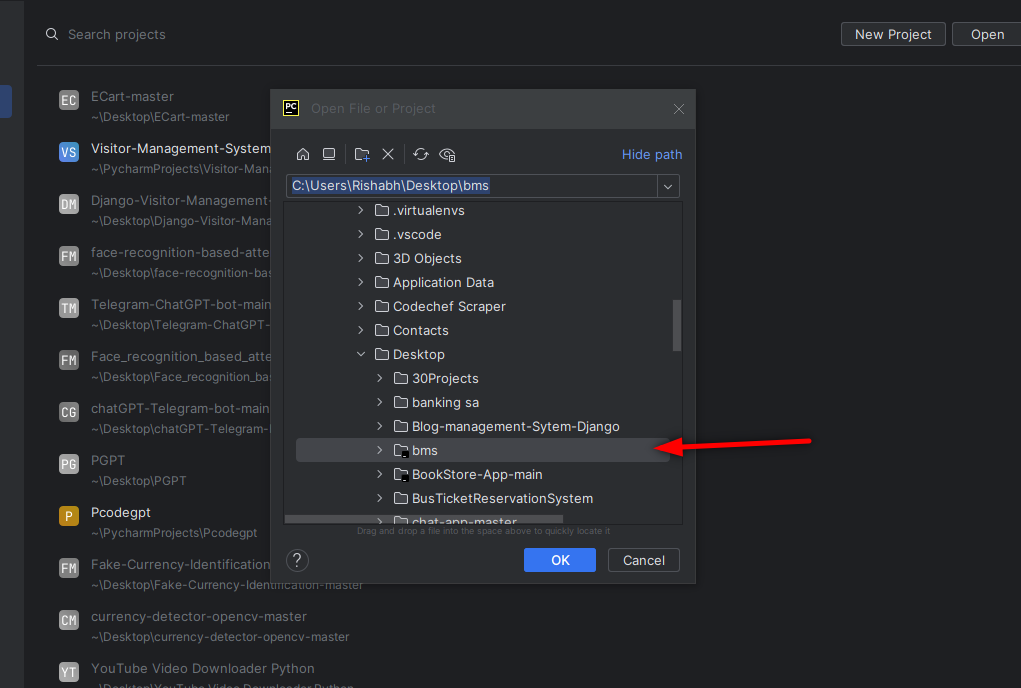
- Open Project in PyCharm:
- Once PyCharm is open, click on “File” in the top menu.
- Select “Open” or “Open Project” depending on your PyCharm version.
- Navigate to your desktop and select the “bms” folder.
- Click “Open” to open the project in PyCharm.
- Project Will Open in PyCharm:
- After opening the project in PyCharm, you will see the project structure and files in the PyCharm IDE.
- Navigate to “blogms” Directory:
- In the terminal or command prompt within PyCharm, run the following command:bashCopy code
cd blogms - This command changes the current working directory to the “blogms” directory.
- In the terminal or command prompt within PyCharm, run the following command:bashCopy code

- Run the Project:
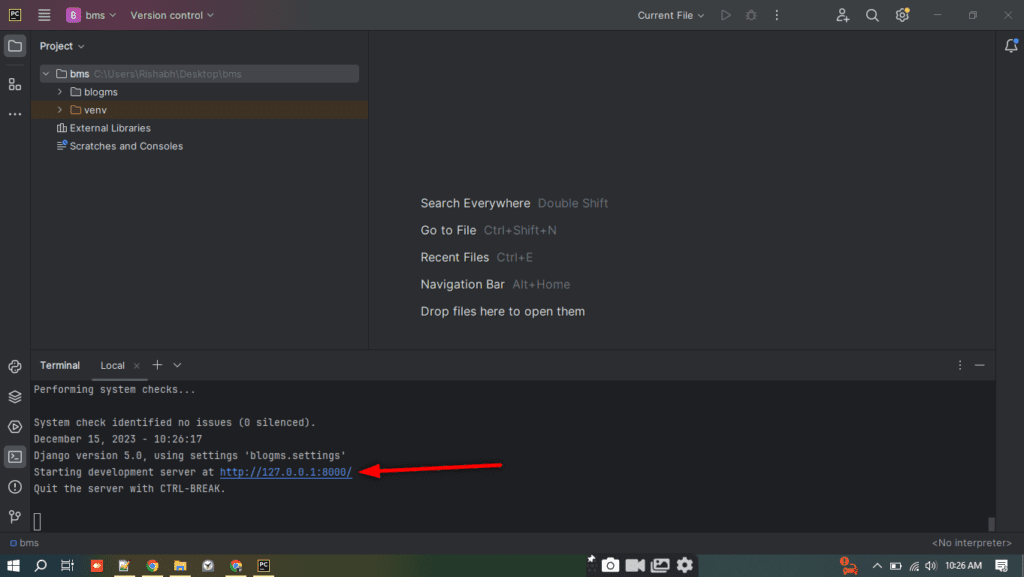
- After navigating to the “blogms” directory, execute the following command to run the project: ” python manage.py runserver “
- This command starts the Django development server, and you should see output indicating that the server is running.
- Handling Package Errors (if necessary):
- If you encounter errors related to the Ckeditor or Pillow package, execute the following commands:
- These commands ensure that the required packages are installed or upgraded to resolve any dependency issues.
For Ckeditor
pip install django-ckeditor --upgradeFor Pillow:
python -m pip install PillowProject Ready to Use:
- After running the server successfully, your Django project is ready to use.
- Open a web browser and navigate to the address provided in the terminal (usually http://localhost:8000/ )
Output
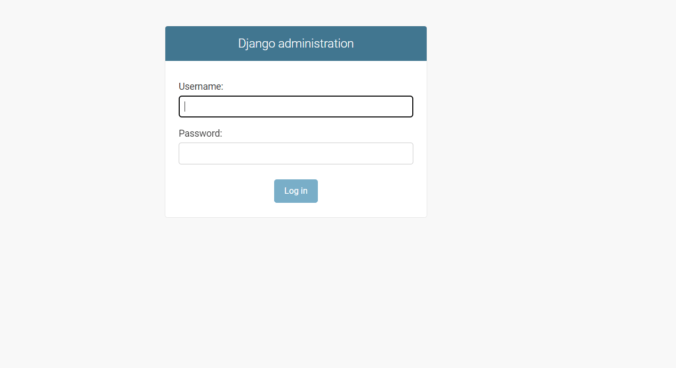
Home Page:

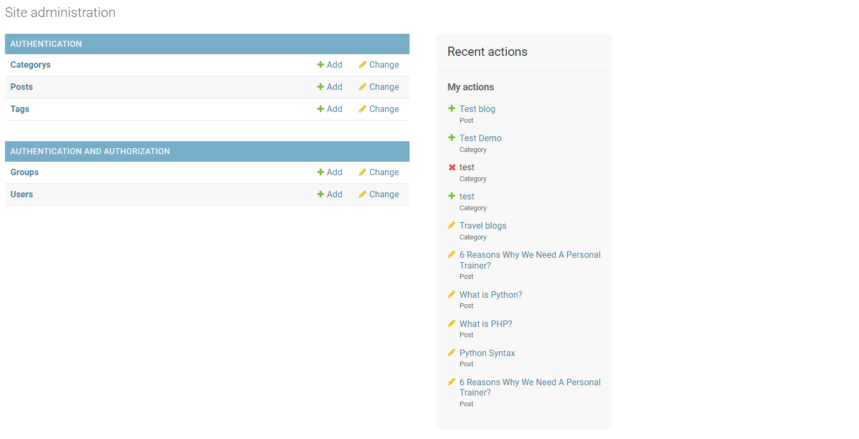
Admin Dashboard:
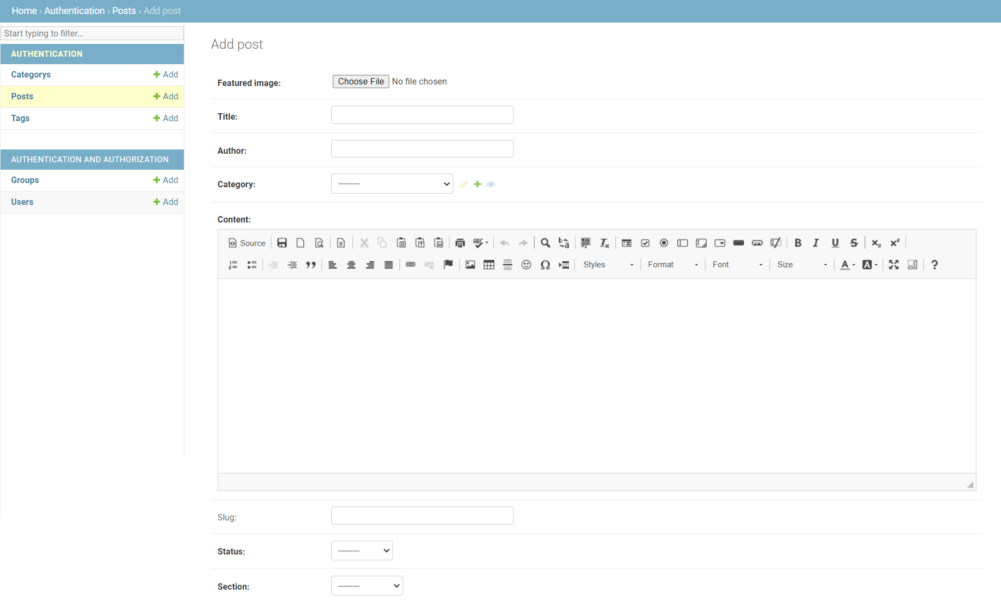
Adding Post
Note: Only for Educational Purpose