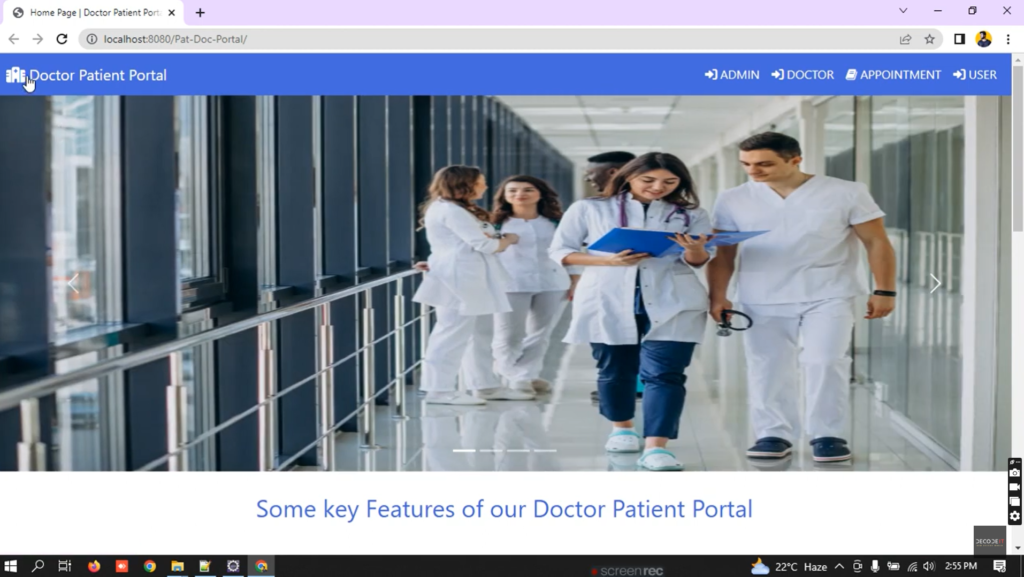
Doctor Patient Portal Project in JSP
In today’s busy healthcare system, good communication between doctors and patients is very important. A Doctor-Patient Portal is a system that makes this easier.
This project is made using JSP, Java, and MySQL. It helps doctors manage patient details, appointments, and prescriptions. At the same time, patients can log in to see their reports and talk to their doctor easily. It’s a helpful project for learning how healthcare apps work.
Project Overview
A Doctor-Patient Portal is a web-based platform that allows secure and organized communication between doctors and patients. Here are the primary features of this portal:
- Patient Registration and Login: Patients can create accounts, log in, and access their health records.
- Doctor Registration and Login: Doctors can create accounts, manage their patient lists, and update appointments.
- Appointment Booking: Patients can book appointments, and doctors can view and manage appointments.
- Medical Records and History: Doctors can update patient records and upload diagnosis reports.
- Prescription Management: Doctors can issue digital prescriptions that patients can view on the portal.
- Feedback and Messaging: Secure messaging and feedback features to facilitate doctor-patient communication.
Tools and Technologies
- Java and JSP for back-end development
- MySQL for data storage and retrieval
- Apache Tomcat for server deployment
- JDBC for connecting Java to the MySQL database
- HTML/CSS for frontend styling
Set Up Your Development Environment
- Install JDK (Java Development Kit): Ensure you have JDK installed on your system.
- Install Apache Tomcat: This open-source web server will serve our JSP pages.
- Install MySQL: This database will store patient records, doctor details, appointments, and messages.
Download New Real Time Projects :-Click here
Design the Database in MySQL
Create a database named doctor_patient_portal. This database will contain tables for managing user information, appointments, medical records, and more.
Example Tables:
- Users – for storing doctor and patient login information.
- Columns:
user_id,username,password,role(to differentiate between doctor and patient).
- Appointments – for scheduling and managing appointments.
- Columns:
appointment_id,patient_id,doctor_id,date,time,status.
- Medical_Records – for storing patients’ medical history.
- Columns:
record_id,patient_id,doctor_id,diagnosis,prescription,date.
- Messages – for secure doctor-patient communication.
- Columns:
message_id,sender_id,receiver_id,message_content,date_sent.
Create these tables using SQL commands in MySQL or a database tool of your choice.
Implement the JSP Pages and Java Code
Each feature in the portal will have a corresponding JSP page and Java code behind it. The following steps describe the primary functionalities and how to implement them:
1. User Registration and Login Pages
- Create
register.jspandlogin.jsp. - These pages should have form fields for entering username, password, and other necessary information.
- Java Backend Logic: Use JDBC to insert new user data into the
Userstable during registration and to validate user login credentials.
2. Dashboard Pages
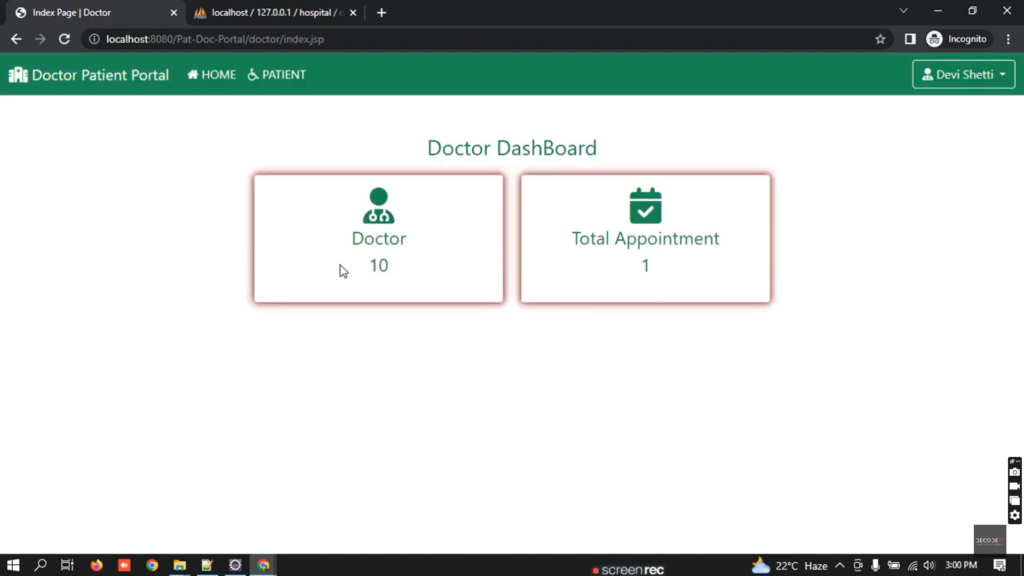
- Doctor and Patient Dashboards: Create separate JSP pages (e.g.,
doctor_dashboard.jspandpatient_dashboard.jsp). - Display relevant information like upcoming appointments, recent messages, and health records on each dashboard.
3. Appointment Booking Page
- Create
book_appointment.jsp: This page will allow patients to select a doctor, choose a date and time, and submit an appointment request. - Java Backend Logic: Save the appointment details in the
Appointmentstable, linking each appointment to both a doctor and a patient ID.
4. Medical Records and Prescription Management
- Create
view_records.jspandmanage_records.jspfor patients and doctors. - Doctor’s Role: Doctors can add or update patient records, diagnosis, and prescriptions, which will be saved in the
Medical_Recordstable. - Patient’s Role: Patients can view their medical records and prescriptions.
5. Messaging and Feedback System
- Create
messages.jsp: Allow doctors and patients to exchange messages. - Java Backend Logic: Messages are stored in the
Messagestable, with sender and receiver IDs.
https://updategadh.com/category/php-project
Establish the Java-MySQL Connection
In order to connect your JSP pages to the MySQL database, configure the database connection in your Java project using JDBC.
- Database Connection Setup:
- Use a
DBConnection.javafile with a method that establishes a connection to the MySQL database. - Ensure your
DBConnection.javafile contains the correct database URL, username, and password.
- Servlet Configuration:
- Create servlets for handling requests such as login, registration, appointment booking, and record updates.
- For example,
LoginServlet.javacan handle login requests by validating the credentials against theUserstable.
Deploy and Test the Portal
- Compile and Deploy: Compile the project and deploy it on Apache Tomcat.
- Run the Portal Locally: Access the portal through your localhost (e.g.,
http://localhost:8080/doctor_patient_portal). - Test All Functionalities: Make sure registration, login, appointments, records management, and messaging features work as expected.
Tips for a Successful Project
- Implement Input Validation: Validate all inputs to avoid SQL injections or unexpected data entries.
- Ensure Data Security: Secure sensitive data like patient records with encryption and secure session management.
- User Experience: Keep the interface simple and intuitive to make it user-friendly for both doctors and patients.
- Error Handling: Provide meaningful error messages for better debugging and user experience.


Contact Us to Get the Source Code:
If you need the source code for the Doctor Patient Portal Project Using JSP, Java, and MySQL , feel free to reach out through any of the provided contact methods.
- Remotely Setup Project.
- The Full project files
- Database.
- Step-by-step configuration tutorial.
Doctor Patient Portal Project in JSP, Java, and MySQL hospital management system project in java with source code Doctor Patient Portal Project in JSP, Java, and MySQL doctor appointment booking system source code java doctor patient portal project in php Doctor Patient Portal Project in JSP, Java, and MySQL | Advance Java Project |
efficient doctor patient portal Doctor Patient Portal Project in JSP, Java, and MySQL patient management system github doctor appointment booking system source code java Doctor Patient Portal Project in JSP, Java, and MySQL doctor appointment android app source code
Doctor Patient Portal Project in JSP, Java, and MySQL Doctor Patient Portal Project in JSP, Java, and MySQL doctor patient portal project in jsp pdf
doctor patient portal project in jsp github
doctor patient portal project in jsp example
Doctor Patient Portal Project in JSP, Java, and MySQL
