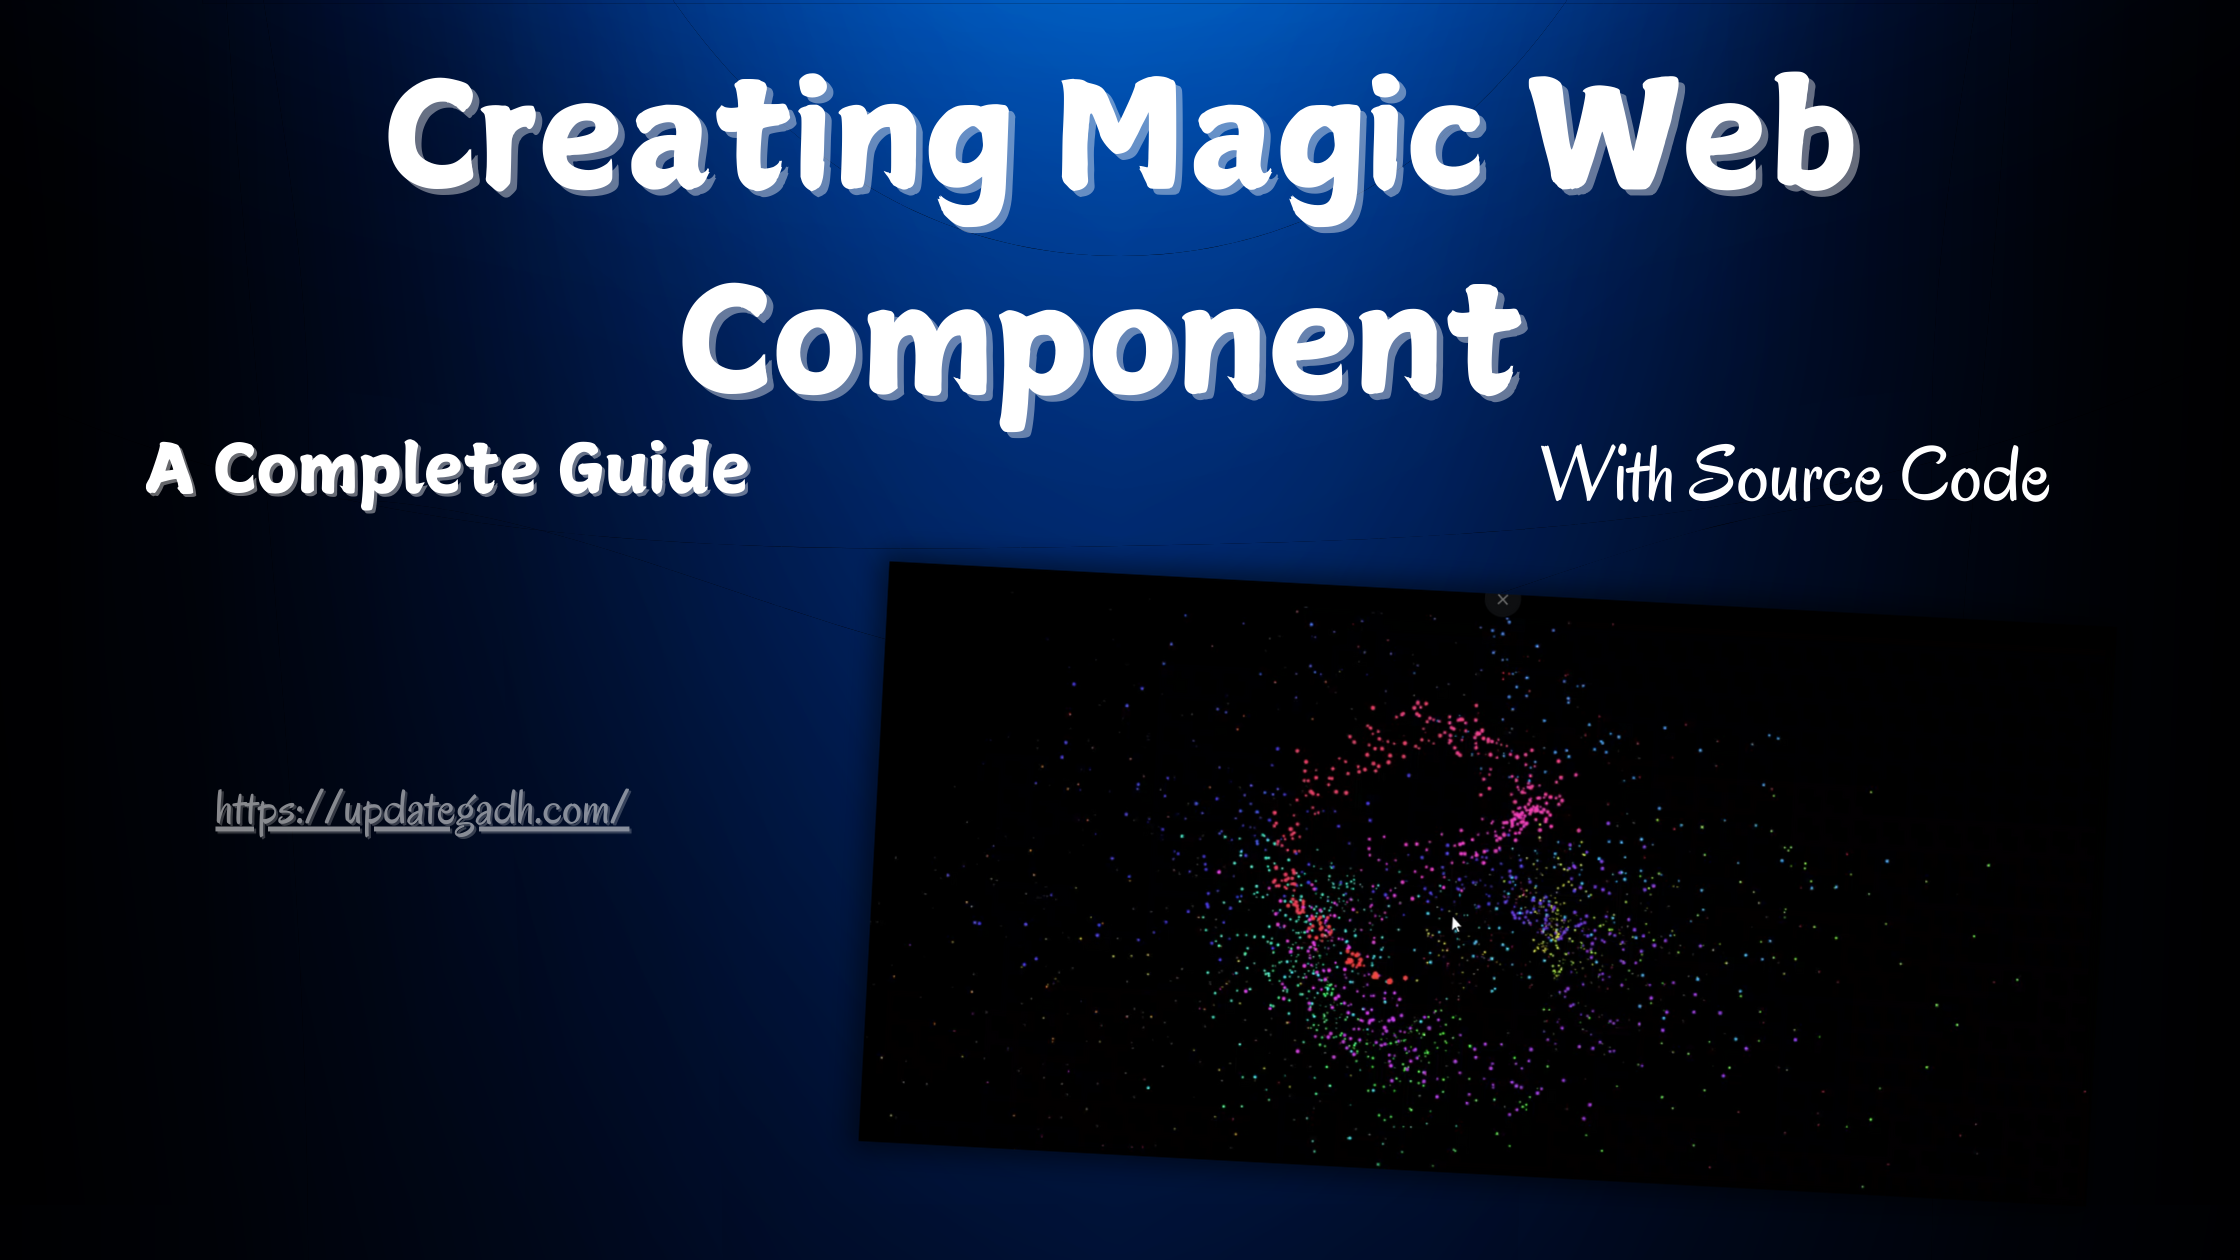
Web Component
In the world of modern web development, adding interactive elements can elevate a website’s experience from simple browsing to dynamic engagement. The <pointer-particles> web component is an innovative tool that can help you achieve just that by adding captivating particle effects that follow the users mouse movements. This simple but powerful component creates a layer of responsiveness that enhances user experience, and with its straightforward setup, its accessible to developers of all levels.
Step 1: Include the <pointer-particles> Library
To use <pointer-particles>, youll need to add the script to your HTML file. You can either use a CDN link or download the library to host it locally.
Heres an example using a CDN link:
<pointer-particles></pointer-particles>Step 2: CSS Customize the Particle Settings
Now that the component is added, its time to configure it. You can use JavaScript or add specific attributes to the <pointer-particles> element itself for easy customization. Heres an example:
* {
  box-sizing: border-box;
}

html,
body {
  height: 100%;
}

body {
  overflow: hidden;
  display: grid;
  color: white;
  background: black;
}
In this example, were setting:
colorto a hex color code (e.g., pink particles),particle-sizeto define particle dimensions,trail-lengthto adjust how long the particle trail stays on the screen,speedto control the animation speed.
With these simple configurations, you can tailor the particle effects to match your website’s style and feel.
Download New Real Time Projects :-Click here
Step 3: JS
class PointerParticle {
  constructor(spread, speed, component) {
    const { ctx, pointer, hue } = component;

    this.ctx = ctx;
    this.x = pointer.x;
    this.y = pointer.y;
    this.mx = pointer.mx * 0.1;
    this.my = pointer.my * 0.1;
    this.size = Math.random() + 1;
    this.decay = 0.01;
    this.speed = speed * 0.08;
    this.spread = spread * this.speed;
    this.spreadX = (Math.random() - 0.5) * this.spread - this.mx;
    this.spreadY = (Math.random() - 0.5) * this.spread - this.my;
    this.color = `hsl(${hue}deg 90% 60%)`;
  }

  draw() {
    this.ctx.fillStyle = this.color;
    this.ctx.beginPath();
    this.ctx.arc(this.x, this.y, this.size, 0, Math.PI * 2);
    this.ctx.fill();
  }

  collapse() {
    this.size -= this.decay;
  }

  trail() {
    this.x += this.spreadX * this.size;
    this.y += this.spreadY * this.size;
  }

  update() {
    this.draw();
    this.trail();
    this.collapse();
  }
}

class PointerParticles extends HTMLElement {
  static register(tag = "pointer-particles") {
    if ("customElements" in window) {
      customElements.define(tag, this);
    }
  }

  static css = `
    :host {
      display: grid;
      width: 100%;
      height: 100%;
      pointer-events: none;
    }
  `;

  constructor() {
    super();

    this.canvas;
    this.ctx;
    this.fps = 60;
    this.msPerFrame = 1000 / this.fps;
    this.timePrevious;
    this.particles = [];
    this.pointer = {
      x: 0,
      y: 0,
      mx: 0,
      my: 0
    };
    this.hue = 0;
  }

  connectedCallback() {
    const canvas = document.createElement("canvas");
    const sheet = new CSSStyleSheet();

    this.shadowroot = this.attachShadow({ mode: "open" });

    sheet.replaceSync(PointerParticles.css);
    this.shadowroot.adoptedStyleSheets = [sheet];

    this.shadowroot.append(canvas);

    this.canvas = this.shadowroot.querySelector("canvas");
    this.ctx = this.canvas.getContext("2d");
    this.setCanvasDimensions();
    this.setupEvents();
    this.timePrevious = performance.now();
    this.animateParticles();
  }

  createParticles(event, { count, speed, spread }) {
    this.setPointerValues(event);

    for (let i = 0; i < count; i++) {
      this.particles.push(new PointerParticle(spread, speed, this));
    }
  }

  setPointerValues(event) {
    this.pointer.x = event.x - this.offsetLeft;
    this.pointer.y = event.y - this.offsetTop;
    this.pointer.mx = event.movementX;
    this.pointer.my = event.movementY;
  }

  setupEvents() {
    const parent = this.parentNode;

    parent.addEventListener("click", (event) => {
      this.createParticles(event, {
        count: 300,
        speed: Math.random() + 1,
        spread: Math.random() + 50
      });
    });

    parent.addEventListener("pointermove", (event) => {
      this.createParticles(event, {
        count: 20,
        speed: this.getPointerVelocity(event),
        spread: 1
      });
    });

    window.addEventListener("resize", () => this.setCanvasDimensions());
  }

  getPointerVelocity(event) {
    const a = event.movementX;
    const b = event.movementY;
    const c = Math.floor(Math.sqrt(a * a + b * b));

    return c;
  }

  handleParticles() {
    for (let i = 0; i < this.particles.length; i++) {
      this.particles[i].update();

      if (this.particles[i].size <= 0.1) {
        this.particles.splice(i, 1);
        i--;
      }
    }
  }

  setCanvasDimensions() {
    const rect = this.parentNode.getBoundingClientRect();

    this.canvas.width = rect.width;
    this.canvas.height = rect.height;
  }

  animateParticles() {
    requestAnimationFrame(() => this.animateParticles());

    const timeNow = performance.now();
    const timePassed = timeNow - this.timePrevious;

    if (timePassed < this.msPerFrame) return;

    const excessTime = timePassed % this.msPerFrame;

    this.timePrevious = timeNow - excessTime;

    this.ctx.clearRect(0, 0, this.canvas.width, this.canvas.height);
    this.hue = this.hue > 360 ? 0 : (this.hue += 3);

    this.handleParticles();
  }
}

PointerParticles.register();
Real-World Applications
<pointer-particles> offers a touch of flair that can be used effectively in several scenarios:
- Landing Pages: Attract attention on introductory pages by enhancing the users first interaction with the site.
- Interactive Presentations: Use particles to guide users attention through complex information, adding subtle direction and focus.
- Gaming Websites: Increase engagement by creating a responsive environment thats visually exciting for users.
- Personal Portfolios: Make your portfolio stand out with a bit of interactivity that demonstrates your attention to detail and modern design skills.
- web components library
- web components 2024
- interactive web components
- github web components
- functional web components
- input web component
- web components data binding
- web components 2023
- building magic web component react
- building magic web component github
- building magic web component example
- building magic web component javascript