Online Railway Reservation System in Java
In today’s fast-paced world, a streamlined and efficient railway reservation system is essential for smooth transportation. This blog post will guide you through building a complete Online Railway Reservation System in Java, with JSP for the front end. Whether you’re a beginner or an experienced developer, this step-by-step guide, complemented by this YouTube tutorial series, will walk you through each feature and step in creating this powerful reservation system.
Overview
An Online Railway Reservation System is a web-based application designed to facilitate train ticket bookings, cancellations, and management of available seats. With Java and JSP, we’ll be able to deliver a responsive and user-friendly system that can manage real-time data, ensuring that users have up-to-date information on train schedules, seat availability, and fares.
This project covers the following features:
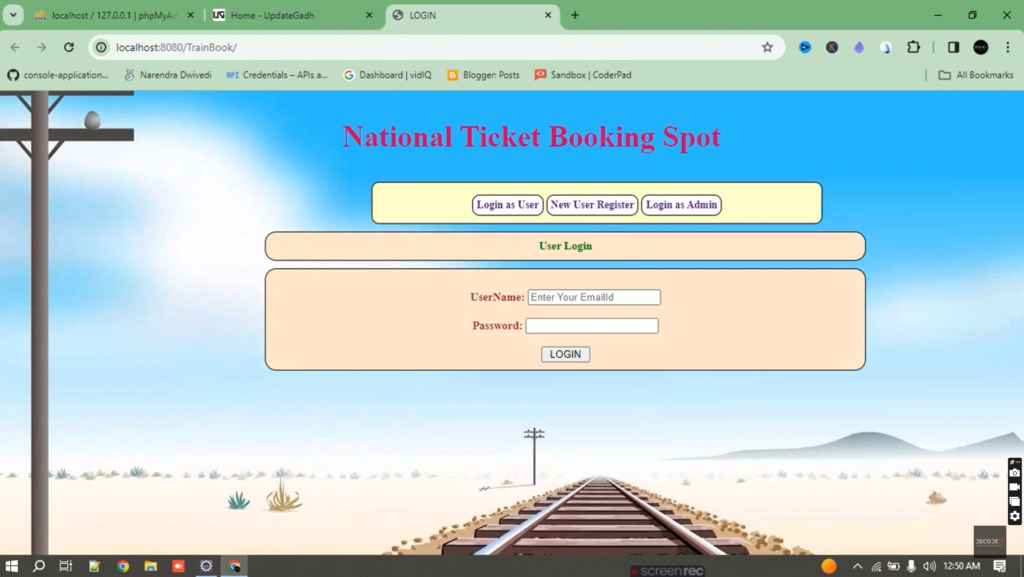
- User Registration and Login: A secure module for users to create accounts, log in, and manage their reservations.
- Search Trains: Allows users to search for trains based on origin, destination, and travel dates.
- Book Tickets: Users can reserve seats in real-time with updated availability.
- View Reservations: A dashboard to view, edit, or cancel existing reservations.
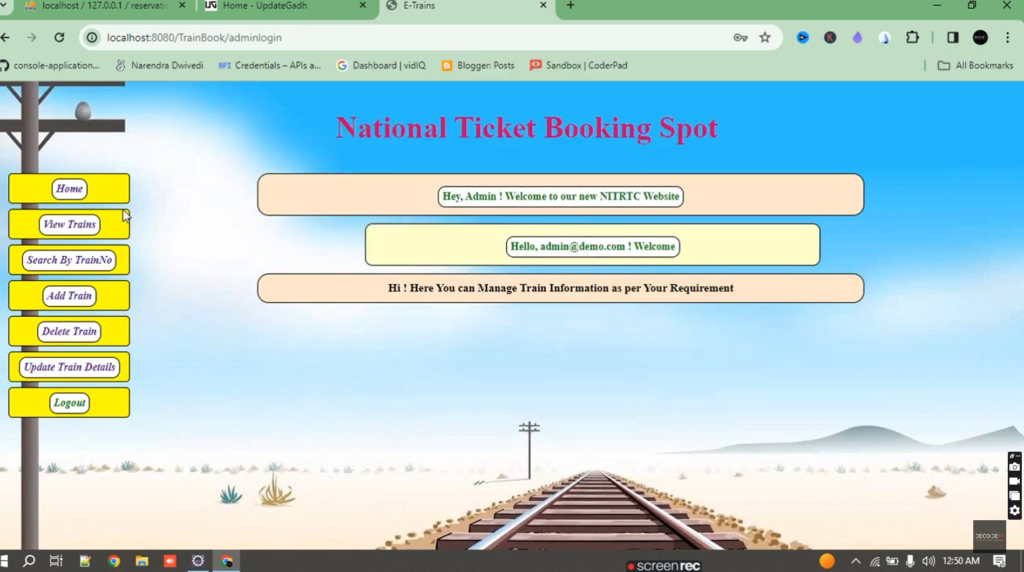
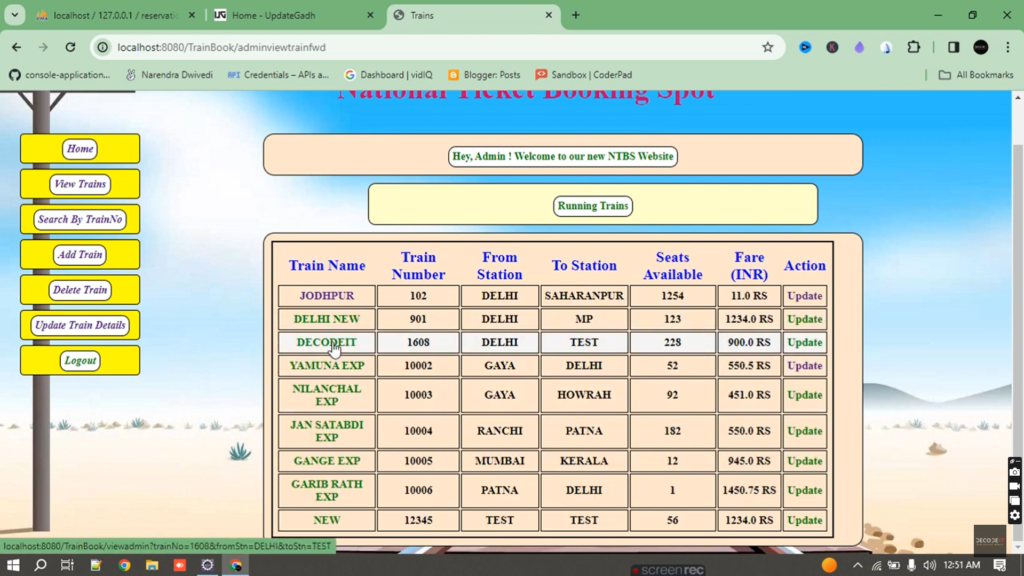
- Admin Panel: Administrators can manage train schedules, add new trains, and monitor bookings.
Step 1: Setting Up the Development Environment
- Download Java Development Kit (JDK): Install the latest JDK version.
- Install Apache Tomcat Server: Apache Tomcat will host your JSP application.
- IDE Setup: Use Eclipse or NetBeans for a smoother development experience with built-in support for JSP and Java.
- Database: Install MySQL for storing user data, train details, reservations, etc.
After setting up your environment, let’s move on to creating the database.
Download New Real Time Projects :-Click here
Step 2: Database Setup in MySQL
- Create a Database: Open MySQL and create a new database named
railway_reservation. - Create Tables:
userstable to store user information.trainstable to hold details about available trains.reservationstable for storing ticket bookings.seatstable to track seat availability. Here’s a sample SQL script to get started:
   CREATE TABLE users (
       user_id INT PRIMARY KEY AUTO_INCREMENT,
       username VARCHAR(50),
       password VARCHAR(50),
       email VARCHAR(100),
       phone VARCHAR(15)
   );

   CREATE TABLE trains (
       train_id INT PRIMARY KEY AUTO_INCREMENT,
       train_name VARCHAR(100),
       origin VARCHAR(50),
       destination VARCHAR(50),
       departure_time TIME,
       arrival_time TIME
   );

   CREATE TABLE reservations (
       reservation_id INT PRIMARY KEY AUTO_INCREMENT,
       user_id INT,
       train_id INT,
       reservation_date DATE,
       seat_no INT,
       FOREIGN KEY (user_id) REFERENCES users(user_id),
       FOREIGN KEY (train_id) REFERENCES trains(train_id)
   );
This structure will allow us to store essential information and relationships between users, trains, and reservations.
Step 3: Building the Frontend with JSP and HTML
- User Registration and Login Pages: Create
register.jspandlogin.jspfor user authentication. These pages will include forms where users can input their details. Use JavaScript for client-side validation. - Home Page:
home.jspwill serve as the main interface. Here, users can search for trains, view upcoming trips, and manage their reservations. - Booking Page: The booking page,
book.jsp, allows users to select available seats for their chosen train and confirm reservations. - Reservation Dashboard:
dashboard.jspprovides users with a summary of their active and past reservations with options to modify or cancel bookings. - Admin Pages: Administrators can use pages like
admin.jspto manage train schedules, add or remove trains, and monitor the booking process. Use CSS for styling to keep the interface clean, simple, and user-friendly.
https://updategadh.com/category/php-project
Step 4: Backend Functionality with Java Servlets
To handle the business logic, we’ll use Java Servlets that interact with our JSP pages and database.
- Authentication Servlet: Handles user login and registration, verifying credentials, and ensuring secure access.
- Search Train Servlet: Fetches train data based on search criteria (origin, destination, date).
- Booking Servlet: Allows users to select seats and confirm reservations.
- Reservation Management Servlet: Lets users view, modify, and cancel reservations.
- Admin Servlet: Provides admin-specific functionality like adding new trains and managing schedules.
These servlets will handle HTTP requests from the JSP pages and execute SQL queries to perform the necessary actions in the database.
Step 5: Integrating Database Connectivity
Use JDBC (Java Database Connectivity) to connect Java servlets with the MySQL database. Here’s a sample code snippet for establishing a connection:
import java.sql.Connection;
import java.sql.DriverManager;

public class DatabaseConnection {
    public static Connection getConnection() {
        Connection connection = null;
        try {
            Class.forName("com.mysql.cj.jdbc.Driver");
            connection = DriverManager.getConnection("jdbc:mysql://localhost:3306/railway_reservation", "root", "password");
        } catch (Exception e) {
            e.printStackTrace();
        }
        return connection;
    }
}
This utility class will help manage database connections efficiently across the application.
Step 6: Testing and Debugging
- Run the Application: Deploy the project on Apache Tomcat and test each feature.
- Debugging: Use tools like Eclipse’s debugger to step through your code and fix any issues.
- Database Testing: Verify that data is correctly saved, updated, and deleted in the MySQL database.
Ensure thorough testing to iron out any issues with booking, cancellations, or seat availability.
Step 7: Deployment and Maintenance
After testing, you can deploy the application on a public server or cloud service. Consider options like Amazon AWS or Google Cloud to host your Tomcat server and MySQL database.
Once live, monitor the application to ensure it performs smoothly, especially under heavy traffic.
Features
- User-Friendly Interface: Designed for ease of use, allowing seamless navigation for users and administrators.
- Secure Authentication: User data is securely handled with login credentials.
- Real-Time Seat Availability: Displays the latest seat availability for each train.
- Admin Controls: Administrators have complete control over train schedules and reservations.
- Efficient Data Management: All bookings, cancellations, and changes are managed efficiently within the database.


Contact Us to Get the Source Code:
If you need the source code for the Online Railway Reservation System in Java | Train Ticket Reservation System in JSP , feel free to reach out through any of the provided contact methods.
- Remotely Setup Project.
- The Full project files
- Database.
- Step-by-step configuration tutorial.
- railway reservation system project report pdf
- online railway reservation system in java example
- online railway reservation system in java github
- railway reservation system project with source code
- online railway reservation system project report pdf
- railway reservation system project in java pdf
- online railway reservation system project documentation
- online ticket reservation system project
- irctc
- online train ticket booking
- train ticket availability
- indian railway ticket booking
- reservation chart with name
- indian railways
- irctc login
- pnr status
- train ticket reservation system in jsp github
