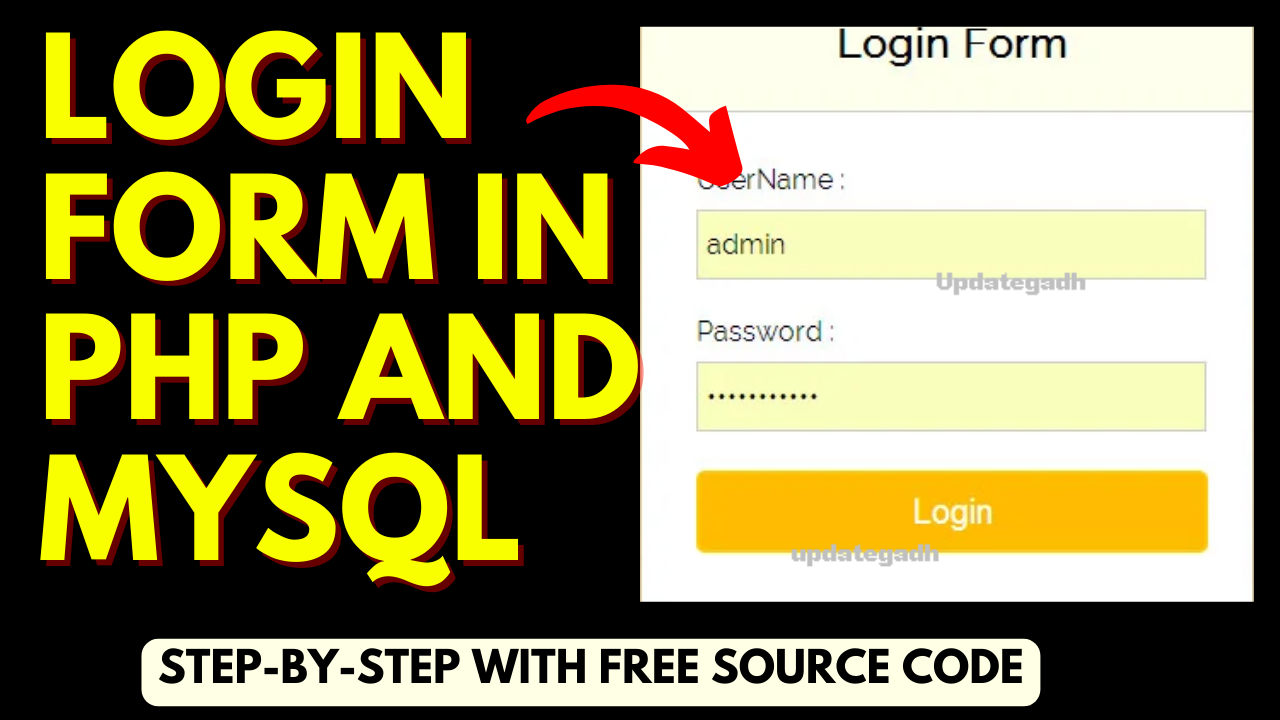

login form in php and mysql , Step-by-Step with Free Source Code
login form in php and mysql : A Step-by-Step Guide to Building a Secure User login form in php and mysql
Introduction
In today’s digital world, user authentication plays a crucial role in ensuring the security of online systems. One of the most common methods of user authentication is through login forms. In this article, we will discuss how to create a login form using PHP and MySQL, two powerful tools for building dynamic web applications. We will delve into the steps required to set up this project, the features it should have, the software required, and provide a project abstract. So let’s get started!
In this discussion, we will explore the process of establishing a login form in php and mysql System by utilizing PHP and a MySQL database. Several steps are outlined to guide the creation of a login system integrated with a MySQL database.
Software Required
To develop the login form in PHP and MySQL, you will need the following software:
- PHP: Install PHP on your local machine or a web server to run dynamic PHP code.
- MySQL: Set up a MySQL database to store user information and authenticate login credentials.
- HTML and CSS: Use HTML and CSS to design the login form and style it according to your preferences.
- Text Editor: Choose a text editor of your choice (e.g., Visual Studio Code, Sublime Text) for writing PHP and HTML code.
Environment Setup for login form in php and mysql
Setting up the environment is crucial for the development of a PHP MySQL Login System. Follow these steps to establish the necessary groundwork:
- Launch XAMPP Control Panel: Open the XAMPP Control Panel to initiate the setup process.
- Start Apache Server: Click on the “Start” button to activate the Apache server.
- Start MySQL: Initiate MySQL by clicking on its respective “Start” button.
- File Creation: Generate all the essential files required for the login system.
- Create Login Table: Utilize phpMyAdmin in XAMPP to create the login table within the database.
Creating Essential Files for login form in php and mysql
- index.html: This file serves as the graphical user interface (GUI) for the login page and incorporates empty field validation.
- style.css: The style.css file is designed to enhance the visual appeal of the login form, providing an attractive appearance.
- connection.php: The connection.php file contains the necessary code for establishing a connection to the database, ensuring seamless connectivity.
- authentication.php: Responsible for validating the form data submitted by the user against the database, the authentication.php file plays a crucial role in the login system’s functionality.
index.html
<html>
<head>
    <title>PHP login system</title>
    // insert style.css file inside index.html
    <link rel = "stylesheet" type = "text/css" href = "style.css">
</head>
<body>
    <div id = "frm">
        <h1>Login</h1>
        <form name="f1" action = "authentication.php" onsubmit = "return validation()" method = "POST">
            <p>
                <label> UserName: </label>
                <input type = "text" id ="user" name  = "user" />
            </p>
            <p>
                <label> Password: </label>
                <input type = "password" id ="pass" name  = "pass" />
            </p>
            <p>
                <input type =  "submit" id = "btn" value = "Login" />
            </p>
        </form>
    </div>
    // validation for empty field
    <script>
            function validation()
            {
                var id=document.f1.user.value;
                var ps=document.f1.pass.value;
                if(id.length=="" && ps.length=="") {
                    alert("User Name and Password fields are empty");
                    return false;
                }
                else
                {
                    if(id.length=="") {
                        alert("User Name is empty");
                        return false;
                    }
                    if (ps.length=="") {
                    alert("Password field is empty");
                    return false;
                    }
                }
            }
        </script>
</body>
</html>

style.css
body{
    background: #eee;
}
#frm{
    border: solid gray 1px;
    width:25%;
    border-radius: 2px;
    margin: 120px auto;
    background: white;
    padding: 50px;
}
#btn{
    color: #fff;
    background: #337ab7;
    padding: 7px;
    margin-left: 70%;
}

Database and Table Creation
- Access phpMyAdmin in your browser using the link:
localhost/phpmyadmin/. - Click on the “New” button.
- Enter the desired database name [updategadh] in the provided field.
- Click the “Create” button to create the new database.

- Now we will create a login table in the database. Create a table by name login in the database which you have created earlier.

- Specify the column Name and their Type and Length in the table in which we will store the username and password for the different users and save it by clicking on the save button.
CREATE TABLE login(
username VARCHAR(10) NOT NULL,
password VARCHAR(10) NOT NULL
);

- Click on the insert, from where we can insert the records in columns. So insert the username and password here and click on Go button to save the record.
INSERT INTO login_table (username, password) VALUES ('updategadh', 'updategadh');

connection.php
<?php
    $host = "localhost";
    $user = "root";
    $password = '';
    $db_name = "updategadh";

    $con = mysqli_connect($host, $user, $password, $db_name);
    if(mysqli_connect_errno()) {
        die("Failed to connect with MySQL: ". mysqli_connect_error());
    }
?>
authentication.php
<?php
    include('connection.php');
    $username = $_POST['user'];
    $password = $_POST['pass'];

        //to prevent from mysqli injection
        $username = stripcslashes($username);
        $password = stripcslashes($password);
        $username = mysqli_real_escape_string($con, $username);
        $password = mysqli_real_escape_string($con, $password);

        $sql = "select *from login where username = '$username' and password = '$password'";
        $result = mysqli_query($con, $sql);
        $row = mysqli_fetch_array($result, MYSQLI_ASSOC);
        $count = mysqli_num_rows($result);

        if($count == 1){
            echo "<h1><center> Login successful </center></h1>";
        }
        else{
            echo "<h1> Login failed. Invalid username or password.</h1>";
        }
?>
How to run the login form?
To run the login form and test the PHP MySQL Login System, follow these steps:
- Open the XAMPP Control Panel.
- Start the Apache server and ensure that PHP is also running.
- Place your login system files (index.html, style.css, connection.php, authentication.php, etc.) in the appropriate folder within the XAMPP “htdocs” directory.
- In your web browser, type the following URL in the address bar:
localhost/your_folder_name/index.html
Replace “your_folder_name” with the actual name of the folder where your login system files are located.
- Press Enter to load the login form in the browser.
- You should now see the login form. Enter the username and password, and click the “Login” button.
By following these steps, you will be able to access and test your PHP MySQL Login System. Make sure that all the files are correctly configured and the database connection is established for the login system to function as intended.


Check more Projects :- https://www.youtube.com/@Decodeit2/playlists
In conclusion, building a login form in PHP and MySQL is a foundational skill for web developers. With the right implementation and security measures, you can create a robust user authentication system for your web applications. So why wait? Start implementing your login form today and enhance the security of your online systems.: Learn how to create a secure login form in PHP and MySQL. Step-by-step guide with features, software requirements, and project abstract. Build a robust user authentication system now!


Post Comment