Insurance Management System
If you’re a student looking for a real-world web application to showcase your skills, the Insurance Management System using Django is the ideal choice. Designed to simulate a real-life insurance workflow, this project helps you understand admin-user roles, policy approval processes, database integration, and clean UI management — all while working on a powerful backend framework like Django.
Download New Real Time Projects :-Click here
Project Name: Insurance Management System
Language(s) Used: Python, Django
Python Version (Recommended): 3.7.6
Database: SQLite
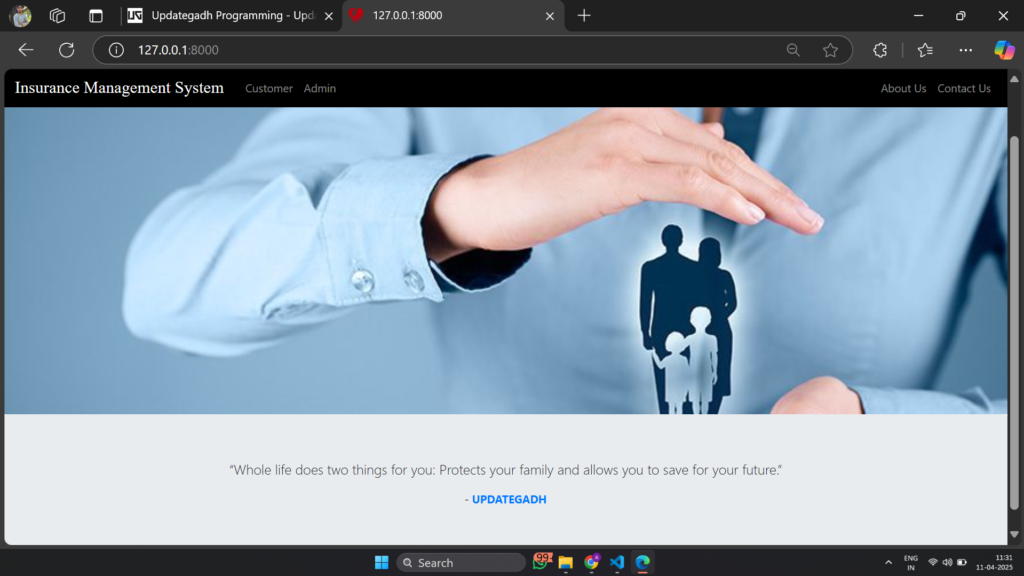
Type: Web Application
Developer: UPDATEGADH
💼 Available Features
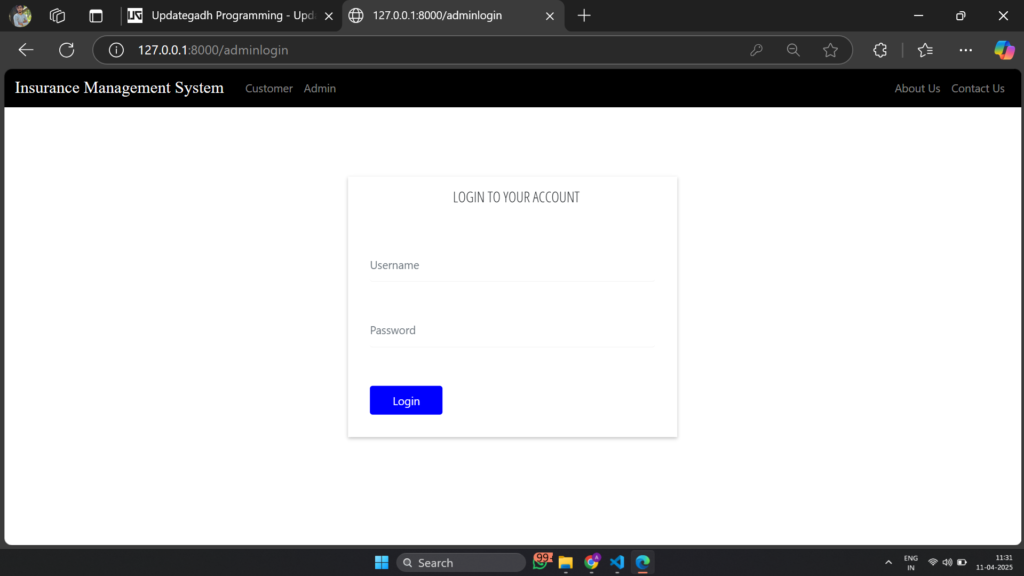
✅ Admin and Customer Login System
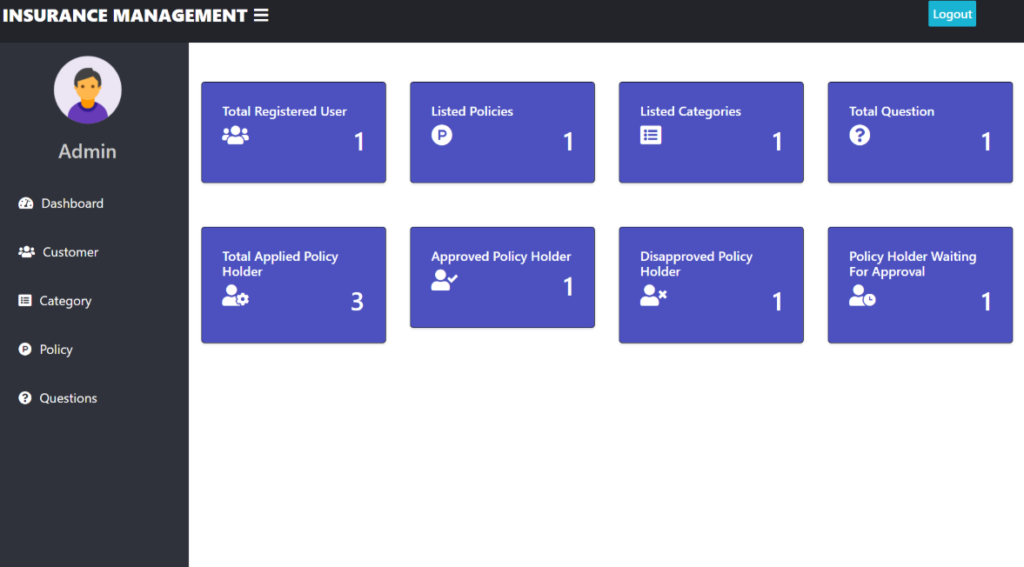
✅ Admin Dashboard to Manage Users & Policies
✅ Manage Policy Categories (Life, Health, Motor, Travel)
✅ Full CRUD on Policies
✅ Policy Approval Workflow
✅ View Total, Approved, and Disapproved Policy Holders
✅ Customers Can Apply for Policies
✅ Customers Can Track Application Status
✅ Messaging System between Admin and Customer
🔑 Roles and Functionalities
👨💼 Admin Panel
- Create admin account using:
python manage.py createsuperuser - Login to admin dashboard.
- View, update, or delete registered customers.
- Add, update, or remove policy categories.
- Create and manage policies.
- View statistics:
- Total Policy Holders
- Approved Policies
- Disapproved Policies
- Approve policy applications submitted by customers.
- Respond to customer queries.
👤 Customer Panel
- Register without waiting for admin approval.
- Login and browse all available policies.
- Apply for policies of interest.
- Track application status in the history section.
- Ask questions to the admin directly from dashboard.
🚀 How to Run This Project
Step-by-step Instructions:
- Install Python 3.7.6
✔ Make sure to check “Add Python to PATH” during installation. - Install Required Libraries
Open your terminal and run:python -m pip install -r requirements.txt - Download and Extract Project
Unzip the project folder. - Navigate to Project Folder in Terminal
Then run:py manage.py makemigrations py manage.py migrate py manage.py runserver - Access the Application
Open your browser and visit:http://127.0.0.1:8000/
✉️ Email Configuration for Contact Us Page
In settings.py, update your Gmail credentials:
EMAIL_HOST_USER = 'youremail@gmail.com'
EMAIL_HOST_PASSWORD = 'your email password'
EMAIL_RECEIVING_USER = 'youremail@gmail.com'
⚠️ Disclaimer
This project is developed for learning and demo purposes only. Not suitable for production without further improvements.

insurance management system using django github
insurance management system using django with source code
insurance management system using django pdf
insurance management system using django using python
insurance management system using django example
insurance management system project in python
insurance management system github
insurance management system project in java github