
Gmail API in Python
Introduction
In this tutorial, we’ll explore how to use the Gmail API in Python to perform various Gmail operations such as sending emails, searching emails, deleting emails, and more. We’ll start with an overview of Gmail APIs, prerequisites, and the setup process, and finally, we’ll demonstrate practical implementations with Python code.
Download New Real Time Projects :-Click here
What is Gmail API?
One of the most widely used email systems globally, Gmail is used by both consumers and businesses.Over time, its functionality has been enhanced with AI-driven features like smart composing suggestions and advanced security measures.
Developers can connect with Gmail accounts programmatically using the Gmail API, which is a component of Google’s RESTful API offerings.
Using Python, we can leverage this API to access Gmail features seamlessly.
Prerequisites for Using Gmail API in Python
To use Gmail API in Python, ensure the following requirements are met:
- Python Installed: Python version 2.6 or higher is required.
- Gmail Account: A Google account that has enabled Gmail.
- Libraries Installed: You must install necessary Python libraries like
google-api-python-client,google-auth-httplib2, andgoogle-auth-oauthlib. - Basic Knowledge: Familiarity with Google OAuth libraries and Google API client is helpful.
Installing Required Libraries
Before proceeding, we need to install the required libraries. Follow these steps:
- Open the terminal or command prompt.
- Run the following command to install the necessary libraries:
pip install --upgrade google-api-python-client google-auth-httplib2 google-auth-oauthlib
Enabling the Gmail API
Take these actions to activate the Gmail API:
Step 1: Open Google Cloud Console and create a new project.
- Visit Google Cloud Console and log in with your Google account.
- Choose “New Project” to start a new project, or use an already-existing one.
Step 2: Enable Gmail API
- Go to “APIs & Services” on the project dashboard.
- Select “Enable APIs and Services”.
- Search for “Gmail API” and enable it.
Step 3: Configure the OAuth Consent Screen
- Go to the “OAuth Consent Screen” menu.
- After choosing an application name, save the configurations.
Step 4: Create OAuth Credentials
- Click “Create Credentials” > “OAuth Client ID” after navigating to the “Credentials” section.
- Name the credentials and select “Desktop Application” as the application type.
- Download the credentials as a JSON file named
credentials.jsonfor future use.
Python Implementation of Gmail API
Step 1: Import Required Modules
Here’s a sample script to authenticate and utilize the Gmail API:
import os
import pickle
from googleapiclient.discovery import build
from google_auth_oauthlib.flow import InstalledAppFlow
from google.auth.transport.requests import Request
from base64 import urlsafe_b64encode
from email.mime.text import MIMEText

# Define the required scope for Gmail API
SCOPES = ['https://mail.google.com/']

# Function to authenticate Gmail API
def authenticate_gmail_api():
    creds = None
    # Check if token.pickle exists for saved credentials
    if os.path.exists("token.pickle"):
        with open("token.pickle", "rb") as token:
            creds = pickle.load(token)
    # If no valid credentials, initiate manual sign-in
    if not creds or not creds.valid:
        if creds and creds.expired and creds.refresh_token:
            creds.refresh(Request())
        else:
            flow = InstalledAppFlow.from_client_secrets_file('credentials.json', SCOPES)
            creds = flow.run_local_server(port=0)
# Store the login information for later use.

        with open("token.pickle", "wb") as token:
            pickle.dump(creds, token)
    return build('gmail', 'v1', credentials=creds)

# Authenticate and initialize Gmail API service
service = authenticate_gmail_api()
Step 2: Sending an Email
Here’s how to use the Gmail API to send an email:
def create_email(to, subject, body):
    message = MIMEText(body)
    message['to'] = to
    message['from'] = 'YourEmail@gmail.com'
    message['subject'] = subject
    return {'raw': urlsafe_b64encode(message.as_bytes()).decode()}

def send_email(service, to, subject, body):
    email = create_email(to, subject, body)
    service.users().messages().send(userId='me', body=email).execute()

# Usage example
send_email(service, "recipient@gmail.com", "Hello from Python!", "This is a test email sent using Gmail API.")
Performing Other Gmail Actions
The Gmail API facilitates a number of functions, including:
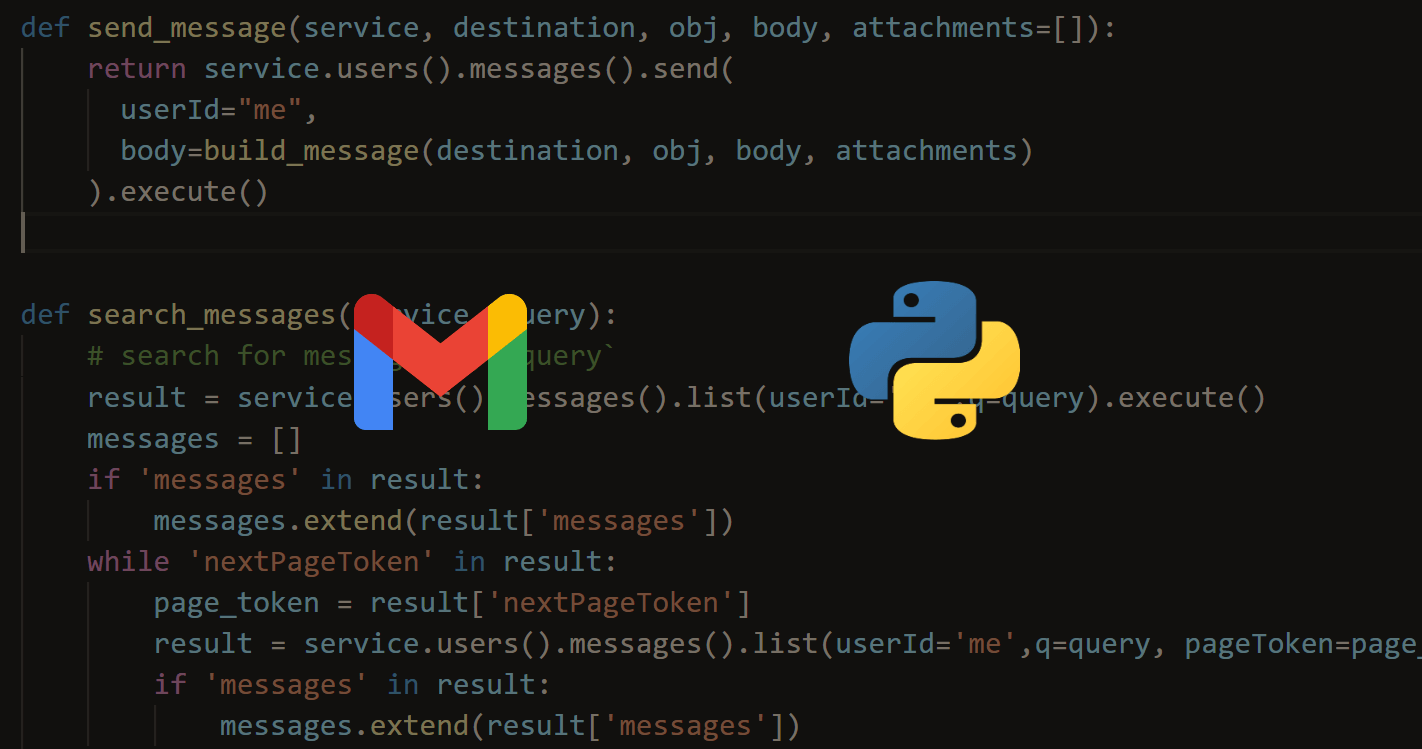
- Searching Emails: Retrieve emails matching specific criteria.
- Reading Emails: Access and read email contents.
- Deleting Emails: Remove unwanted emails.
- Marking Emails as Read/Unread: Update email statuses.
These operations can be implemented by exploring Gmail API’s official documentation.
- PHP PROJECT:- CLICK HERE
- INTERVIEW QUESTION:-CLICK HERE
- Complete Advance AI topics:- CLICK HERE
- Complete Python Course with Advance topics:- CLICK HERE
- python gmail api send email
- python gmail api read email
- gmail api-python documentation
- gmail api-python github
- gmail api-python quickstart
- python gmail read email
- gmail api documentation
- is gmail api free
🎓 Need Complete Final Year Project?
Get Source Code + Report + PPT + Viva Questions (Instant Access)
🛒 Visit UpdateGadh Store →