
Beauty Parlour Management System
Running a beauty parlour requires managing appointments, clients, staff, and services effectively. With technology evolving, managing everything manually is no longer efficient. This is where a Beauty Parlour Management Web Application comes in handy. Such an application simplifies operations by streamlining bookings, service management, client records, and staff schedules. If you’re looking for a practical solution to manage your beauty parlour or if you want to develop a web-based application for this purpose, this guide will walk you through the setup of a Beauty Parlour Management Web Application using a pre-built solution packed in a zip file.
What is a Beauty Parlour Management Web Application?
A Beauty Parlour Management Web Application is an online tool designed to automate and manage various operations in a beauty parlour. This application typically includes features like:
- Appointment scheduling: Customers may check available time slots, schedule services, and get confirmations.
- Service management: A list of available services and pricing can be easily updated and managed.
- Client database: Keeping track of client profiles, their history, and preferences.
- Staff management: Allocating staff to specific appointments and managing staff availability.
- Reports and analytics: monitoring the success of the firm by looking at daily, weekly, and monthly reports.
Now, let’s dive into how to set up the application from a zip file and get it running!
Download New Real Time Projects :-Click here
Step-by-Step Guide
Download and Extract the Zip File
The first step in setting up the web application is downloading the zip file containing the project files.
- Download the ZIP file: You’ll likely receive the zip file from a source.
- Extract the files: Once the zip file has finished downloading, right-click on it and choose “Extract All.” Select the directory in which you want to keep your project files.
Create a MySQL Database
Once your local server is running (XAMPP)
- Open phpMyAdmin: To accomplish this, open your web browser and navigate to http://localhost/phpmyadmin.
- Create a new database:
- Click on New in the sidebar.
- Give your database a name (e.g.,
sensational_beauty_parlour). - Select utf8_general_ci as the collation and click Create.
- Import the Database:
- Click on the Import tab.
- Click Choose File and select the
sensational_beauty_parlour_backup_09-07-2024.sqlfile from the extracted project folder. - Click Go to import the database structure and data.
Here’s an example of what the configuration might look like:
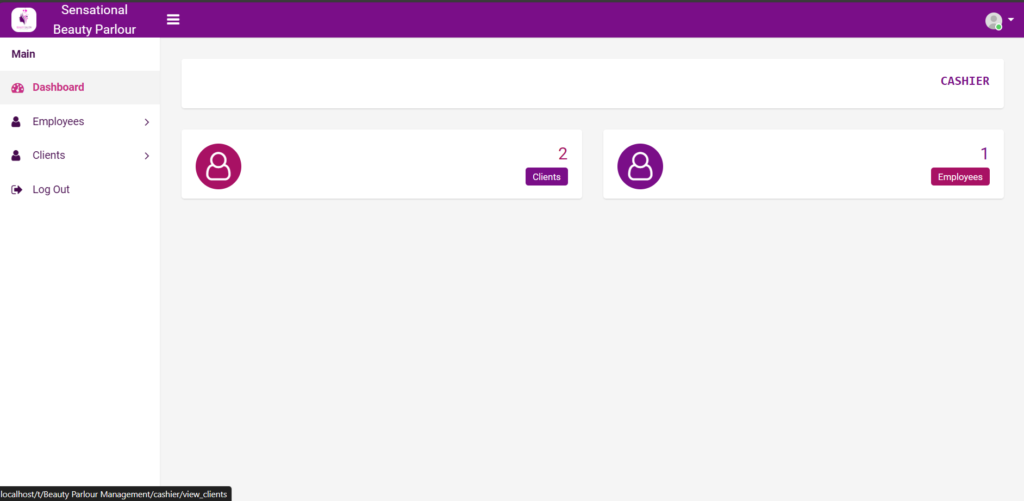
Test the Application
- Start your local server:
- Open XAMPP and start Apache and MySQL.
- Access the application:
- Open your web browser and navigate to
http://localhost/your_project_folder/(replaceyour_project_folderwith the name of the extracted folder). - If everything is set up correctly, you should see the homepage of the beauty parlour management web application.
https://updategadh.com/category/php-project
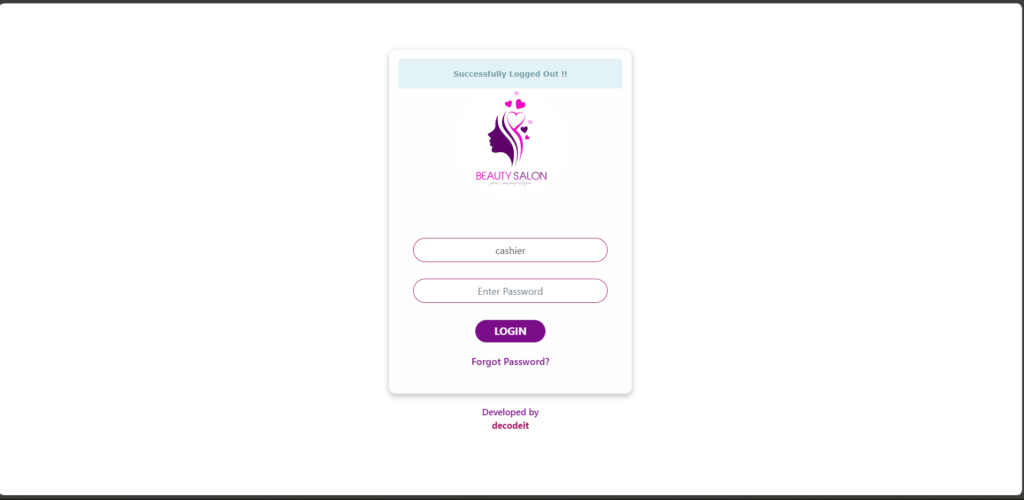
Admin Panel Access
Most beauty parlour management systems come with an admin panel where you can manage services, appointments, staff, and clients. To access this panel:
- Navigate to
http://localhost/your_project_folder/admin/. - You might be prompted to log in. The default admin username and password are usually found in the database or documentation (commonly
admin/admin).
🎓 Need Complete Final Year Project?
Get Source Code + Report + PPT + Viva Questions (Instant Access)
🛒 Visit UpdateGadh Store →