Building an E-Learning Portal using Java, Spring MVC, Hibernate
Introduction
In today’s fast-paced world, e-learning has become an essential tool for education and professional development. With the advent of technology, e-learning web portals have gained significant popularity, allowing users to access educational resources and courses from anywhere at any time. In this article, we will explore the development process of an e-learning web portal based on Java, Spring MVC, Hibernate, Spring Security, and JSP. We will also discuss the essential features of the portal, the required software, and how to run the project successfully.


 updategadh.com
Table of Contents
Step 1: Making the Project
To develop an e-learning web portal, we need to follow a systematic approach. Let’s break down the process into four steps:
Step 1.1: Setting up the Project Structure
The first step is to set up the project structure. We can use tools like Maven or Gradle to manage dependencies and build the project. Create a new Maven or Gradle project and configure the necessary dependencies, including Java, Spring MVC, Hibernate, Spring Security, and JSP.
Step 1.2: Designing the Database
The next step is to design the database schema for our e-learning web portal. Decide on the entities and relationships required for the portal, such as courses, users, quizzes, and assessments. Use Hibernate to create the corresponding entity classes and define the database schema using annotations or XML mappings.
Step 1.3: Implementing Business Logic
Once the database is set up, we can start implementing the business logic of our e-learning web portal. Use Spring MVC to create controllers that handle user requests, retrieve data from the database, and return appropriate responses. Implement features like course enrollment, content access, assessments, and progress tracking.
| Name | Required |
|---|---|
| Project Name | Building an E-Learning Portal (JSP) |
| Project Platform | JSP |
| Programming Language | Servlet/JSP/Bootstrap/HTML/MySQL |
| Front End | Html, css, js, jsp, |
| Back End | java, MySQL |
| IDE Tool | Eclipse Neon |
| Database | MySQL |
| Project Type | Web Application |
Step 2: Adding Essential Features
An e-learning web portal should have several essential features to provide a rich learning experience. Let’s explore some of these features and how to implement them:
User Registration and Login
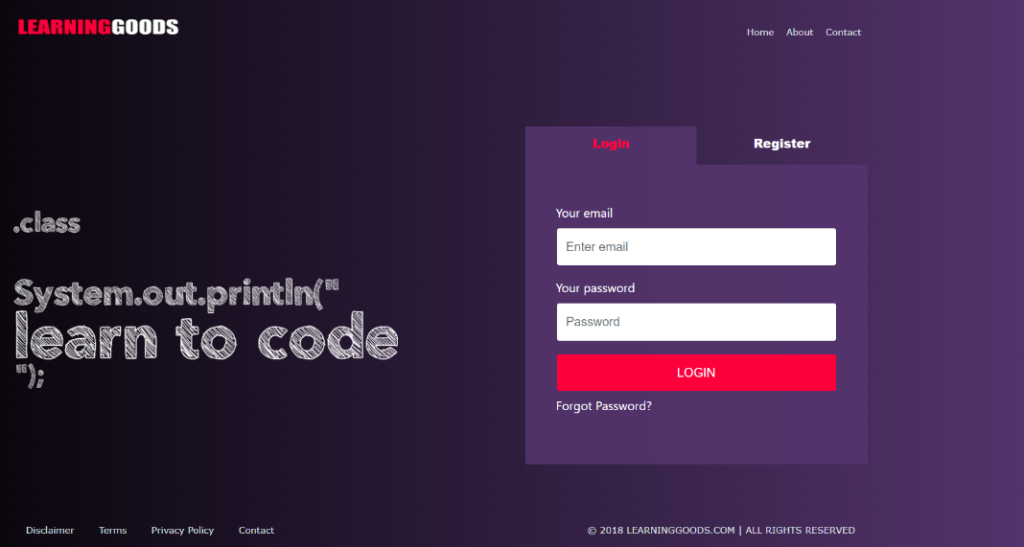
Allow users to create accounts and login to the portal. Use Spring Security to handle user authentication and secure password storage.
Course Management
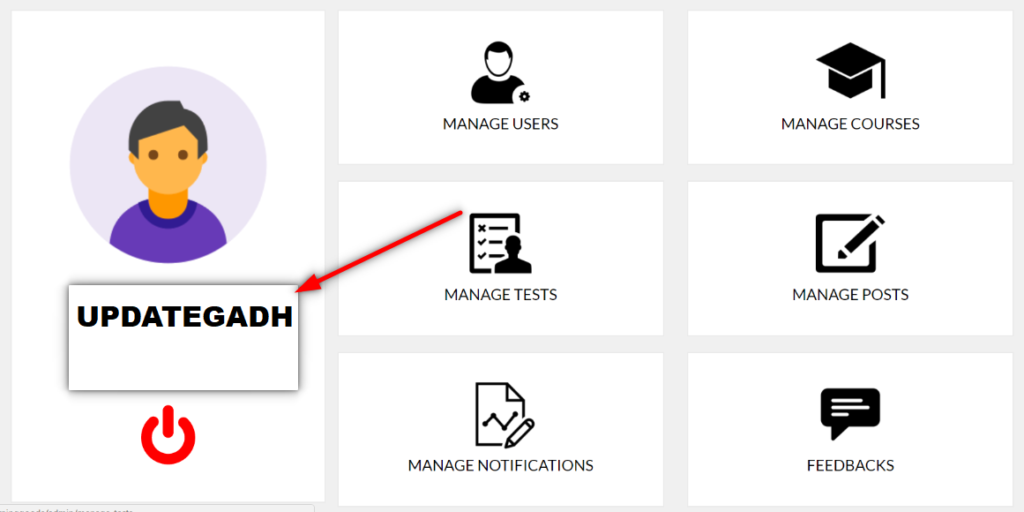
Provide functionality to create, edit, and delete courses. Users should be able to enroll in courses and access course materials.
Learning Content
Support different types of learning content, such as text, images, videos, and presentations. Organize content into modules and lessons for easy navigation.
Assessments and Progress Tracking
Include quizzes and assessments to evaluate the learners’ understanding of the course material. Track and display the learners’ progress throughout the course.

 updategadh.com
Step 3: Required Software
To develop an e-learning web portal based on Java, Spring MVC, Hibernate, Spring Security, and JSP, we will need the following software:
- Java Development Kit (JDK)
- Integrated Development Environment (IDE) like IntelliJ IDEA, Eclipse, or NetBeans
- Maven or Gradle for dependency management
- Apache Tomcat or any other servlet container for deploying the application
- RDBMS like MySQL or PostgreSQL for database storage
Make sure to install and configure these software components to set up the development environment correctly.
Step 4: Running the Project
Once the development environment is set up, we can run the e-learning web portal project locally for testing and debugging. Follow these steps to run the project:
- Build the project using Maven or Gradle to resolve the dependencies.
- Deploy the project onto the servlet container (e.g., Apache Tomcat).
- Ensure the database is running and accessible.
- Start the servlet container and access the web portal using the appropriate URL.
System Configuration/Specification:
Technologies Used:
- Java
- J2EE
- Servlets
- JSP
- HTML
- CSS
- Bootstrap
Tools Used:
- Tomcat Server
Hardware Requirements:
- Processor : Pentium IV
- Hard Disk : 40GB
- RAM : 512MB or more
Software Requirements:
- Operating System : Windows 10/ 11/7 or Linux
- User Interface : HTML, CSS
- Client-side Scripting : JavaScript
- Programming Language : Java
- Web Applications : JDBC, Servlets, JSP
- Database : Mysql
- Server Deployment : Tomcat 5.0
 updategadh.com
Step 5: Setup
Download and Extract Files:
- Download the project files in ZIP format and extract them onto your Desktop using a reliable tool such as WinRAR.
[Backend Setup]
- Open XAMPP: Start XAMPP and ensure that both Apache and MySQL services are activated.
- Open your web browser and go to http://localhost/phpmyadmin.
- Import Database: Within PHPMyAdmin, import the project database by selecting the “Import” option and choosing the provided database file.
[Front-end Setup]
- Open Eclipse (Download link): Launch Eclipse, ensuring a smooth initiation of the development environment.
- Import Project: Navigate to File > Import > General > Existing Projects into Workspace within Eclipse’s interface. Choose the root directory where your project is located and select the project before clicking Finish.
- Add MySQL Connector: In the project structure, go to Src > Web > lib folder. Integrate the MySQL Connector JAR file seamlessly into this designated folder.
Step 2: Run Project on Server
- Right-click on Project: In the Project Explorer, right-click on your project to reveal a contextual menu.
- Run As – Run on Server: Opt for “Run As” and then choose “Run on Server” to initiate the deployment process.
- Select Tomcat V8.0: Choose Tomcat V8.0 as the server for execution during the configuration.
- Next and Add All: Proceed to the next step in the configuration process. Click “Add All” to include all necessary resources and configurations for the project.
- Done: Complete the configuration process by clicking “Done.”
Step 3: Open Browser After Successful Setup
After completing the above steps, open your web browser and navigate to the specified local server address or http://localhost:8080/your_project_name to access and interact with your successfully set up project.
Screenshots


Step 6 : Download : (Note: Only for Educational Purpose)
Virus note: All files are scanned once-a-day by updategadh.com for viruses, but new viruses come out every day, so no prevention program can catch 100% of them
FOR YOUR OWN SAFETY, PLEASE:
1. Re-scan downloaded files using your personal virus checker before using it.
2. NEVER, EVER run compiled files (.exe’s, .ocx’s, .dll’s etc.)–only run source code.
- Download This Project :-Click Here
- Download All Free Project :- Click here

New Projects
Document and Reports
This document file contains a project Synopsis, Reports, and various diagrams. Also, the abstract pdf file is inside the zip and you can modify it accordingly. Documents and Reports take 2-3 days to create as per the user Requirements
Conclusion
Developing an e-learning web portal based on Java, Spring MVC, Hibernate, Spring Security, and JSP can provide a robust and feature-rich platform for online education. By following the four steps outlined in this article, you can create an e-learning web portal with essential features like user registration, course management, learning content, assessments, and progress tracking. Remember to use the required software and follow the steps to successfully run the project. Embrace the power of e-learning and unlock a world of knowledge and skills at your fingertips.
| e-learning portal |
| e-learning portal development |
| e-learning portal login |
| enterprise e-learning portal |
| fudma e-learning portal |
| zetech university e-learning portal |
| e-learning portal development company |
| e-learning portal daystar |

