eCommerce Website Using Java (JSP and MySQL)
Creating an eCommerce website is an excellent way to learn web development and understand the intricacies of online business. In this guide, we’ll walk through the steps of building an eCommerce site using Java, JSP (JavaServer Pages), and MySQL.
New Project :-https://www.youtube.com/@Decodeit2
Introduction
In today’s digital age, eCommerce websites are essential for businesses to reach a wider audience. Java, with its robust features and security, is a popular choice for developing these platforms. JSP, a part of Java EE, is used for creating dynamic web content, while MySQL serves as the database to store and manage data.

This blog post will guide you through the process of creating a basic eCommerce website. We will cover project setup, essential features, required tools, running the project, and more.
Step 1: Making the Project
Setting Up the Environment
- Install JDK: Ensure you have the Java Development Kit (JDK) installed on your machine.
- Install a Web Server: Apache Tomcat is a popular choice for running JSP applications.
- Install MySQL: MySQL will be used to manage the database for your eCommerce site.
- IDE: Use an Integrated Development Environment (IDE) like Eclipse or IntelliJ IDEA for coding.
- MySQL: Relational database management system for storing and managing data

Creating the Project Structure
- Create a Dynamic Web Project: In your IDE, create a new dynamic web project.
- Configure Web.xml: Set up the web.xml file for servlet mapping.
- Database Configuration: Set up MySQL with a database schema for your eCommerce platform.
Writing Code
- Create JSP Pages: Develop JSP pages for user interfaces, such as home, product listing, cart, and checkout.
- Develop Servlets: Write servlets to handle business logic and user requests.
- Database Connectivity: Establish database connectivity using JDBC to perform CRUD operations.
Step 2: Essential Features
User Authentication
Implement user registration and login functionality to manage user sessions securely.
Product Management
Create an admin interface to add, update, and delete products. Display products dynamically on the user interface.
Shopping Cart
Allow users to add products to a shopping cart and manage quantities.
Order Processing
Enable users to place orders, track their order status, and view order history.
Step 3: Required Software and Tools
To build your eCommerce website, you’ll need the following software and tools:
- JDK (Java Development Kit): Essential for Java development.
- Apache Tomcat: Web server for running your JSP application.
- MySQL: Database management system.
- Eclipse/IntelliJ IDEA: Integrated Development Environment for coding.
- JDBC Driver: To connect Java applications with MySQL.
Step 4: Running the Project
Configuring the Server
- Deploy the Project: Deploy your project on the Apache Tomcat server.
- Start the Server: Run the server and ensure there are no errors.
Testing
- Unit Testing: Perform unit tests to ensure each component works correctly.
- Integration Testing: Test the integration between different components.
- User Testing: Conduct user testing to gather feedback and identify issues.
Project Screenshots
Screenshots provide a visual understanding of your eCommerce website’s interface and functionality. Here are some key screenshots you should include:
- Home Page: Show the main page with featured products.
- Product Listing: Display a list of products available for purchase.

- Product Details: Show detailed information about a selected product.

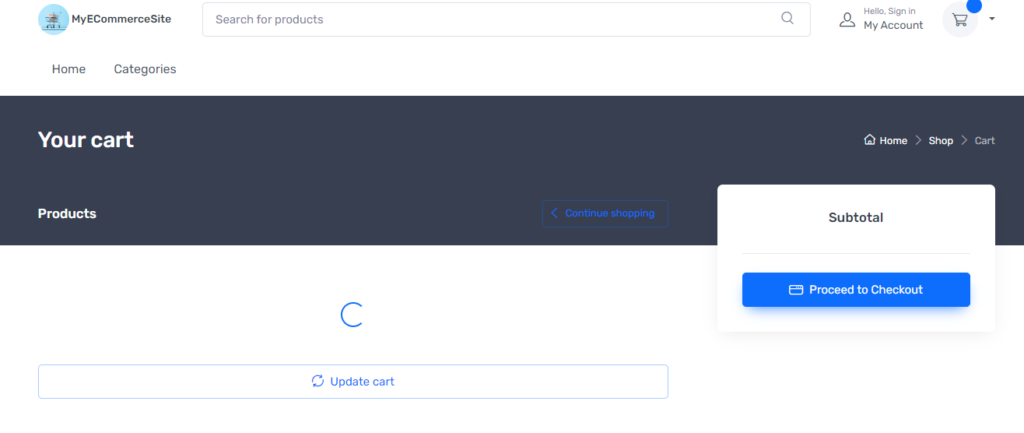
- Shopping Cart: Display the shopping cart with added products.

- Checkout Page: Show the checkout process with payment options.
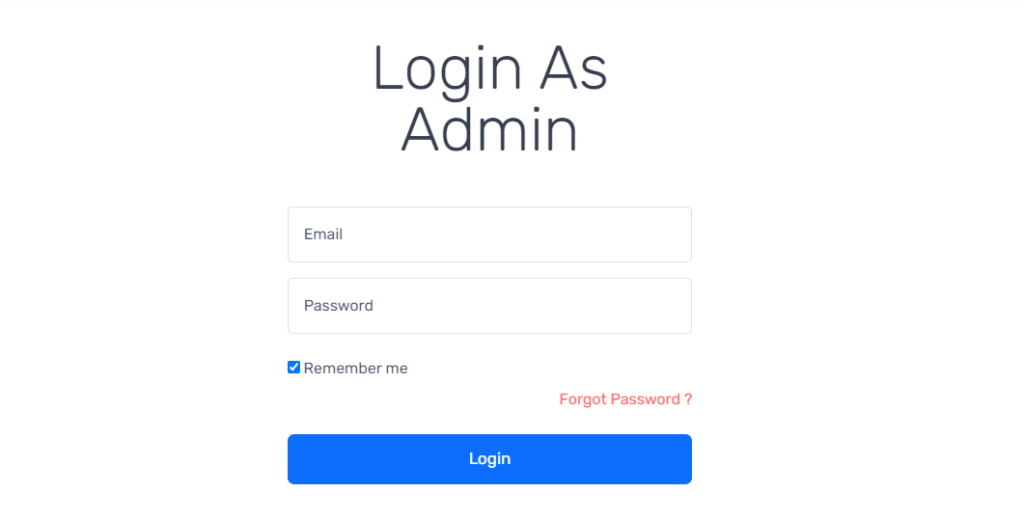
- Admin Panel: Display the admin interface for managing products.


Step 6: Download Project
To make it easy for others to use and modify your Property Management System, provide a download link for the complete project. Ensure the project is well-documented and includes instructions for setup and usage.
Download Project Free Click Here
Complete Python Course : Click here
Free Notes :- Click here
New Project :-https://www.youtube.com/@Decodeit2
How to setup this Project Complete video – Click here
Tags and SEO
To ensure your blog post reaches a wide audience, use relevant tags and focus on SEO (Search Engine Optimization). Here are some suggestions:
Tags: Java, JSP, MySQL, eCommerce, Web Development, Java Web Application, Online Store, Shopping Cart, Payment Integration
SEO Tips:
- Use keywords like “eCommerce website using Java”, “JSP MySQL eCommerce tutorial”, “Java web development”.
- Write a compelling meta description that summarizes the post.
- Use headings and subheadings to improve readability.
- Include internal and external links to relevant resources.
